 Save to Pinterest
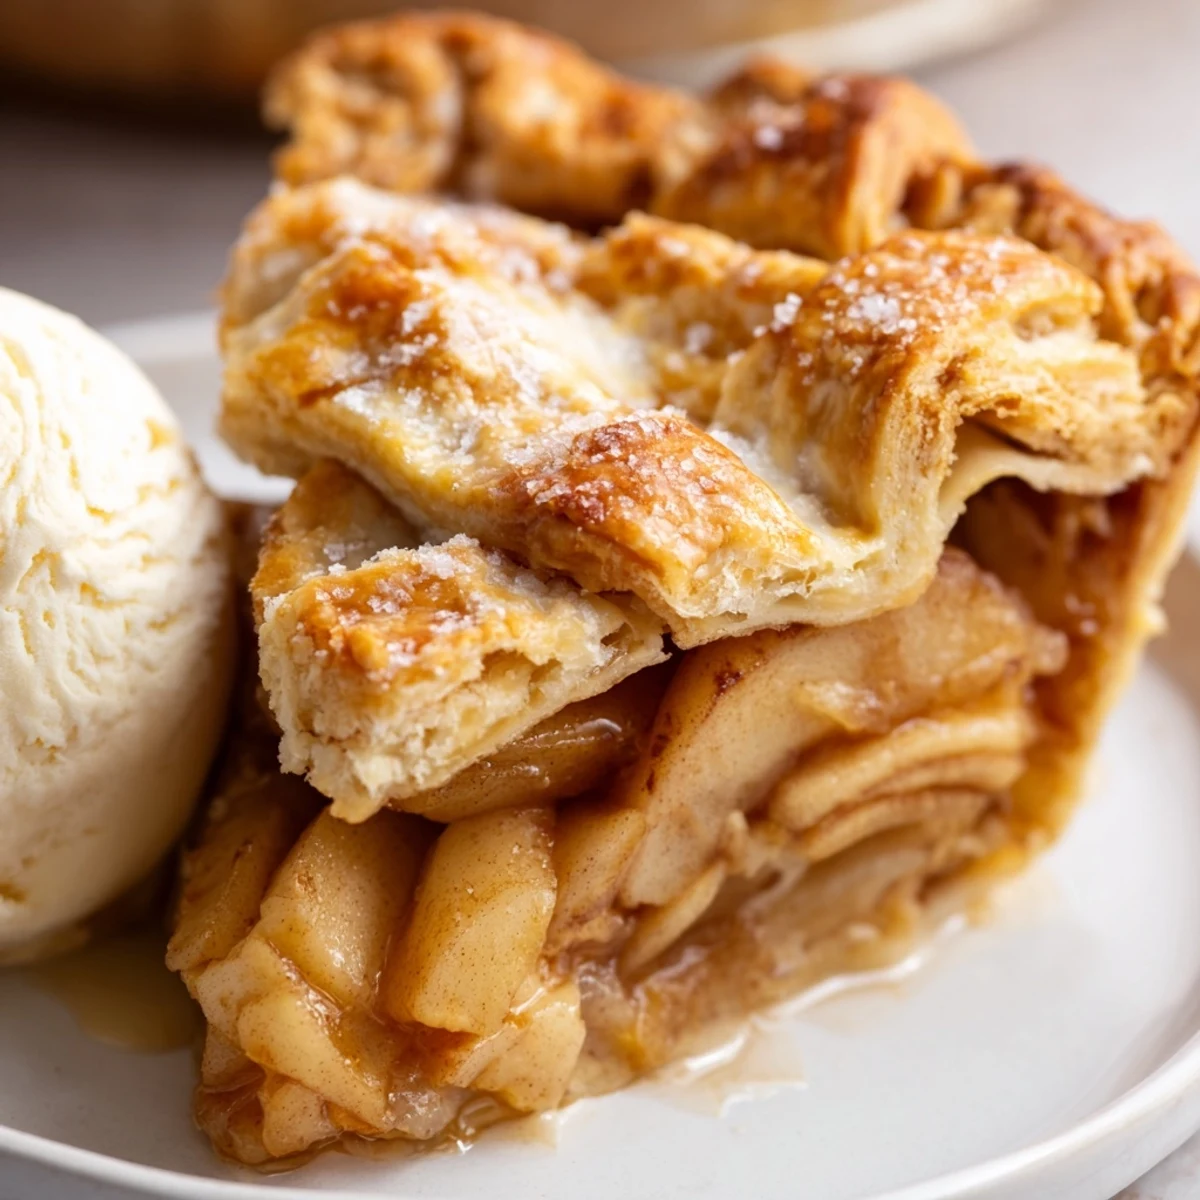
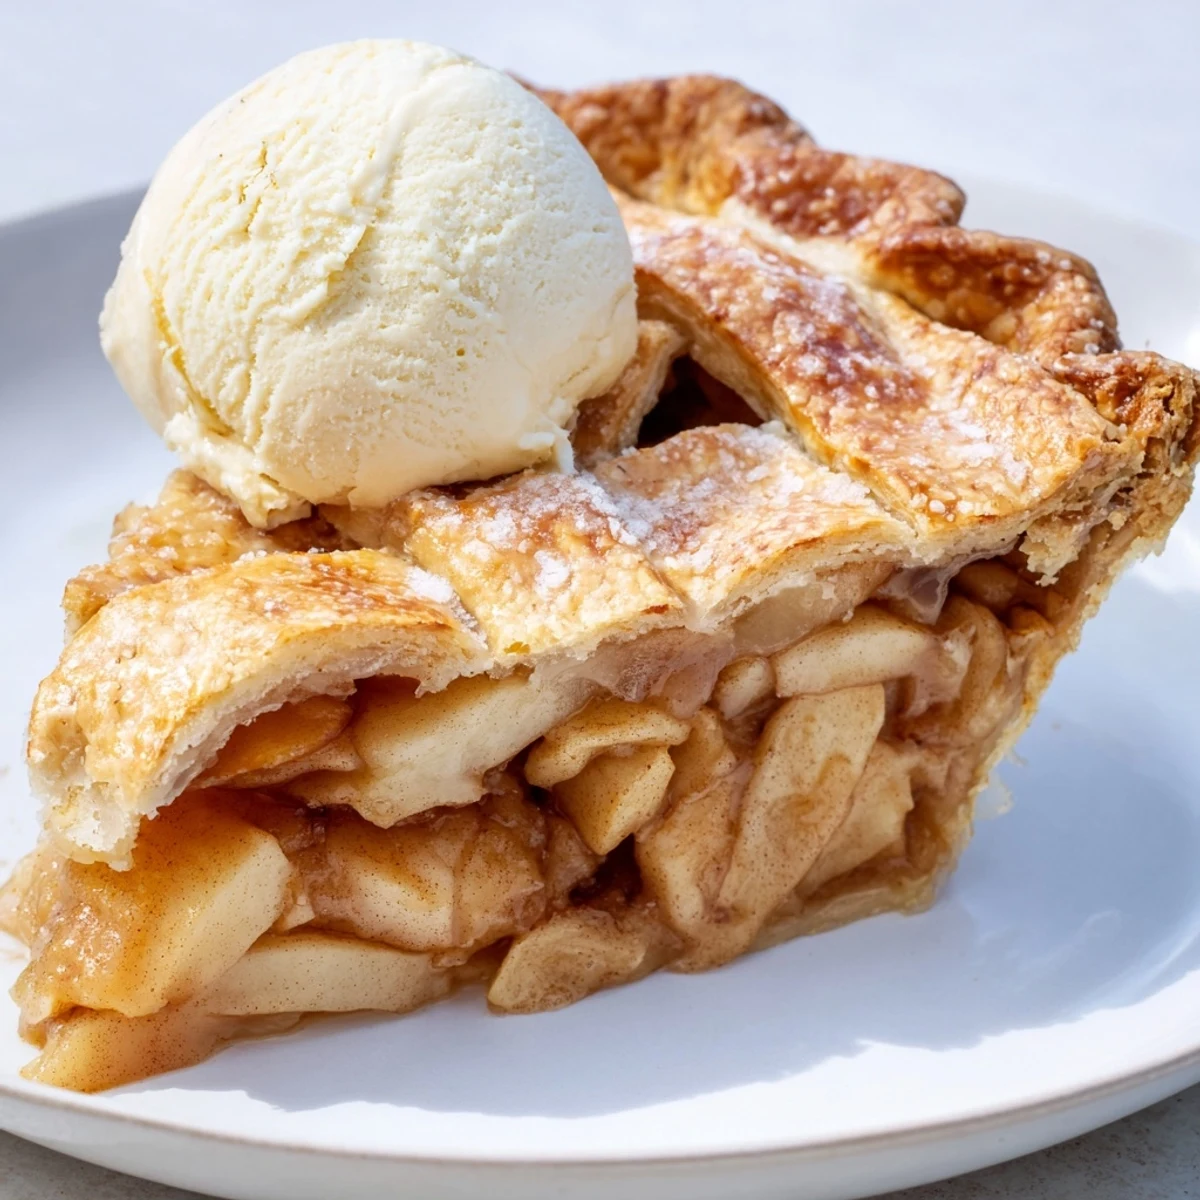
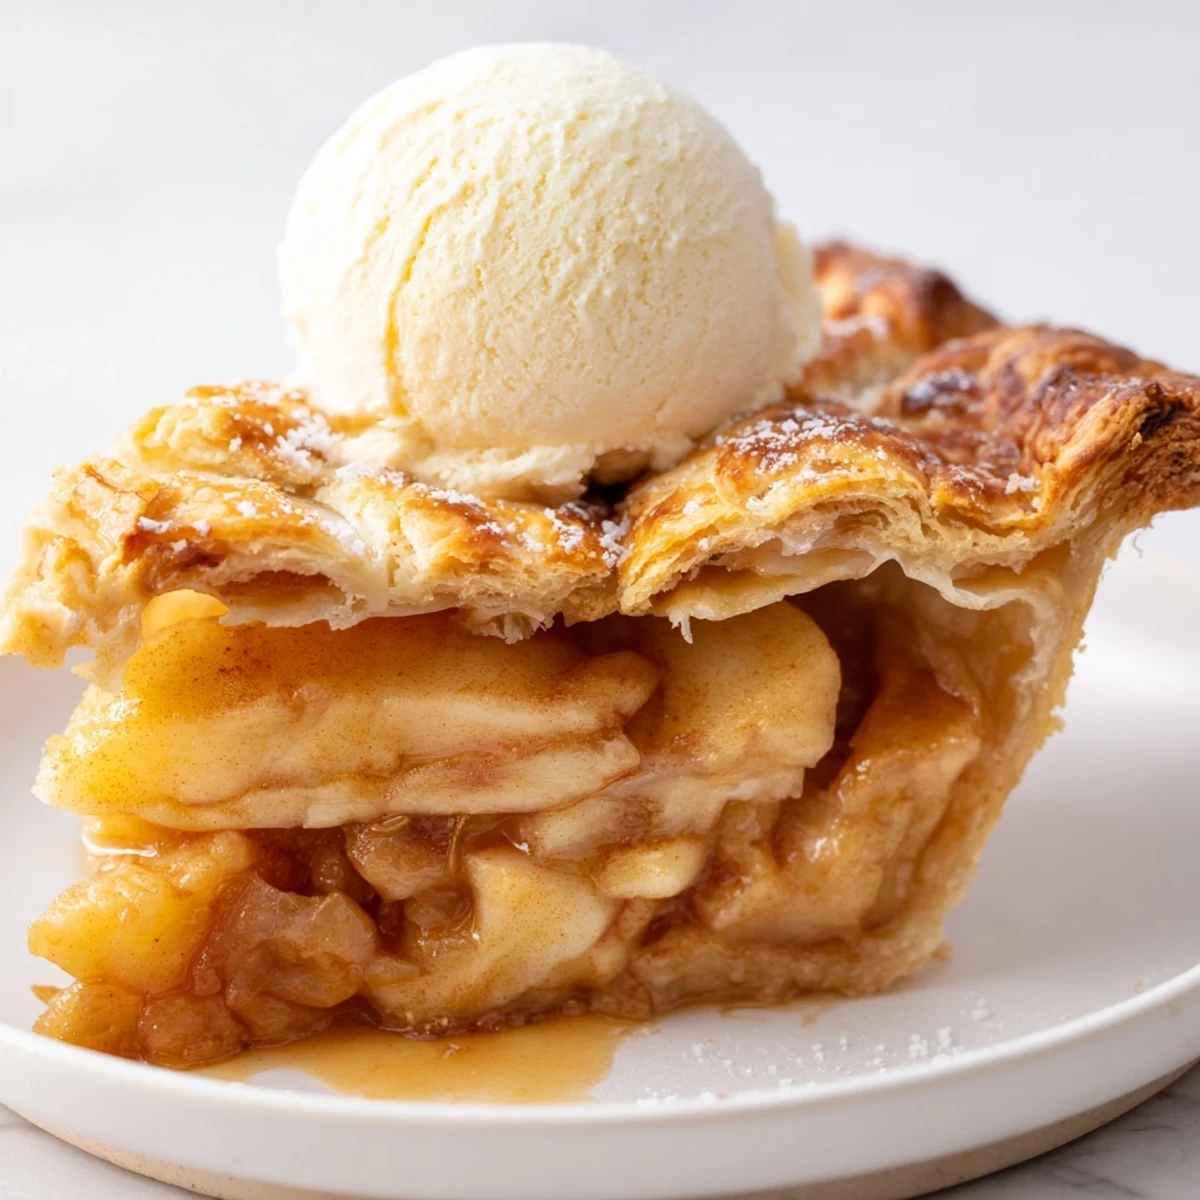
 Create this beloved American dessert featuring tart Granny Smith apples nestled in a homemade buttery crust. The spiced filling combines cinnamon, nutmeg, and cloves for that quintessential autumn flavor. Best enjoyed warm with a scoop of vanilla ice cream.
The smell of cinnamon drifting through the house always stops me in my tracks. My grandmother's apple pie wasn't just dessert—it was an event that demanded you pull up a chair and wait. I've spent years trying to recreate that particular magic that happens when butter meets sugar meets perfectly tart apples.
Last Thanksgiving, I made three pies in one day because my family refused to share. By the time I slid the third one into the oven, I was covered in flour and questioning my life choices. But watching my cousin literally scrape her plate clean made every butter stain on my shirt worth it.
Ingredients
- 2 1/2 cups all-purpose flour: The structure that holds everything together—dont pack it down when measuring
- 1 cup cold unsalted butter cubed: Cold butter creates those gorgeous flaky layers everyone talks about
- 1 tsp salt: Enhances flavor and strengthens gluten structure
- 1 tbsp granulated sugar: Just enough to help the crust brown beautifully
- 6–8 tbsp ice water: The binding agent—add it slowly and stop when the dough holds together
- 6 cups tart apples: Granny Smith or Honeycrisp hold their shape and provide essential acidity
- 3/4 cup granulated sugar: Sweetens without overwhelming the apple flavor
- 1/4 cup packed brown sugar: Adds depth and a subtle caramel note
- 2 tbsp all-purpose flour: Thickens the juices so you dont end up with soup in your pie
- 1 tbsp lemon juice: Prevents apples from turning brown and brightens the overall flavor
- 1 1/2 tsp ground cinnamon: The classic warm spice that makes apple pie taste like home
- 1/4 tsp ground nutmeg: Adds a subtle nutty warmth that rounds out the cinnamon
- 1/8 tsp ground cloves: Just a hint provides complexity without overpowering
- 1/4 tsp salt: Balances sweetness and intensifies all the other flavors
- 2 tbsp unsalted butter: Dotted over the filling creates rich little pockets of flavor
- 1 egg beaten with 1 tbsp milk: Creates that glossy golden bakery finish
- 1 tbsp coarse sugar: Optional but adds sparkle and a satisfying crunch
Instructions
- Prepare the Pie Crust:
- Whisk flour salt and sugar in a large bowl then cut in cold butter until the mixture looks like coarse crumbs. Drizzle in ice water a tablespoon at a time mixing gently until dough holds together when squeezed. Divide into two discs wrap tightly and refrigerate for at least one hour.
- Prepare the Apple Filling:
- Toss the sliced apples with both sugars flour lemon juice cinnamon nutmeg cloves and salt until every piece is evenly coated. Let them sit while you roll out the crust—this draws out some juice and concentrates flavor.
- Roll Out the Dough:
- On a well floured surface roll one disc into a 12 inch circle rotating frequently to prevent sticking. Carefully transfer to your pie dish letting the excess hang over the edges.
- Fill the Pie:
- Pile those spiced apples into the bottom crust mounding them slightly in the center. Scatter the small pieces of butter over the top.
- Top the Pie:
- Roll the second disc of dough and drape it over the apples. Trim the overhang to about an inch then fold and crimp the edges together. Cut at least five slits in the top so steam can escape.
- Apply Egg Wash:
- Brush the entire top crust with the egg milk mixture then sprinkle with coarse sugar for that professional finish.
- Bake:
- Start at 425°F for twenty minutes to set the crust then reduce to 375°F and bake until golden and bubbly. If the edges brown too quickly tent them with foil.
- Cool:
- Let the pie rest for at least two hours before slicing. This is the hardest part but the filling needs time to set or it will run everywhere.
 Save to Pinterest
 My neighbor swears she can smell when I'm baking pie from three houses away. She texts me every time asking if there's any left and usually there isn't.
Getting The Crust Right
Cold ingredients are non negotiable here. I keep my butter in the freezer and use ice water straight from the fridge. Every time I've tried to rush this step by using warmer butter I've ended up with a tough disappointing crust that I had to throw away.
Apple Selection Secrets
Mixing different apple varieties creates more interesting flavor and texture. I usually combine tart Granny Smiths with sweeter Honeycrisps. All tart apples and the pie needs more sugar but all sweet apples and you lose that bright acidity that cuts through the rich crust.
Serving And Storage
This pie deserves to be the star of the show. Serve it warm but not hot with really good vanilla ice cream. Leftovers keep at room temperature for two days or refrigerated for up to five though I've never had one last that long.
- Reheat individual slices in a 300°F oven for ten minutes to recreate that fresh baked experience
- Freeze unbaked pies for up to three months—bake from frozen adding fifteen minutes
- A warmed slice with a sharp cheddar cheese wedge is a surprisingly sophisticated combination
 Save to Pinterest
 There's something deeply satisfying about sliding a golden apple pie onto the table and watching everyone's eyes light up. This is the kind of dessert that creates memories.
Recipe FAQs
- → What apples work best for this?
-
Granny Smith apples are ideal because their tartness and firm texture hold up beautifully during baking. You can also mix in Honeycrisp or Braeburn for added sweetness.
- → Why chill the dough before rolling?
-
Chilling allows the butter to firm up, which creates flaky layers during baking. It also prevents the dough from shrinking in the oven and makes it easier to handle.
- → How do I know when it's done?
-
The crust should be golden brown and you should see the filling bubbling through the steam vents. If the crust browns too quickly, tent with foil.
- → Can I make this ahead?
-
Yes, prepare the entire pie up to 24 hours in advance and refrigerate unbaked. Add 5-10 minutes to baking time if baking cold from the refrigerator.
- → Why cut slits in the top crust?
-
Steam vents allow excess moisture to escape during baking, preventing the filling from becoming too watdy and keeping the bottom crust crisp.
