 Save to Pinterest
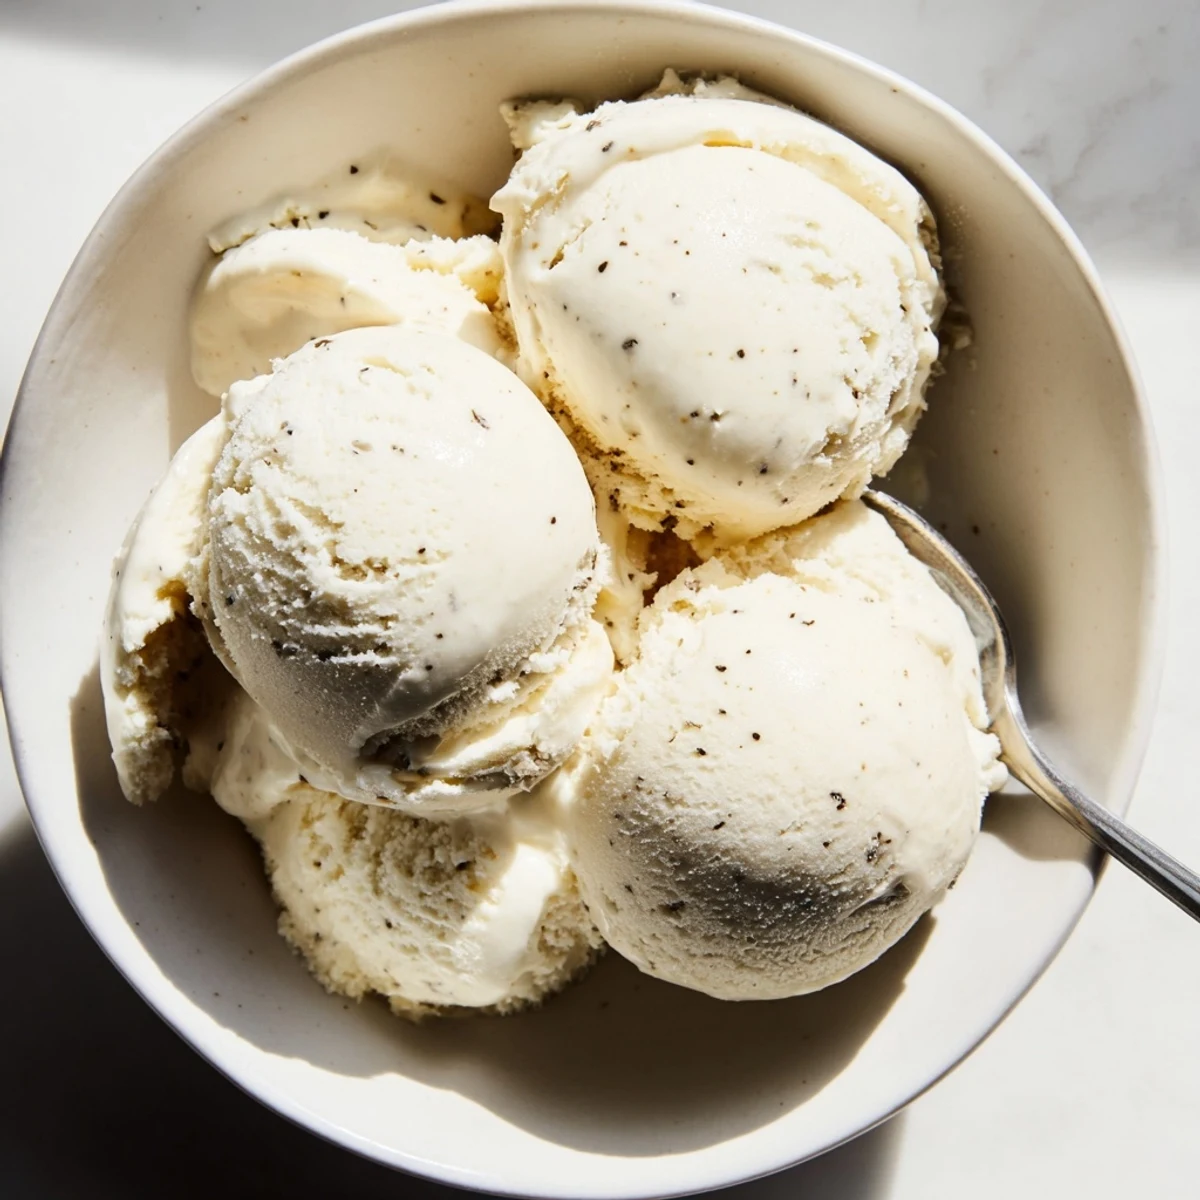
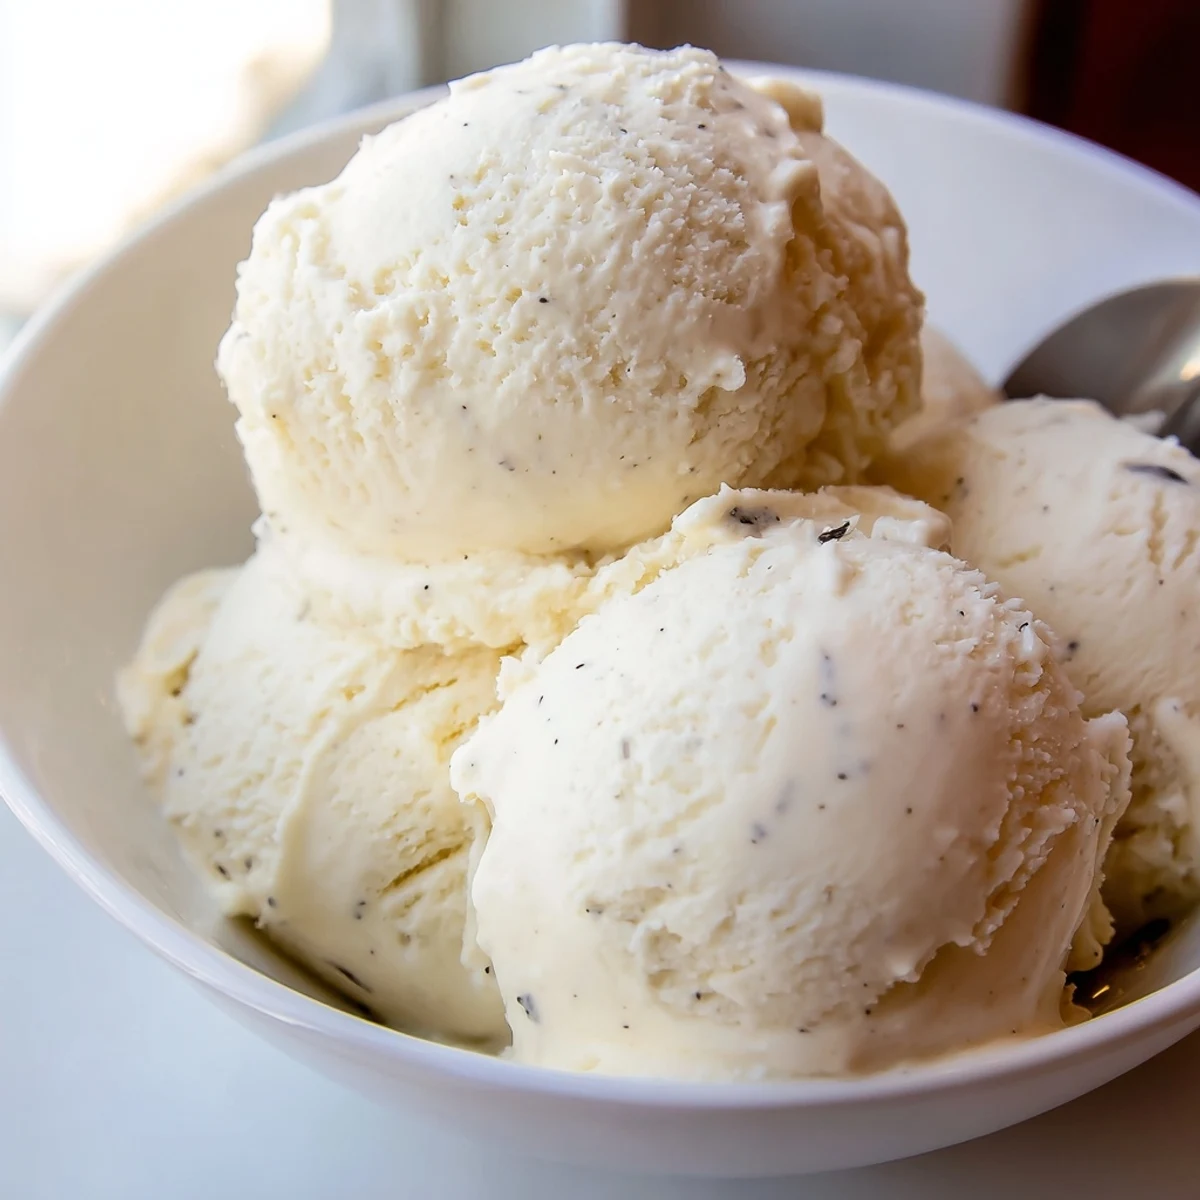
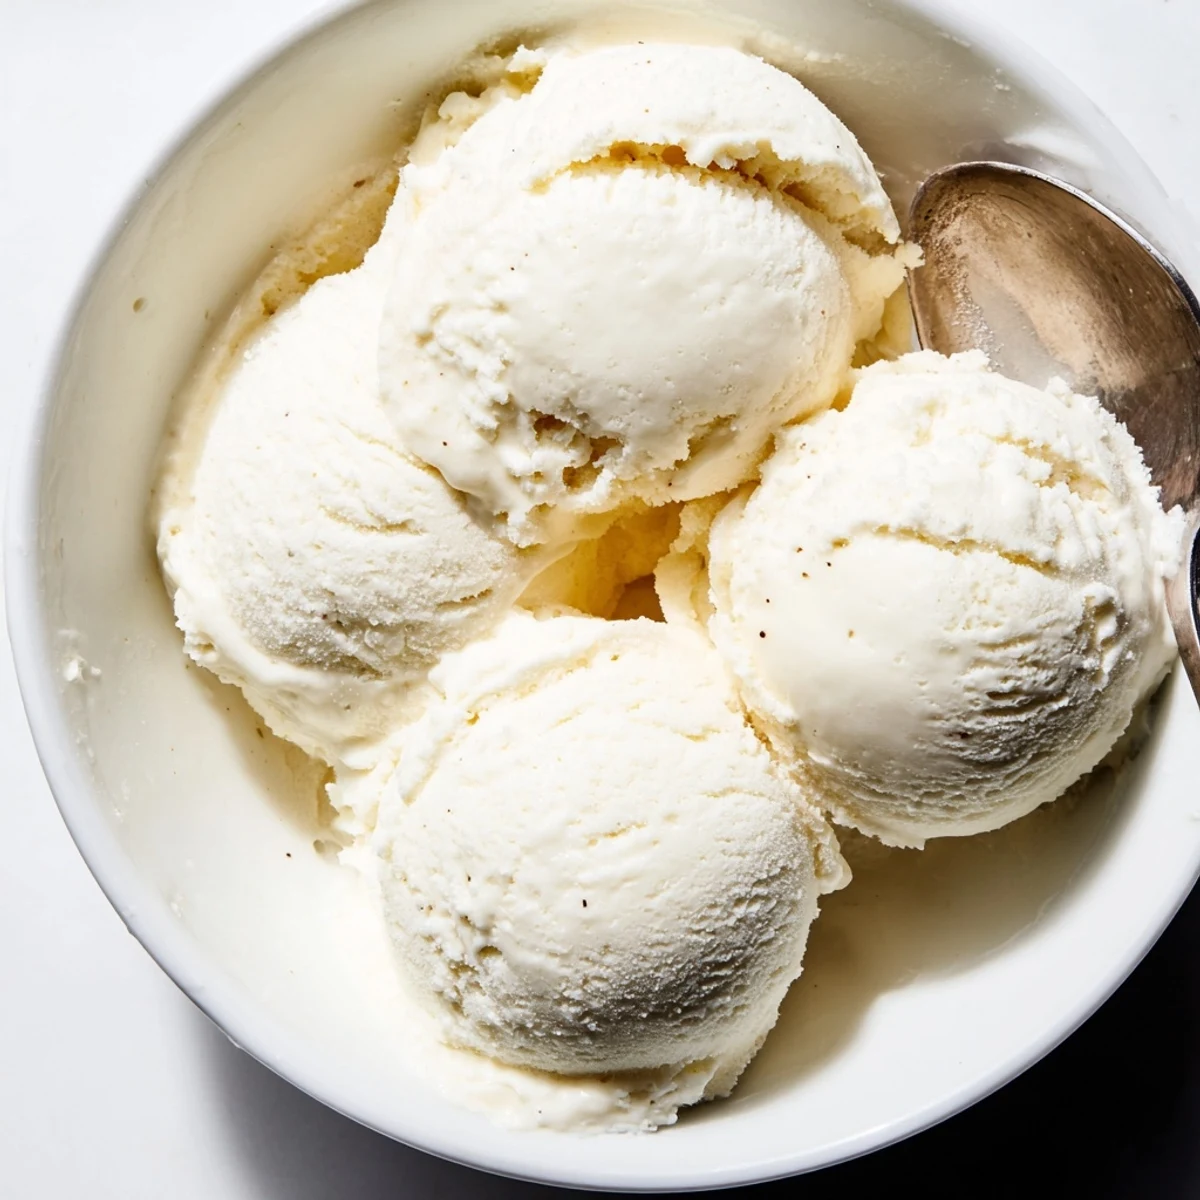
 Master the art of creating rich, creamy vanilla ice cream with this classic method. The custard base combines heavy cream and whole milk with real vanilla bean, tempered with egg yolks for silkiness. After gently heating to 80°C, the mixture chills thoroughly before churning to perfection. The result is a smooth, indulgent frozen treat that rivals premium artisanal versions. Customize with chocolate, fruit, or nuts during the final churning stage. Allow to soften slightly before serving for the best texture and flavor experience.
The sound of the ice cream maker churning on my back porch is permanently wired to every summer memory I have. There is something almost meditative about making custard from scratch, watching it slowly thicken on the stove while the whole kitchen smells like warm vanilla and possibility. This recipe is the one I return to every year without fail, and it never once disappointed me.
One Fourth of July I decided to make a double batch for a backyard gathering, and my ice cream maker overheated halfway through the second churn. I panicked, packed the soft custard into a container, and stuck it in the freezer with a prayer. It still turned out delicious, just slightly denser, and my neighbor told me it was the best ice cream she had ever eaten.
Ingredients
- Heavy cream (500 ml): The fat content here is everything. Use the richest cream you can find because it is the backbone of that silky mouthfeel.
- Whole milk (250 ml): Balances the cream so the final texture is luscious without feeling heavy or waxy on your tongue.
- Granulated sugar (150 g): Dissolves into the custard and keeps the ice cream soft enough to scoop straight from the freezer.
- Vanilla bean (1 pod, or 2 tsp pure vanilla extract): Real vanilla bean gives you those gorgeous dark flecks and a floral depth that extract alone cannot fully replicate.
- Large egg yolks (4): These create the custard foundation. Make sure they are fresh and at room temperature before you start whisking.
Instructions
- Prepare the vanilla cream:
- Split the vanilla bean down the middle with a sharp knife and scrape the seeds into a saucepan. Drop in the pod, pour in the cream and milk, and heat gently until you see steam rising but no bubbles forming. Pull it off the heat and let it sit for 15 minutes so the vanilla can really soak into the dairy.
- Build the custard base:
- Whisk the egg yolks and sugar together in a sturdy bowl until the mixture turns pale yellow and falls in thick ribbons from the whisk. This step is where patience pays off, so do not rush it.
- Temper the eggs:
- Remove the vanilla pod from the cream mixture and pour the warm liquid into the yolks in a slow, steady stream while whisking constantly. Going too fast here will scramble the eggs, so keep the whisk moving and breathe.
- Cook until thickened:
- Pour everything back into the saucepan and cook over low heat, stirring with a wooden spoon in slow figure eights. When the custard coats the back of the spoon and you can draw a clean line through it with your finger, it is done. It should read around 80 degrees Celsius on a thermometer.
- Chill the custard:
- Strain the custard through a fine sieve into a clean bowl to catch any cooked bits, then let it cool completely before refrigerating it for at least 2 hours. Cold custard churns better and produces a smoother finish.
- Churn the ice cream:
- Pour the chilled custard into your ice cream maker and churn following the manufacturers directions until it looks like soft serve. This usually takes about 20 to 25 minutes depending on your machine.
- Freeze to finish:
- Transfer the softly frozen ice cream into a freezer safe container with a tight lid and freeze for at least 3 hours. Let it sit at room temperature for a few minutes before scooping so it softens just enough to serve beautifully.
 Save to Pinterest
 The evening my daughter asked if we could make ice cream instead of buying a birthday cake, I knew this recipe had become something bigger than a summer project. We sat on the kitchen floor with spoons and a freshly churned batch, eating straight from the container while the sun went down.
Getting Creative with Flavors
Once you feel confident with the vanilla base, try whisking 80 grams of melted dark chocolate into the warm custard for a deeply chocolatey version that rivals any gelato shop. Fold chopped strawberries, toasted pistachios, or crumbled cookies into the ice cream during the last two minutes of churning. Each batch becomes a small invention that reflects whatever you are craving that day.
Essential Equipment for Success
A heavy bottomed saucepan distributes heat evenly and protects your custard from hot spots that cause scrambling. Your fine sieve is not optional, because even experienced cooks catch a few cooked bits now and then. Keep a reliable thermometer handy because guessing the temperature is a gamble that rarely works in your favor.
Serving and Storing Like a Pro
Homemade ice cream is best eaten within a week, though honestly it never lasts that long in my house. Press a piece of parchment paper directly onto the surface before lidding to prevent ice crystals from forming on top.
- Let the container sit on the counter for about 5 minutes before scooping for the perfect texture.
- A warm metal spoon glides through frozen ice cream much more easily than a cold one.
- Always label your container with the date so you know when it is at peak flavor.
 Save to Pinterest
 There is a kind of quiet magic in turning milk, cream, eggs, and sugar into something that makes people close their eyes and smile on the first bite. Keep this recipe close because it will serve you well for years.
Recipe FAQs
- → Why must I heat the custard to exactly 80°C?
-
Heating to 80°C (175°F) properly thickens the custard while pasteurizing the eggs. Going above this temperature risks curdling, while lower temperatures may not achieve the desired silky texture.
- → Can I make this without an ice cream maker?
-
Yes, though the texture will differ. Pour the chilled custard into a shallow container, freeze for 45 minutes, stir vigorously with a fork, and repeat every 30-45 minutes until firm. This incorporates air and prevents large ice crystals.
- → Why must the custard chill thoroughly before churning?
-
Cold custard freezes faster and more evenly during churning, resulting in smaller ice crystals and smoother texture. Warm or room-temperature bases may produce icy or grainy results.
- → How long does homemade ice cream stay fresh?
-
Properly stored in an airtight container, homemade ice cream maintains optimal quality for 1-2 weeks. After this period, ice crystals may form and the texture becomes less smooth, though it remains safe to eat.
- → What's the purpose of straining the custard?
-
Straining removes any accidentally cooked bits of egg and ensures the vanilla pod pieces don't interfere with the final texture. This step guarantees perfectly smooth, creamy results.
- → Can I use vanilla extract instead of a vanilla bean?
-
Absolutely. Substitute 2 teaspoons of pure vanilla extract for one vanilla bean. Add it after step 4, once the custard has cooled slightly, to preserve the aromatic compounds.
