 Save to Pinterest
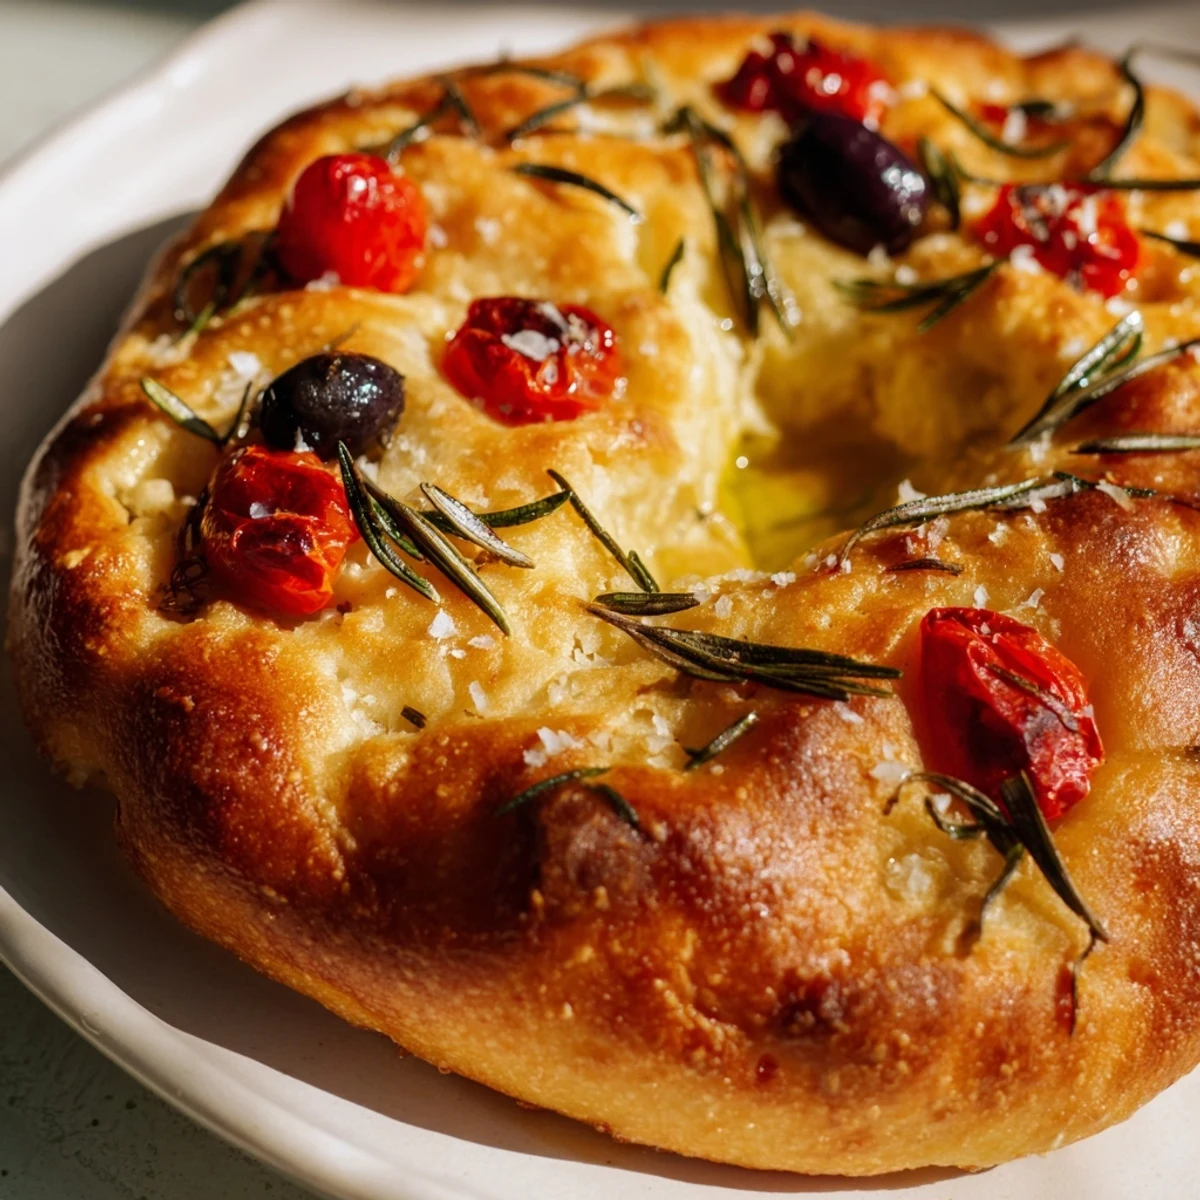
 These individual-sized focaccias feature a perfectly crispy golden crust and irresistibly fluffy, aromatic interior. The dough develops rich flavor during a one-hour rise, then gets hand-dimpled and generously brushed with extra-virgin olive oil before baking. Fresh rosemary and flaky sea salt create an authentic Italian finish, while optional cherry tomatoes and black olives add vibrant color and savory depth.
Last winter, during that endless stretch of gray January days, I found myself kneading dough at 2 AM just to feel something warm and alive in my hands. The rosemary scent filling the tiny apartment was better than any candle I'd ever burned. These little breads became my ritual, my midnight comfort, and eventually the thing neighbors started knocking on my door about.
My sister came over that first experimental batch and ate three standing right at the counter, burning her fingers and not caring a bit. Now whenever she visits, the first question out of her mouth is whether there's focaccia dough rising somewhere. Something about tearing into warm, herby bread with your hands makes people drop their pretenses and just enjoy eating.
Ingredients
- All-purpose flour: This creates the perfect structure for that signature puffiness without being too dense
- Lukewarm water: Not hot enough to kill the yeast, not cold enough to shock it into slumber
- Active dry yeast: The magic worker that transforms basic ingredients into something extraordinary
- Fine sea salt: Enhances flavor without those harsh iodine notes you get from table salt
- Extra-virgin olive oil: Use the good stuff here because it really shines in the final taste
- Sugar: Just enough to wake up the yeast and help with that golden crust
- Flaky sea salt: Those occasional salt crystals that hit your tongue are pure joy
- Fresh rosemary: Woodsy and fragrant, it's what makes people immediately recognize this as Italian
- Cherry tomatoes: They roast down into sweet little bursts of flavor
- Black olives: Briny and rich, they balance all that rosemary brightness
Instructions
- Wake up the yeast:
- Dissolve sugar in the warm water first, then sprinkle yeast on top and watch it bloom into a foamy layer, which tells you it's alive and ready
- Build the base:
- Stir flour and salt into the yeast mixture along with that first tablespoon of olive oil until you have a shaggy, sticky mass
- Work the dough:
- Turn it onto a floured surface and knead until it fights back less and feels smooth and elastic under your palms
- Let it rest:
- Place the dough in an oiled bowl, cover it, and walk away for an hour until it's dramatically bigger
- Prep your station:
- Heat the oven to 425°F and line your baking sheet while the dough rises
- Shape portions:
- Divide the dough into eight pieces and form each into a rough round or oval, then arrange them on the sheet with space between
- Create dimples:
- Press your fingertips all over each piece to make those signature little wells that hold the oil and toppings
- Add the finishing touches:
- Brush generously with olive oil, then scatter salt, rosemary, and any toppings you're using across the tops
- Bake until golden:
- Slide them into the hot oven for about twenty minutes until they're deeply golden and sound hollow when tapped
- Rest briefly:
- Let them cool just enough to handle, though eating them while still warm is absolutely encouraged
 Save to Pinterest
 My friend's six-year-old now requests these instead of birthday cake, which I consider the ultimate culinary victory. There's something so satisfying about watching someone pull apart warm bread, their eyes closing as that first hit of rosemary and salt hits their senses.
Getting The Crust Just Right
A preheated baking stone makes these next-level crispy if you have one, but a regular baking sheet works perfectly fine too. The key is that initial blast of high heat creating steam inside the dough, which gives you that crackle-shatter crust while keeping the inside tender. I've learned that rotating the pan halfway through baking helps them color evenly.
Topping Ideas Beyond The Basics
Sundried tomatoes add an intense sweetness that plays beautifully with the salty olives, while caramelized onions bring this incredible depth that makes people ask what your secret ingredient is. Sometimes I'll grate some parmesan over the top during the last five minutes of baking for a salty, nutty finish. The beauty is that the base dough is so neutral, it supports pretty much any flavor direction you want to take it.
Serving And Storing
These are best the day they're made, when the contrast between exterior crunch and interior pillowy softness is at its peak. If you somehow have leftovers, wrap them well and reheat in a 350°F oven for about 5 minutes to restore some of that crispiness. They also freeze beautifully layered between parchment paper if you want to bake a double batch.
- Try tearing them in half and using them as mini sandwich buns
- Cube stale leftovers and bake into croutons for salads
- Serve alongside a bowl of olive oil for extra dipping
 Save to Pinterest
 These little breads have a way of making simple gatherings feel special, like you put in way more effort than you actually did.
Recipe FAQs
- → What makes focaccia crispy?
-
The combination of high-temperature baking at 425°F and generous olive oil brushing creates the signature crispy crust. Dimpling the dough with your fingers helps the oil penetrate and creates those classic textured pockets that become beautifully crisp.
- → Can I prepare the dough ahead of time?
-
Yes, you can prepare the dough and let it rise in the refrigerator for up to 24 hours. Cold fermentation actually develops more complex flavors. Bring to room temperature before shaping and baking.
- → What toppings work well on mini focaccia?
-
Fresh rosemary and flaky sea salt are traditional, but try caramelized onions, sundried tomatoes, grated parmesan, roasted garlic, or fresh thyme. The olive oil base pairs beautifully with most Mediterranean flavors.
- → Why is my focaccia dense instead of fluffy?
-
This usually means the dough didn't rise enough or was over-kneaded. Ensure your yeast is fresh and the water is lukewarm, not hot. Let the dough double in size during the rising phase for the fluffiest interior.
- → How do I store leftover focaccia?
-
Store in an airtight container at room temperature for up to 2 days. For longer storage, freeze individually wrapped and reheat in a 350°F oven for 5-7 minutes to restore crispiness. Avoid refrigerating as it makes the bread stale faster.
- → Can I use whole wheat flour?
-
You can substitute up to half the all-purpose flour with whole wheat flour for added nutrition and nutty flavor. The texture will be slightly denser and heartier. You may need to add a bit more water to achieve the right dough consistency.
