 Save to Pinterest
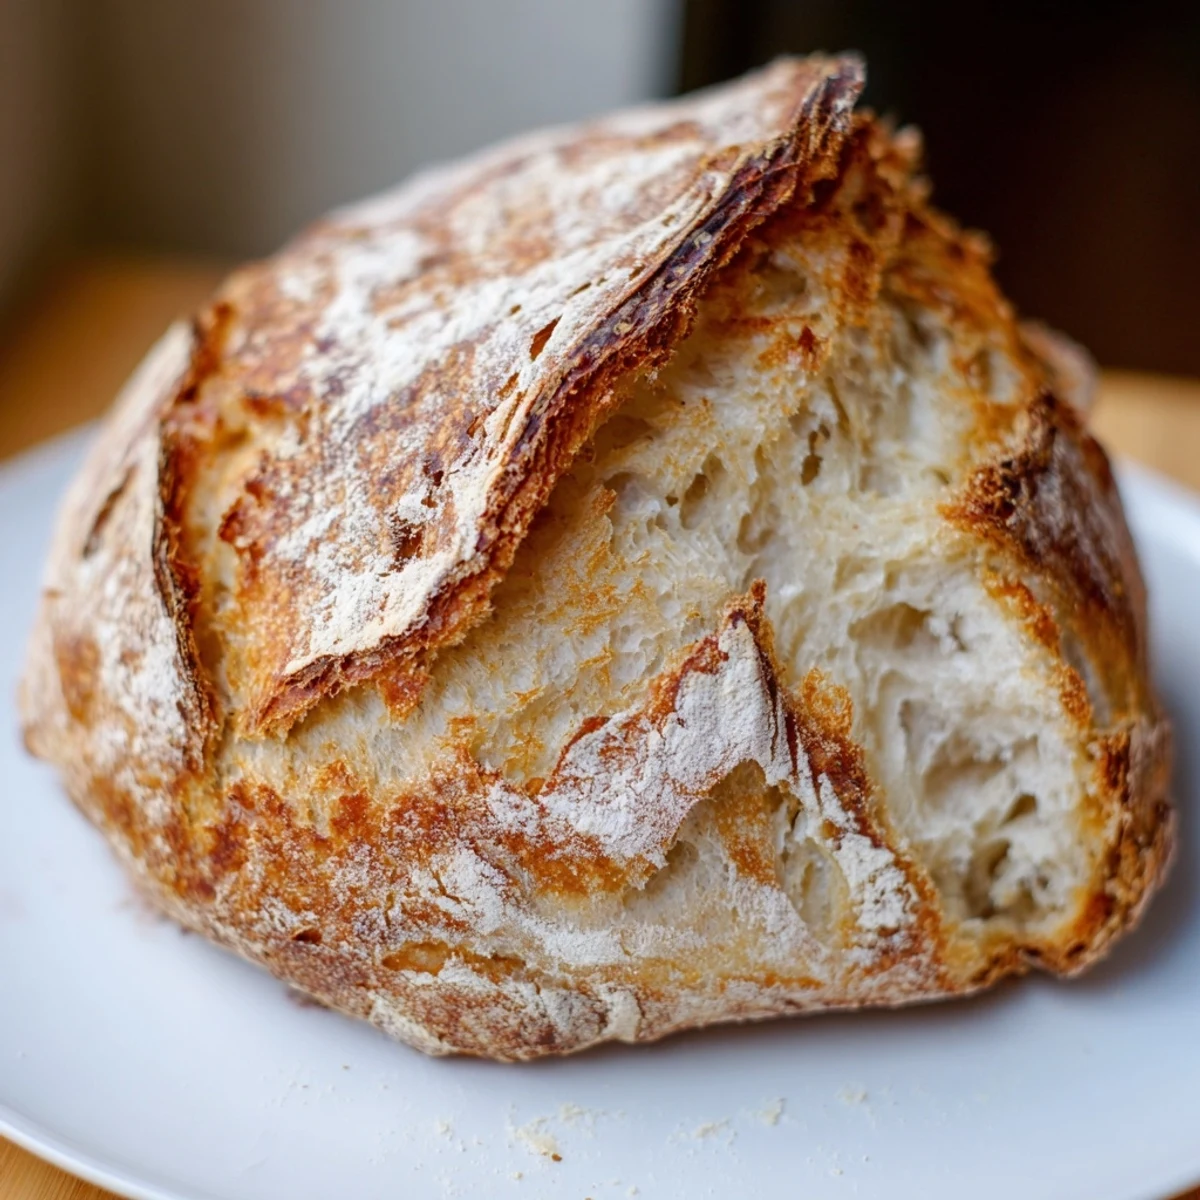
 This rustic no-knead bread develops a beautiful golden, crackling crust with minimal effort. The dough rests overnight, creating deep flavor and a light, airy texture inside. Bake it in a Dutch oven for professional-quality results at home.
The long fermentation process enhances the taste while making this incredibly simple to prepare. Just mix flour, salt, yeast, and water, then let time do the work.
Theres something almost magical about mixing just four ingredients and walking away. I stumbled upon this no-knead method during a particularly chaotic week when I wanted fresh bread but had zero energy for the usual process. The next morning, when I pulled back the towel and saw all those bubbles, I actually laughed out loudit felt like cheating. That first bite, with the crackle echoing through my kitchen, converted me forever.
I served this loaf at a last-minute dinner party when friends dropped by unexpected. Watching them tear into the bread, steam rising into the air, someone asked which local bakery Id visited. The look on their faces when I said Id mixed it myself the night beforebetter than any compliment I could have planned.
Ingredients
- 3 cups all-purpose flour: Standard flour works beautifully here, no need for specialty bread flour
- 1 1/2 teaspoons salt: Dont skimp on this, its what balances the flavors and gives the bread depth
- 1/2 teaspoon instant yeast: Instant yeast dissolves directly into the dough without needing proofing first
- 1 1/2 cups lukewarm water: Think bathwater temperature, too hot and youll kill the yeast
Instructions
- Mix the dough:
- Combine flour, salt, and yeast in a large bowl, then pour in the water and stir until everything comes together into a shaggy, sticky mess. Do not overmix or try to make it smoothlumps are your friend here.
- Let it rest:
- Cover the bowl with plastic wrap or a clean towel and walk away for 12 to 18 hours. The dough should bubble up and double, looking alive when you check on it.
- Shape the loaf:
- Turn the dough onto a floured surface and gently fold the edges toward the center to form a ball. Place it on parchment paper and let it rest while your oven preheats.
- Preheat your pot:
- Put your Dutch oven in the oven and heat to 450°F for at least 30 minutes. A screaming hot pot is what creates that incredible crust.
- Bake with steam:
- Carefully lift the dough by the parchment corners into the hot pot, cover immediately, and bake for 30 minutes. Uncover and bake another 10 to 15 minutes until deeply golden.
- Cool completely:
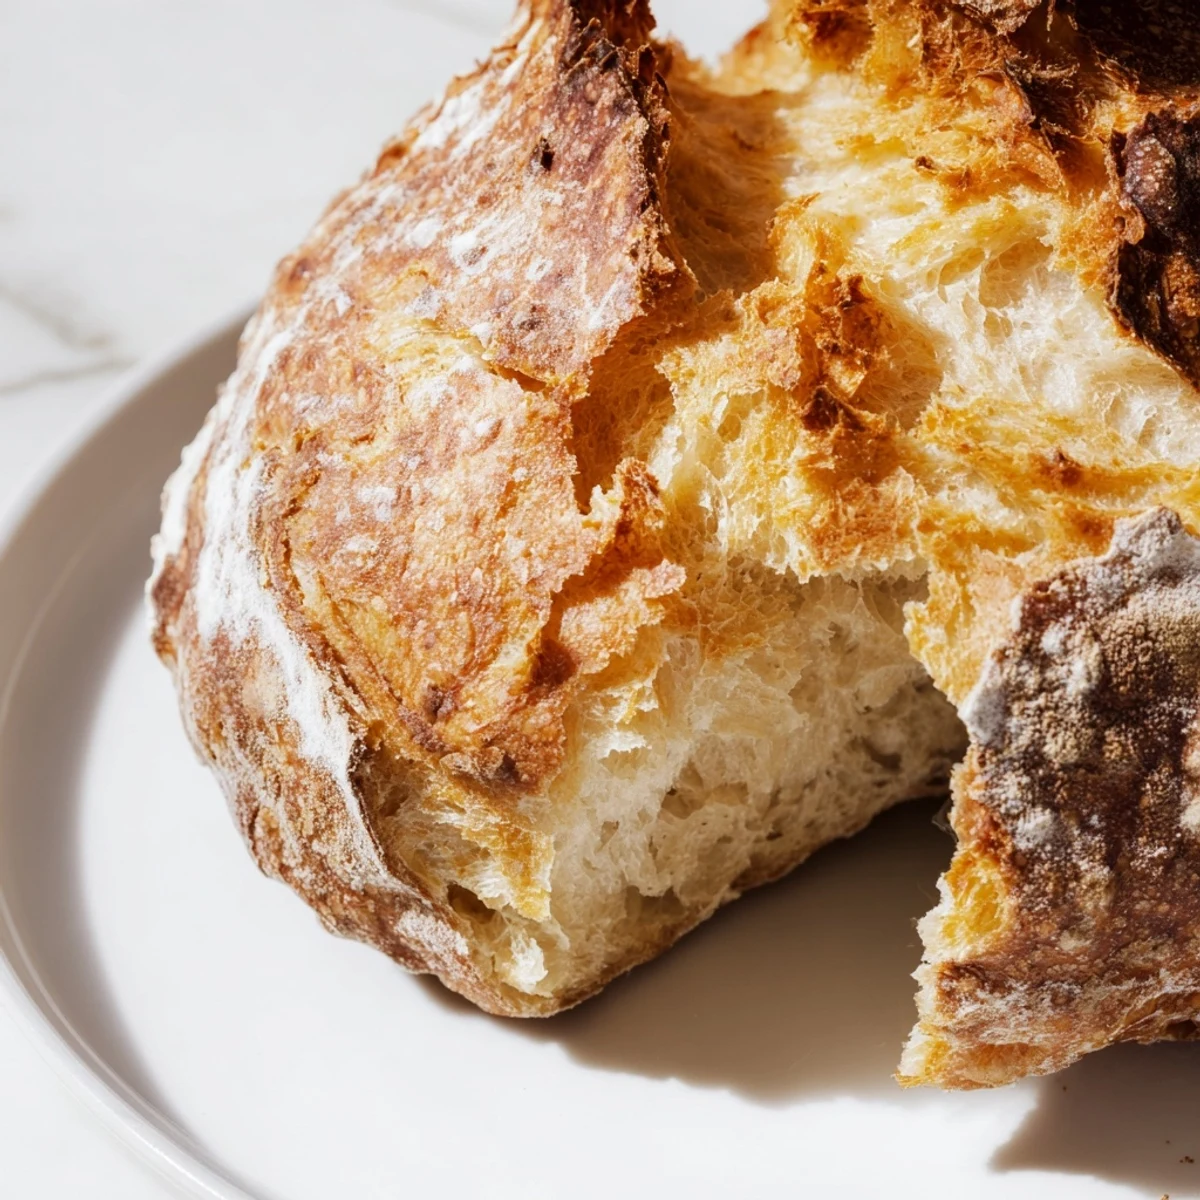
- Let the bread rest on a wire rack for at least 30 minutes before slicing. Cutting into warm bread ruins the texturethe inside continues cooking as it cools.
 Save to Pinterest
 My neighbor started leaving fresh butter on my doorstep after I shared a slice with her. Now we have this unspoken arrangement that bread day means her door gets a knock. Some of the best friendships start with carbohydrates.
Getting The Best Crust
The Dutch oven method works by trapping steam from the dough, creating that shiny, crackling crust. Make sure your pot is fully preheatedbefore you add the dough. Every time you peek, you lose precious heat and steam, so trust the process and keep that lid closed.
Timing Your Bake
I usually mix the dough before dinner, let it do its thing overnight, then bake first thing in the morning. The timing works perfectly for weekend breakfast, and the smell of fresh bread will wake everyone up better than coffee ever could. Plus, youll have the rest of the day free.
Making It Your Own
Once you have the basic method down, this dough becomes a canvas for whatever you are craving. Stir in roasted garlic and rosemary, or add chopped olives and sun-dried tomatoes. Even a handful of shredded cheddar transforms it into something completely new. Just fold your additions in gently during the initial mixing step.
- A tablespoon of honey or maple syrup makes the crust caramelize beautifully
- Replace up to half the flour with whole wheat for more nutty depth
- Swap water for beer or buttermilk to experiment with different flavors
 Save to Pinterest
 There is honest joy in something so simple becoming something so extraordinary. Happy baking.
Recipe FAQs
- → Why use a Dutch oven for baking?
-
A Dutch oven traps steam during baking, creating the perfect environment for a crackling crust to form. The enclosed space keeps moisture near the dough, allowing the crust to expand and crisp beautifully while the interior stays tender.
- → Can I use different flour types?
-
Bread flour will create a chewier texture, while whole wheat adds nutty flavor and density. You can substitute up to half the all-purpose flour with whole wheat or bread flour without adjusting other ingredients.
- → How do I know when the dough is ready?
-
After 12–18 hours, the dough should appear bubbly on the surface and have roughly doubled in size. It will look loose and shaggy—this is normal. A slight sour smell indicates proper fermentation.
- → Why must the bread cool before slicing?
-
Slicing while hot releases steam trapped inside, making the crumb gummy and dense. Cooling for at least 30 minutes allows the interior structure to set, ensuring that perfect chewy, airy texture.
- → Can I add mix-ins like herbs or cheese?
-
Absolutely. Fold in chopped olives, roasted garlic, fresh rosemary, shredded cheese, or dried fruits after mixing the dough. These additions integrate seamlessly during the long rise time.
