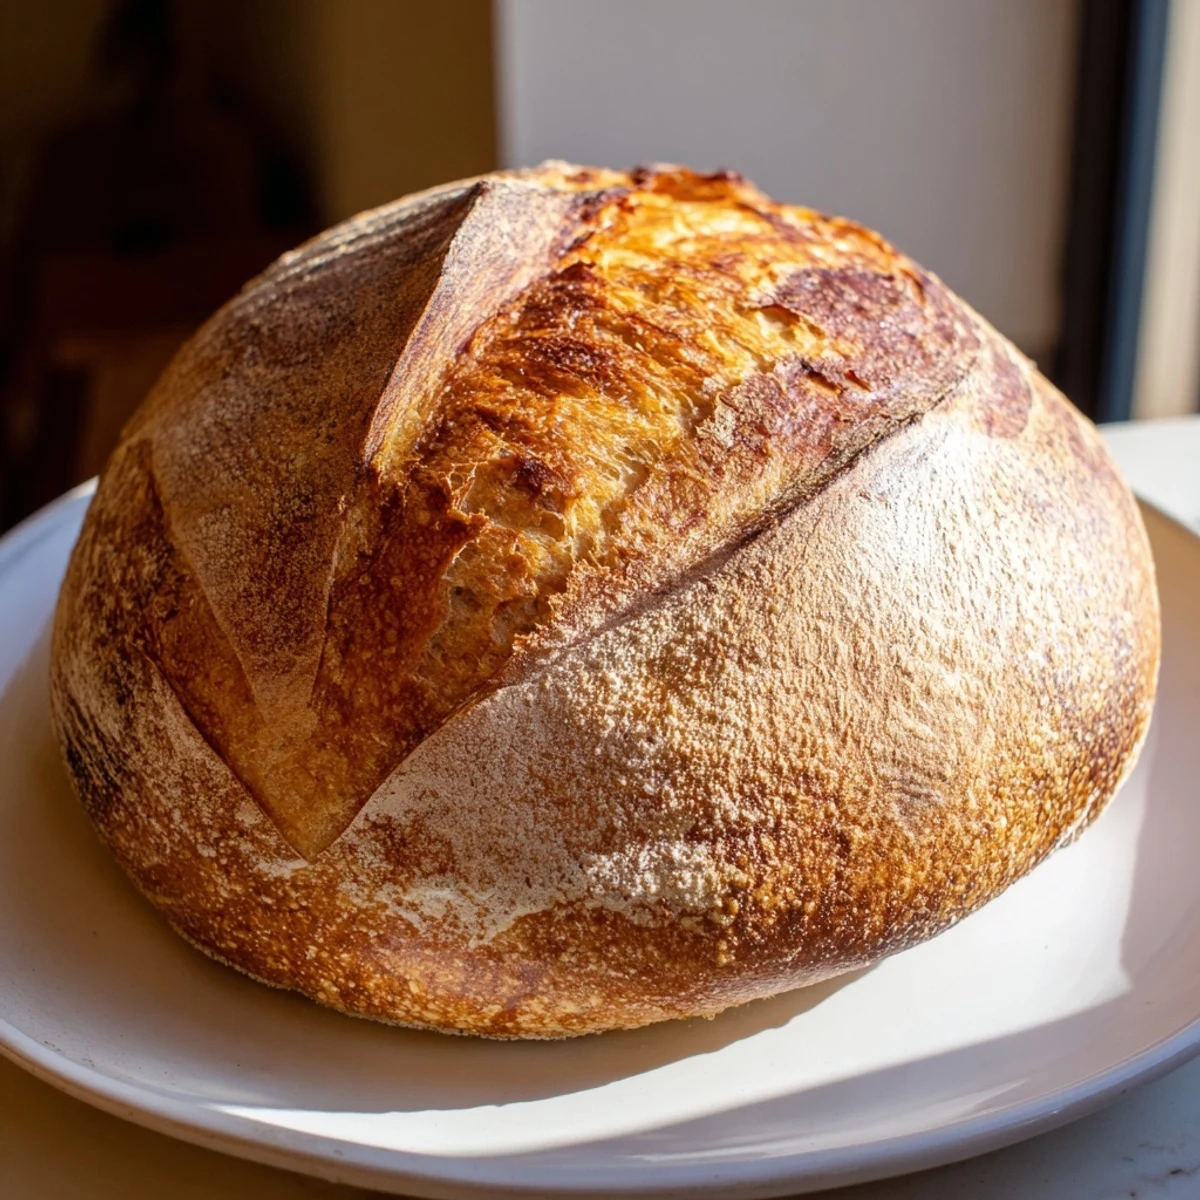
 Save to Pinterest
 This straightforward method yields an impressive crusty loaf with a tender, airy crumb. Using only bread flour, salt, instant yeast, and water, you'll create bakery-style results in your home kitchen. The dough requires just minutes to mix, then rises undisturbed before baking in a hot Dutch oven for that signature crackling crust. Perfect for beginners, this forgiving technique produces consistent results and welcomes variations like herbs or olive oil.
My tiny apartment kitchen smelled like a proper bakery for the first time when I attempted this bread. The way the crust crackled when I pulled it from the oven felt like magic, and honestly, I was just relieved it was not a dense brick.
I served this still warm to my skeptical roommate who thought I had bought it from the bakery down the street. Watching her face when I explained I made it with my own two hands was better than any compliment.
Ingredients
- Bread flour: Higher protein content than all purpose gives you that chewy interior and professional texture
- Instant yeast: No proofing needed and it works reliably every single time
- Lukewarm water: Test it on your wrist like baby bottle warm, not hot or cold
- Salt: Do not skip this, it is what makes the bread taste actually good
Instructions
- Mix the dry ingredients:
- Whisk together flour, salt, and yeast in a large bowl until everything is evenly distributed.
- Add water and form dough:
- Pour in the lukewarm water and stir with a wooden spoon until you get a shaggy sticky mess that holds together.
- Let it rise:
- Cover the bowl with plastic wrap or a damp towel and walk away for 1 to 2 hours.
- Shape the loaf:
- Turn the dough onto a floured surface and fold the edges underneath to form a rough ball.
- Second rest:
- Place the dough seam side down on parchment paper, cover it, and let it relax for 30 minutes while the oven heats.
- Preheat everything:
- Heat your oven to 450°F and if using a Dutch oven put it in empty so it gets screaming hot.
- Score and bake:
- Transfer the dough into the hot Dutch oven, slash the top with a knife, cover, and bake for 25 minutes.
- Finish baking:
- Remove the lid and bake another 15 minutes until the crust is deep golden and the loaf sounds hollow when tapped.
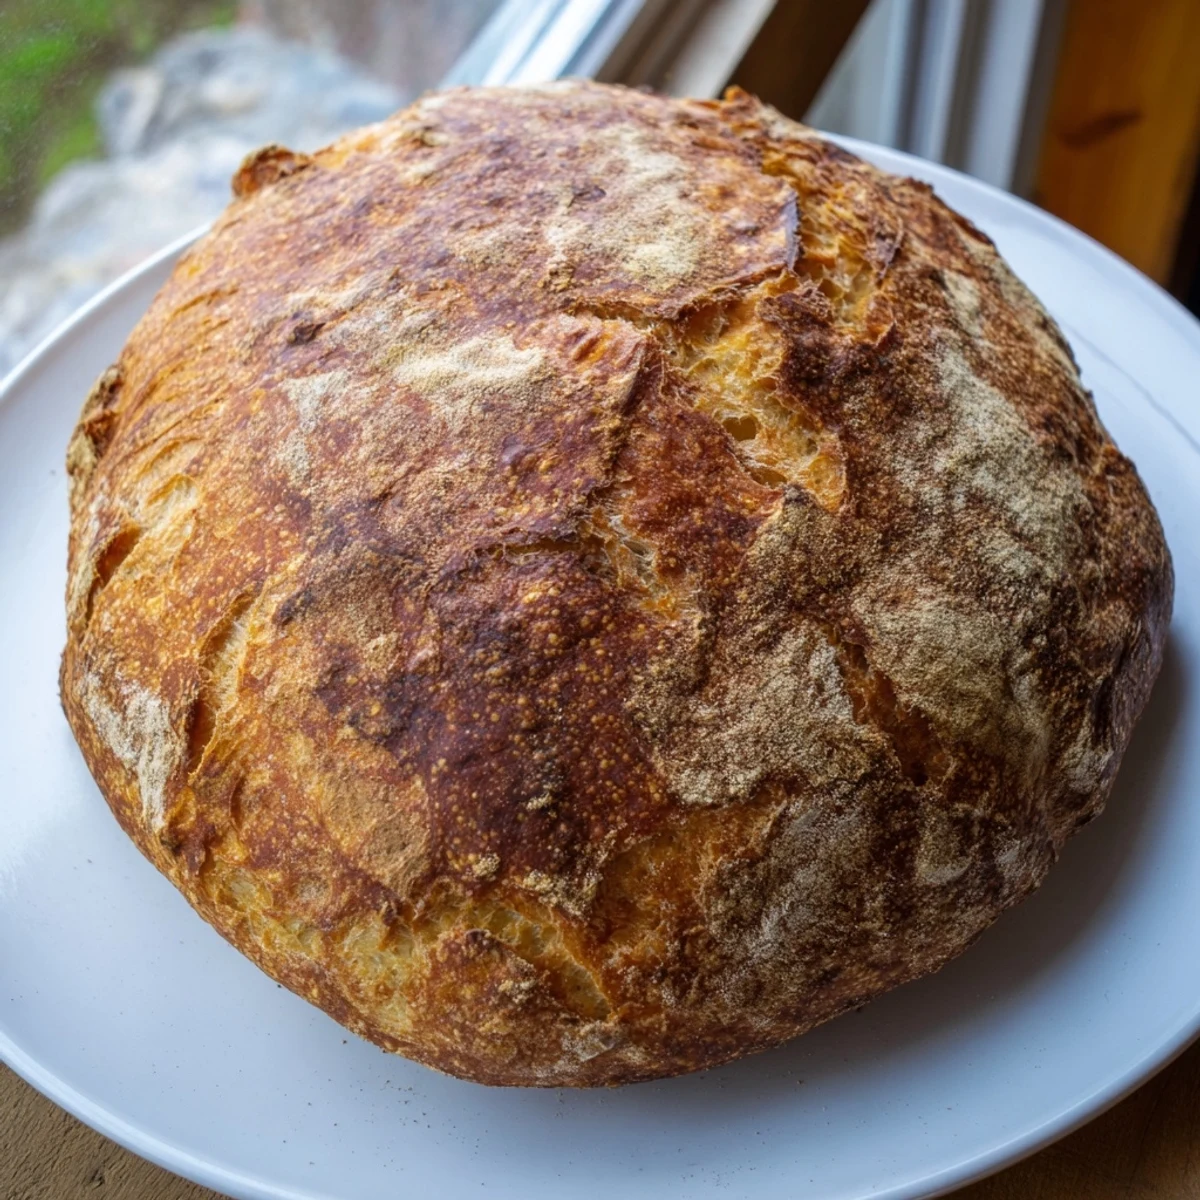 Save to Pinterest
 This bread has become my go to for dinner parties because people lose their minds over homemade bread. There is something so grounding about making something so essential from scratch.
Getting That Perfect Crust
The steam created by a covered Dutch oven is what gives artisan bread its signature crispy crackly crust. If you do not have one, a baking sheet will work but you might want to throw some ice cubes in the bottom of the oven to create steam.
When Is It Actually Done
Deep golden color is one indicator but the real test is the hollow sound when you tap the bottom of the loaf. If it sounds dull give it another 5 minutes, because underbaked bread is gummy and sad.
Making It Your Own
Once you master the basic dough the variations are endless and exciting. Mix in herbs, cheese, or roasted garlic during the initial mixing step.
- Add a tablespoon of olive oil for a softer crust and slightly richer flavor
- Try replacing some of the water with beer for a darker earthier bread
- A handful of rosemary or thyme transforms this into something extraordinary
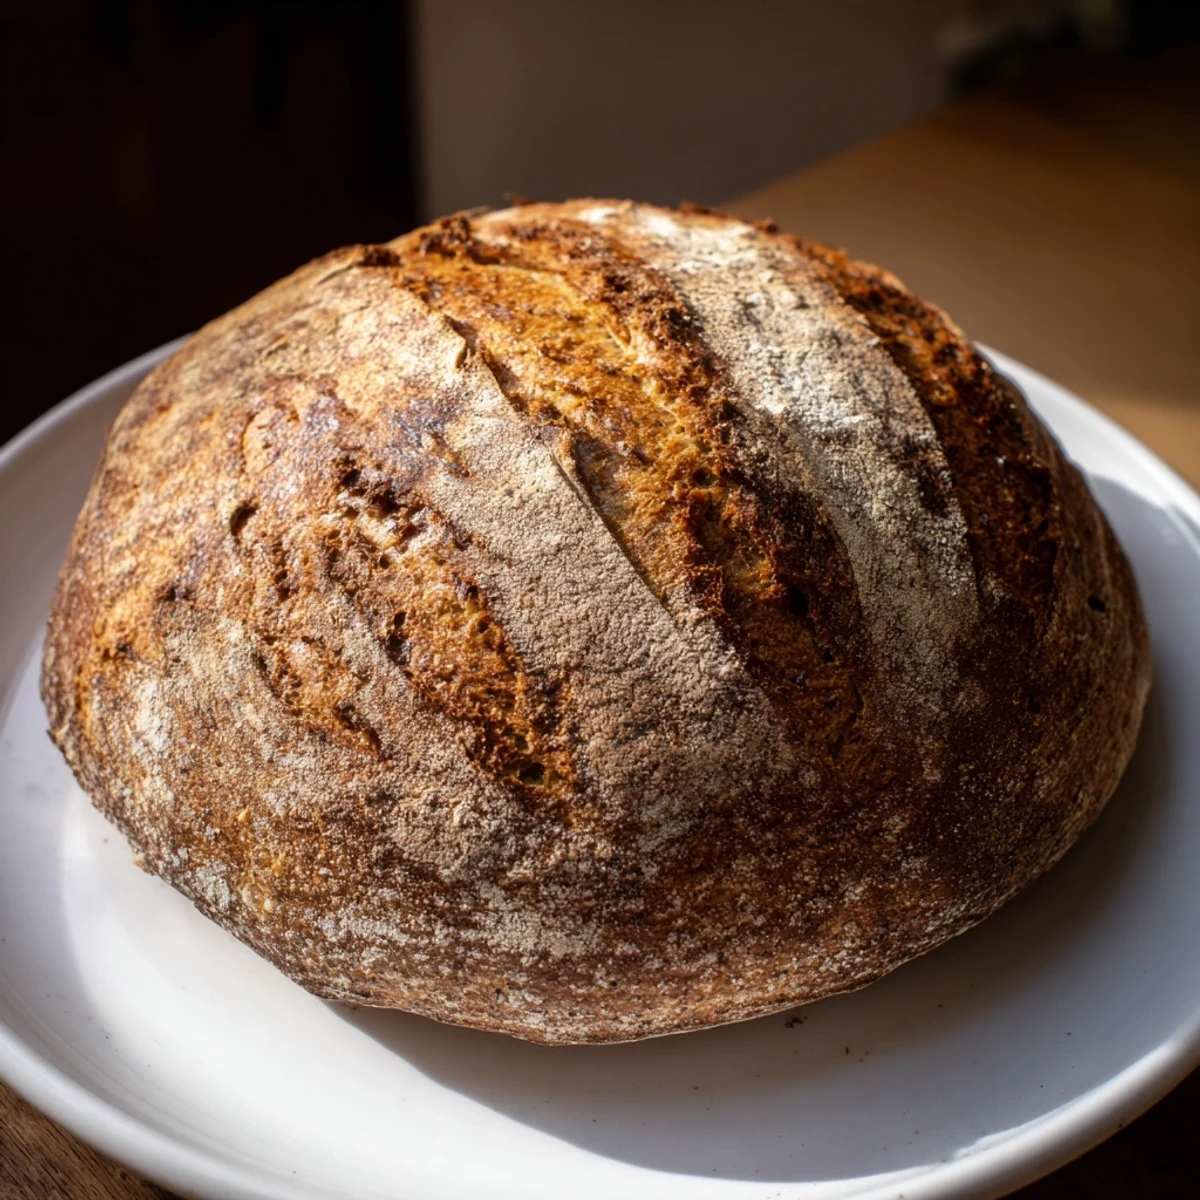 Save to Pinterest
 There is nothing quite like tearing into a warm slice of bread you made yourself. Happy baking.
Recipe FAQs
- → What makes the crust so crispy?
-
Baking in a preheated Dutch oven traps steam, creating the ideal environment for a crackling, deep golden crust. The covered initial bake generates steam that keeps the crust soft initially, then removing the lid allows it to crisp and color beautifully.
- → Can I use all-purpose flour instead of bread flour?
-
Bread flour's higher protein content (12-14%) provides better structure and chewiness. All-purpose flour will work but may produce a slightly denser loaf with less chew. For best results, use bread flour or a high-gluten flour.
- → How do I know when the dough has risen enough?
-
The dough should approximately double in size and look puffy. You can also perform the finger test: gently press a floured finger into the dough about 1/2 inch deep. If the indentation springs back slowly or remains, it's ready to shape.
- → Why score the top before baking?
-
Scoring creates a controlled weak point in the dough's surface, allowing gases to escape during baking without tearing unpredictably. It also gives your loaf an attractive, professional appearance and helps the bread expand evenly in the oven.
- → Can I add mix-ins like herbs or cheese?
-
Absolutely. Rosemary, thyme, roasted garlic, or grated cheese can be folded in during step 2. Keep additions to about 1/4 cup total to maintain proper dough structure. For whole additions like olives or sun-dried tomatoes, pat them dry before incorporating to prevent excess moisture.
- → How should I store this bread?
-
Store in a paper bag or loosely wrapped in a kitchen towel at room temperature for up to 2 days. For longer storage, slice and freeze in a sealed bag. Avoid plastic storage at room temperature, which will soften the crust and may promote mold growth.
