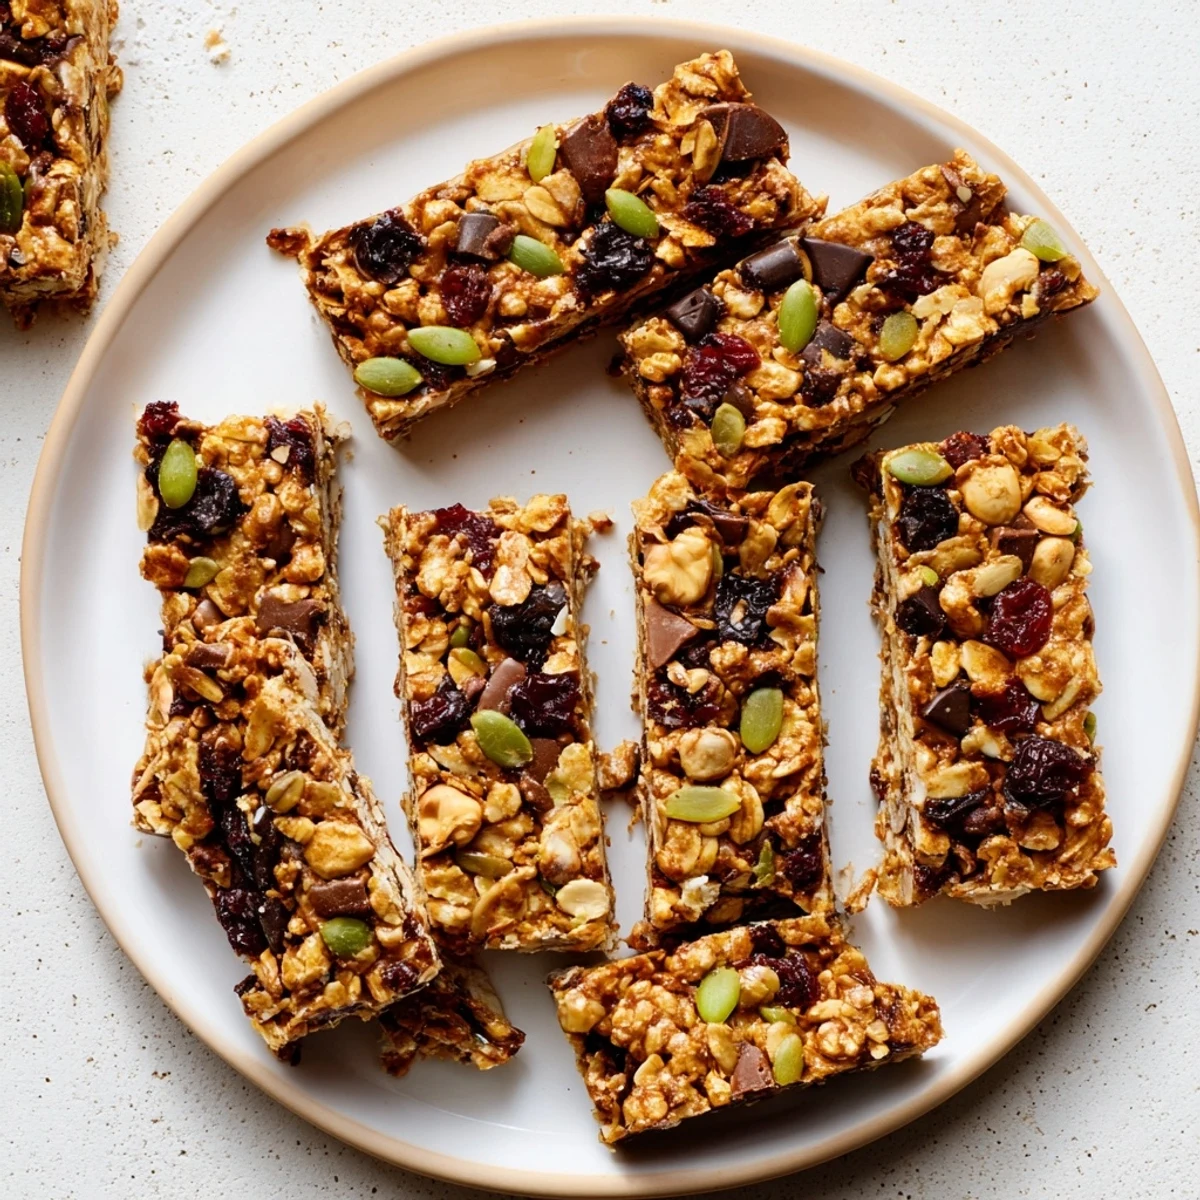
 Save to Pinterest
 Create irresistible homemade bars featuring toasted oats, almonds, walnuts, and pumpkin seeds bound together with warm honey and peanut butter. These wholesome treats offer the perfect balance of crunch and chewiness while staying naturally sweetened. The mixture presses into a pan and chills until firm, then cuts into twelve portable portions ideal for breakfast, lunchboxes, or afternoon snacking.
The first time I made these granola bars, my apartment smelled like honey-toasted heaven for hours. My roommate kept wandering into the kitchen, asking if they were ready yet, until finally we both just stood over the pan eating them warm with our fingers. Now they're the only snack I keep stocked, disappearing faster than I can batch them.
Last winter, during a particularly brutal week of deadlines, I lived almost entirely on these bars. I started keeping a stash in my desk drawer, in my gym bag, even my friend started texting me for the recipe after I shared one on a hike. They became my little edible survival strategy, and now I cant imagine my kitchen without a batch ready to grab and go.
Ingredients
- Old-fashioned rolled oats: These hold up better than quick oats, giving you that satisfying chewy texture that makes homemade bars so superior
- Chopped almonds and walnuts: Toast them with the oats for deeper flavor, and dont worry about perfect chopping since rustic pieces add great texture
- Honey or maple syrup: Honey creates a firmer bar, while maple syrup gives a slightly softer chew, so choose based on your texture preference
- Natural peanut or almond butter: Creamy varieties work best here, and stirring the jar before measuring ensures even distribution throughout the mixture
- Coconut oil: This helps bind everything together and firms up beautifully when chilled, so your bars hold their shape
- Dark chocolate chips: The bitter-sweet contrast cuts through the honey and nuts, making each bite feel like an actual treat instead of just fuel
Instructions
- Toast your base ingredients:
- Spread the oats and nuts on a baking sheet and toast for 8-10 minutes at 350°F, stirring halfway through, until you catch that warm, nutty fragrance filling your kitchen
- Mix the sticky stuff:
- Warm the honey, nut butter, and coconut oil in a small saucepan over low heat, stirring until completely smooth and combined, then remove from heat
- Combine everything:
- Pour the warm mixture over your toasted oats and nuts in a large bowl, add any extras like dried fruit or chocolate chips, and stir until every single piece is coated
- Press firmly:
- Transfer the mixture to your parchment-lined pan and press down with the back of a spatula or dampened hands, using serious pressure to pack it tightly
- Chill and cut:
- Let the bars refrigerate for at least 2 hours until completely firm, then lift them out using the parchment paper and slice into 12 even pieces
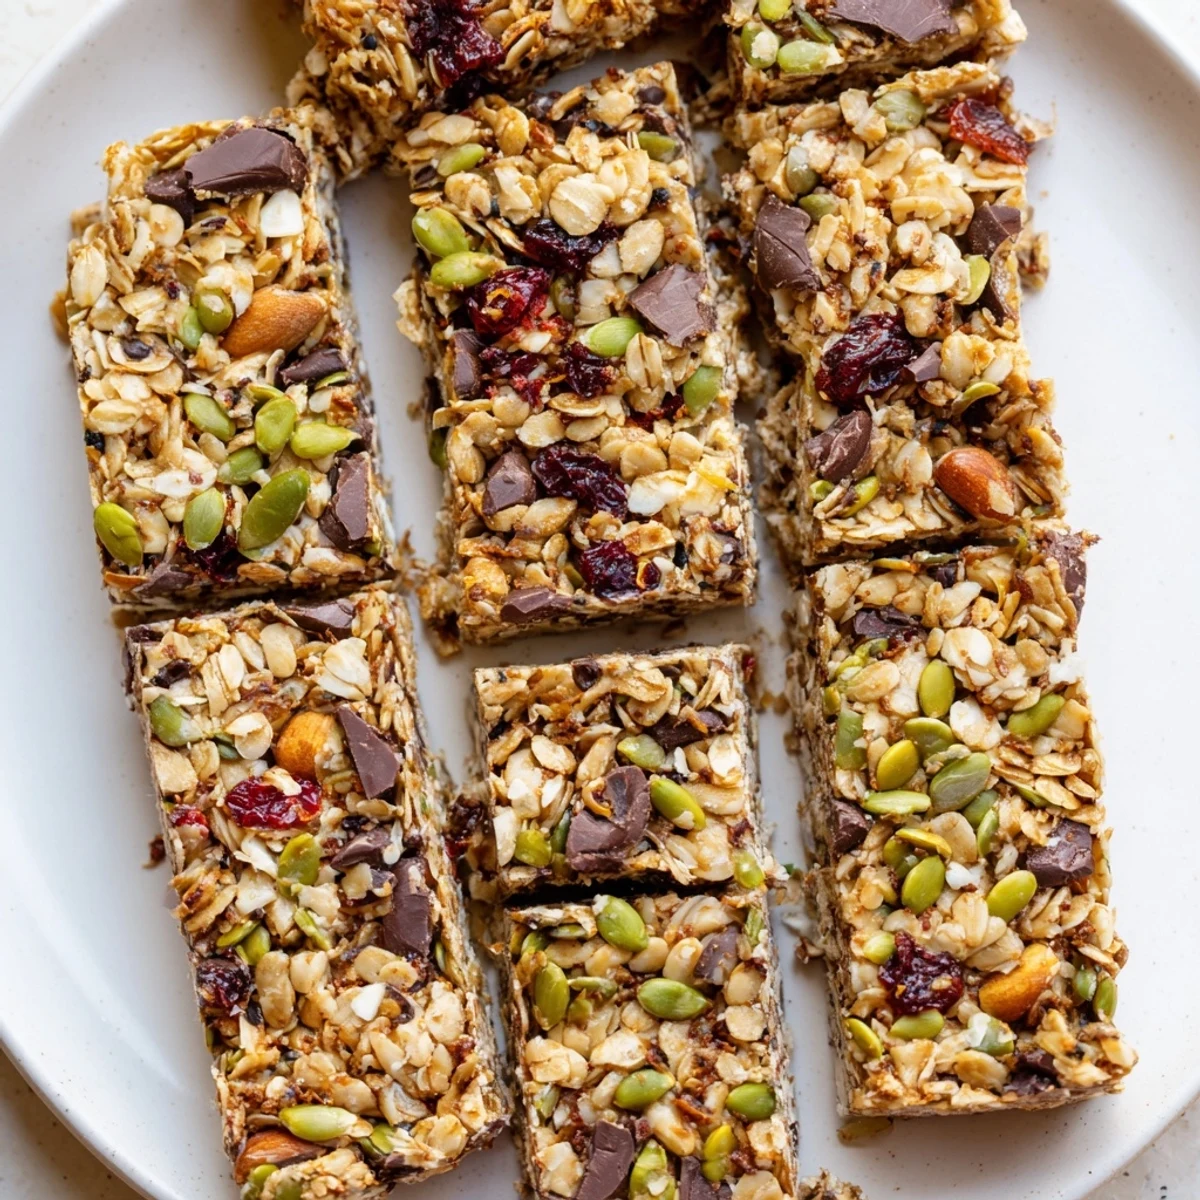 Save to Pinterest
 My niece declared these better than any store-bought version after trying them at our family picnic last summer. Now she begs me to make a double batch whenever I visit, and honestly, I love seeing how excited she gets about something so simple and wholesome.
Making Them Your Own
After years of experimenting, Ive learned that the magic is in the mix-ins. Sometimes I go tropical with dried mango and macadamia nuts, other times I keep it classic with just extra almonds and a handful of raisins. The base recipe never fails, but the variations keep it interesting week after week.
Storage Secrets
These bars actually improve after a day or two in the fridge as the flavors meld together. I wrap individual bars in parchment paper and store them in an airtight container, which makes them perfect for grabbing on busy mornings or tossing into a backpack for afternoon adventures.
Texture Troubleshooting
If your bars turn out too crumbly, its almost always because they werent pressed firmly enough into the pan. I once made the mistake of gently patting them down and ended up with granola instead of bars. Now I put some muscle into it, using the bottom of a measuring cup to really compact everything before chilling.
- Use room temperature ingredients to help the binding mixture spread evenly
- Let the toasted oats cool for just 5 minutes before mixing so they dont melt the chocolate chips
- Score the bars lightly after 30 minutes of chilling for cleaner cuts later
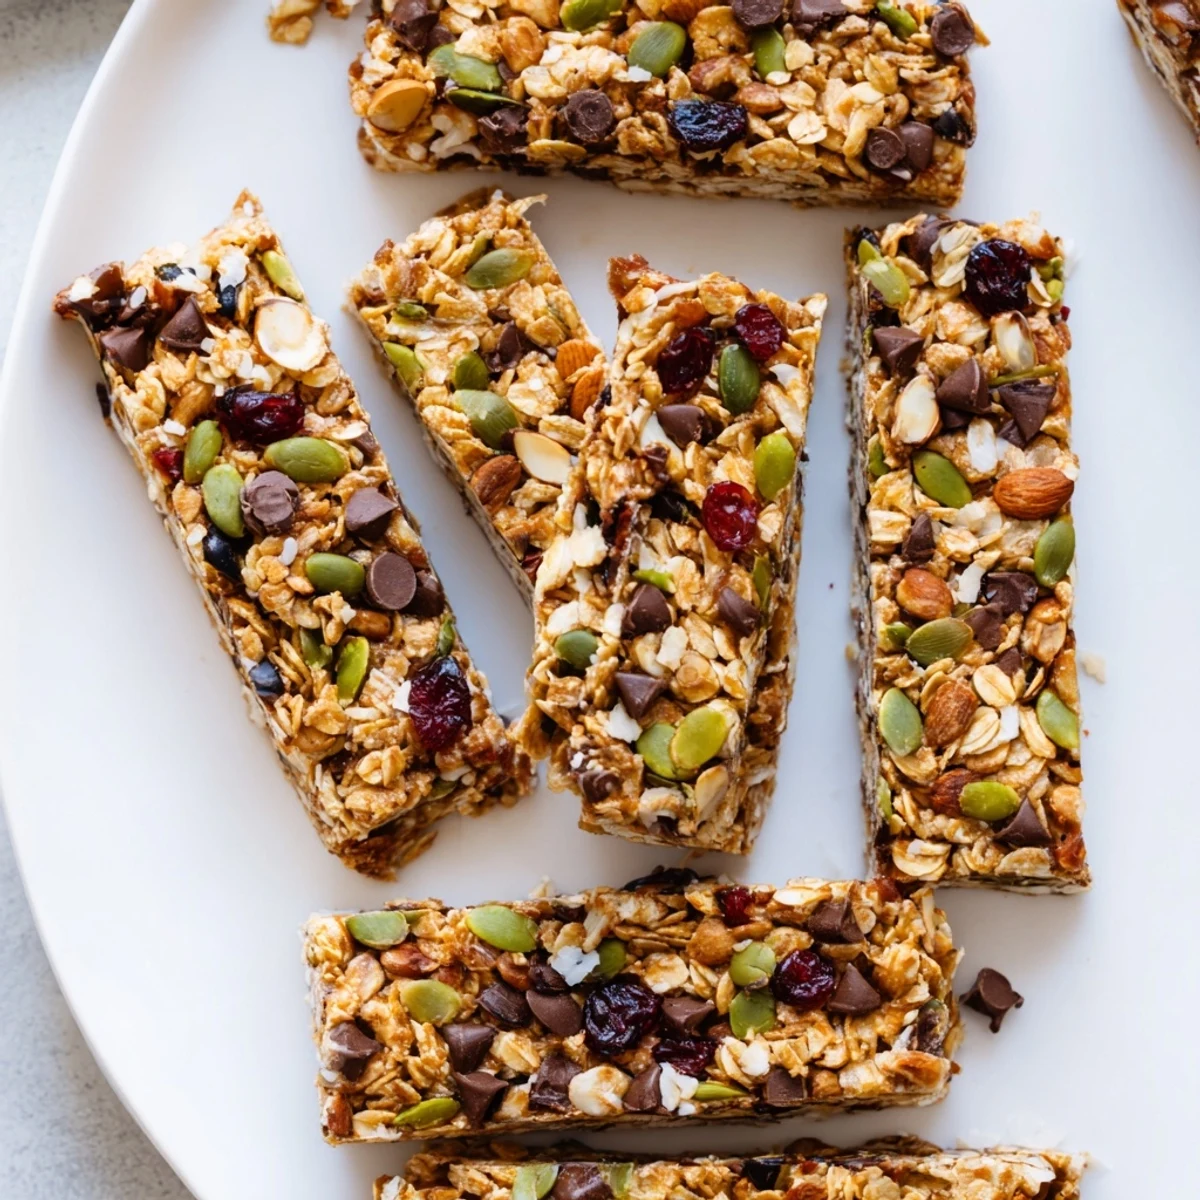 Save to Pinterest
 Theres something deeply satisfying about making your own snack bars, knowing exactly what goes into them, and sharing something homemade with people you care about. Once you start, you might never go back to store-bought again.
Recipe FAQs
- → How long do these bars stay fresh?
-
Store in an airtight container in the refrigerator for up to one week. The bars maintain their texture and flavor best when kept chilled.
- → Can I make these vegan?
-
Yes, substitute maple syrup for honey and use dairy-free chocolate chips to create fully plant-based bars.
- → What makes these bars hold together?
-
The combination of warm honey, nut butter, and coconut oil creates a sticky binding agent that holds the oats and nuts firmly when pressed and chilled.
- → Can I use different nuts and seeds?
-
Absolutely. Pecans, cashews, sunflower seeds, chia seeds, or flax seeds all work beautifully. Customize based on preference or what you have on hand.
- → Why toast the oats and nuts first?
-
Toasting enhances the natural flavors and adds appealing crunch. This step creates that irresistible golden, nutty taste that makes these bars so satisfying.
- → How do I get clean cuts when slicing?
-
Chill thoroughly for at least two hours, then use a sharp knife. Wiping the knife between cuts helps create neat, even portions.
