 Save to Pinterest
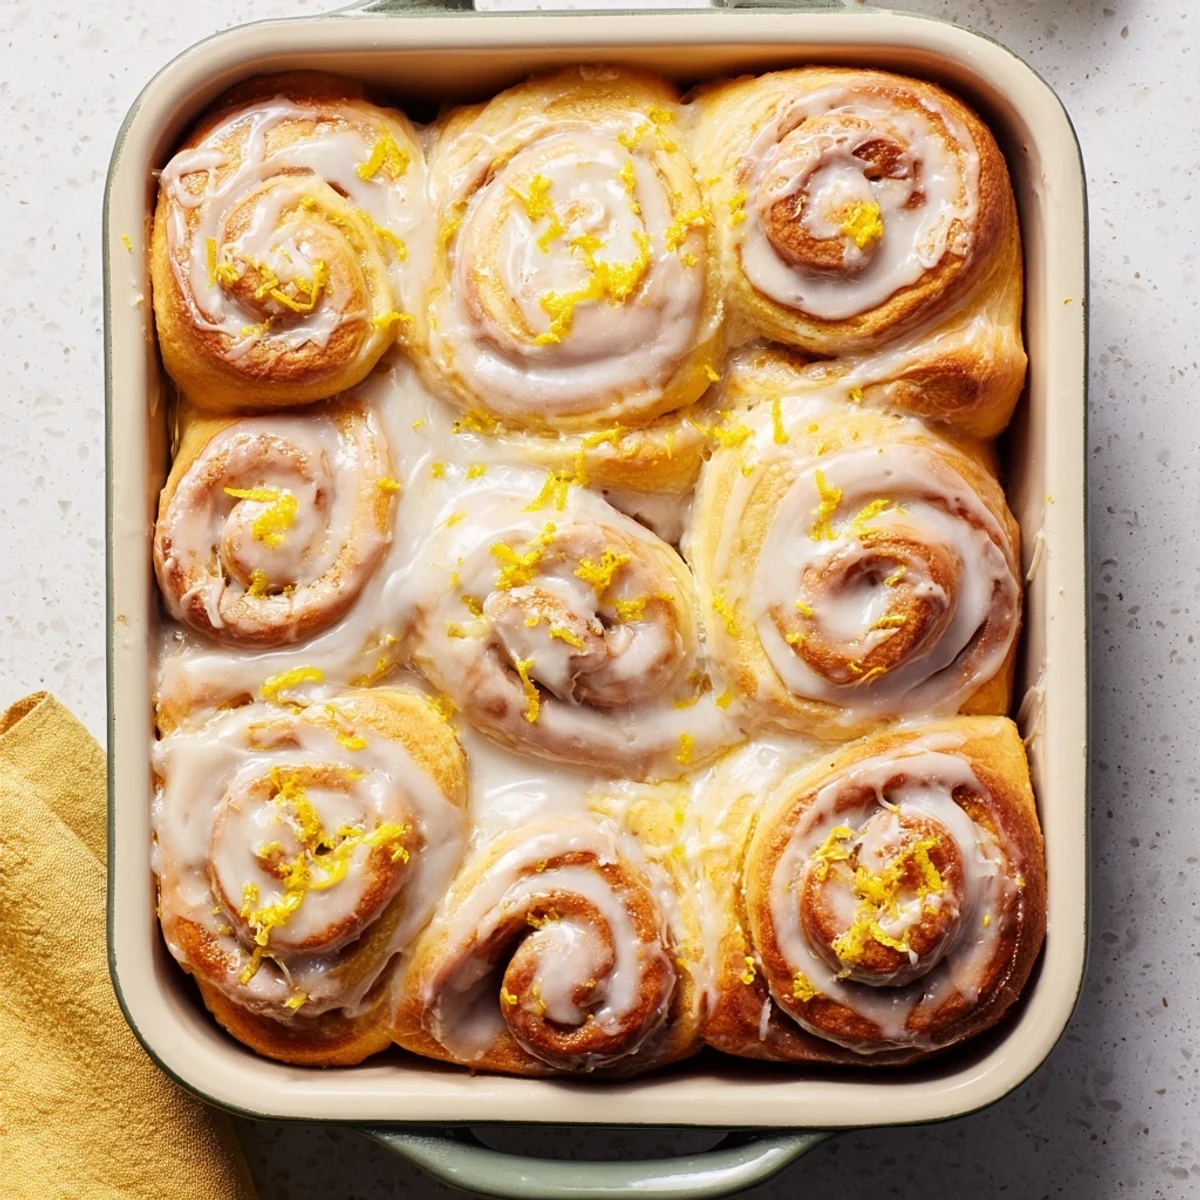
 These tender, cloud-like pastries combine zesty fresh lemon with buttery sweetness in every bite. The dough rises to pillowy perfection while the filling balances tart and sugary notes. A bright lemon glaze adds the finishing touch that makes these ideal for lazy weekend mornings or special brunch gatherings.
The morning sun hit my kitchen windows just right as I pulled these lemon rolls from the oven, their golden tops catching the light. I'd been testing variations on cinnamon rolls for months, but something about the bright citrus scent filling every corner of the house made these feel special. My roommate wandered in, rubbing sleep from her eyes, and immediately asked what smelled like a bakery meets a lemon grove. That first warm bite, sweet-tart and pillowy soft, convinced me I'd never go back to plain cinnamon again.
Last spring, my grandmother asked me to bring something to her bridge club brunch, and I decided to take a risk with these lemon rolls instead of my usual coffee cake. The women fell quiet as they took their first bites, then someone asked if I'd used fresh lemons or some secret extract. Seeing them reach for seconds, napkins in hand, reminded me that sometimes the simplest flavors executed well become the most talked about dishes.
Ingredients
- All-purpose flour: I've tested bread flour and it makes these too chewy, stick with all-purpose for that tender melt in your mouth texture
- Active dry yeast: Make sure your milk is warm like bathwater, not hot, or you'll kill the yeast before it can work its magic
- Whole milk: The fat content matters here, low fat milk will give you a denser, less fluffy roll
- Unsalted butter: Use softened butter for the filling so it spreads smoothly without tearing your dough
- Fresh lemons: Organic lemons have thinner skins and more fragrant oils in the zest, which makes a noticeable difference
- Powdered sugar: Sift it before making the glaze to avoid any lumpy white spots on your beautiful golden rolls
Instructions
- Wake up the yeast:
- Stir the yeast into warm milk with a pinch of sugar and watch it bubble to life, about 5 to 10 minutes.
- Build the dough:
- Mix in melted butter, eggs, and remaining sugar, then gradually add flour until the dough pulls away from the bowl sides.
- Work the dough:
- Knead by hand for 8 to 10 minutes until the surface feels smooth like a baby's cheek, or let your stand mixer do the heavy lifting.
- First rise:
- Place dough in a greased bowl, cover with a warm towel, and let it double in size, about 1 to 1.5 hours.
- Make the filling:
- Beat softened butter with sugar, lemon zest, and juice until it's pale and fluffy like frosting.
- Roll it out:
- Roll the dough into a 16 by 12 inch rectangle, keeping the thickness even so your rolls bake uniformly.
- Spread and roll:
- Spread lemon filling to the edges, then roll tightly from the long side like you're making a sleeping bag.
- Slice and arrange:
- Cut 12 equal pieces with unflavored dental floss for clean slices, then place them in your greased baking dish.
- Second rise:
- Cover and let them puff up for 30 minutes while you preheat the oven to 350°F.
- Bake until golden:
- Bake for 23 to 27 minutes until the tops are golden brown and the center rolls feel set when gently pressed.
- Add the glaze:
- Whisk powdered sugar with lemon juice until pourable, then drizzle it over the slightly cooled rolls.
 Save to Pinterest
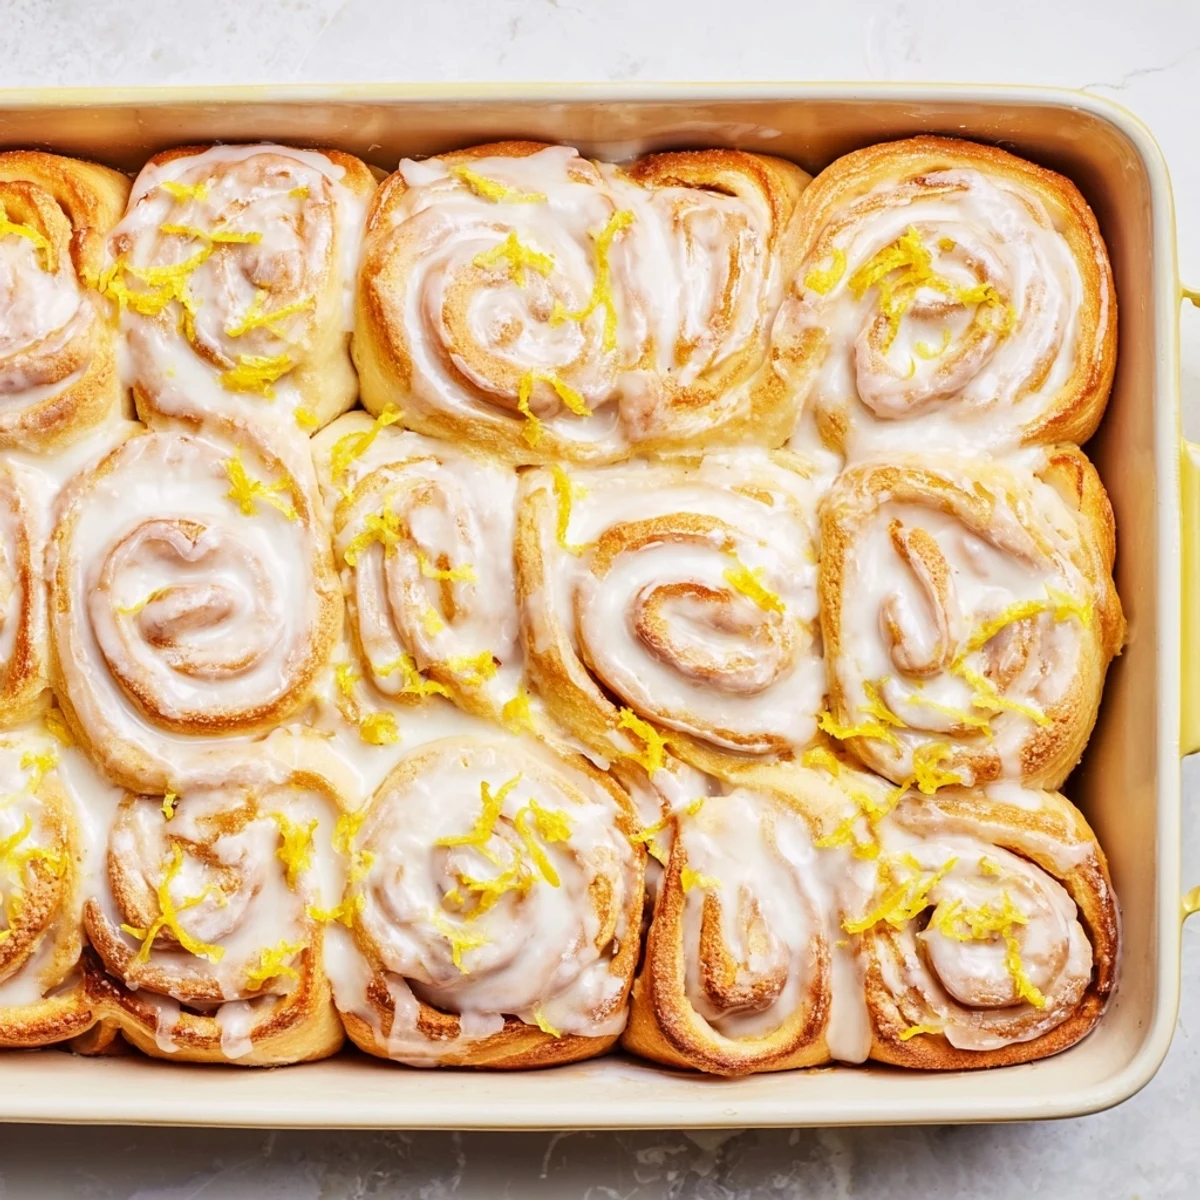
 These became my go to contribution for family gatherings after my father in law took one bite and announced he was skipping his usual cinnamon roll for these. Now every holiday morning, my kitchen timer goes off and three generations wander in, drawn by that unmistakable bright citrus scent that means something special is coming out of the oven.
Make Ahead Magic
I've discovered you can assemble these rolls the night before, cover them tightly, and let them do their second rise in the refrigerator while you sleep. In the morning, let them sit at room temperature for 30 minutes while the oven heats, then bake as directed. The slow overnight rise actually develops more complex flavor, and waking up to something that just needs baking feels like cheating.
Filling Variations
Sometimes I fold in fresh blueberries with the lemon filling, and the burst berries create these gorgeous purple streaks throughout. A handful of poppy seeds adds a subtle crunch and visual interest that makes people ask what you did differently. In winter, I've added crystallized ginger pieces for warmth that pairs surprisingly well with the bright lemon.
Storage and Reheating
These keep remarkably well in an airtight container for up to three days, though they rarely last that long in my house. For reheating, 15 seconds in the microwave brings back that fresh baked texture, but 10 minutes in a 300°F oven recreates the slightly crisp exterior and soft interior. If freezing, wrap individual rolls tightly and they'll keep for a month.
- Place a piece of bread in the container to keep rolls soft longer
- Reheat frozen rolls directly from the freezer, just add a few minutes
- The glaze can be made ahead and stored in the refrigerator for up to a week
 Save to Pinterest
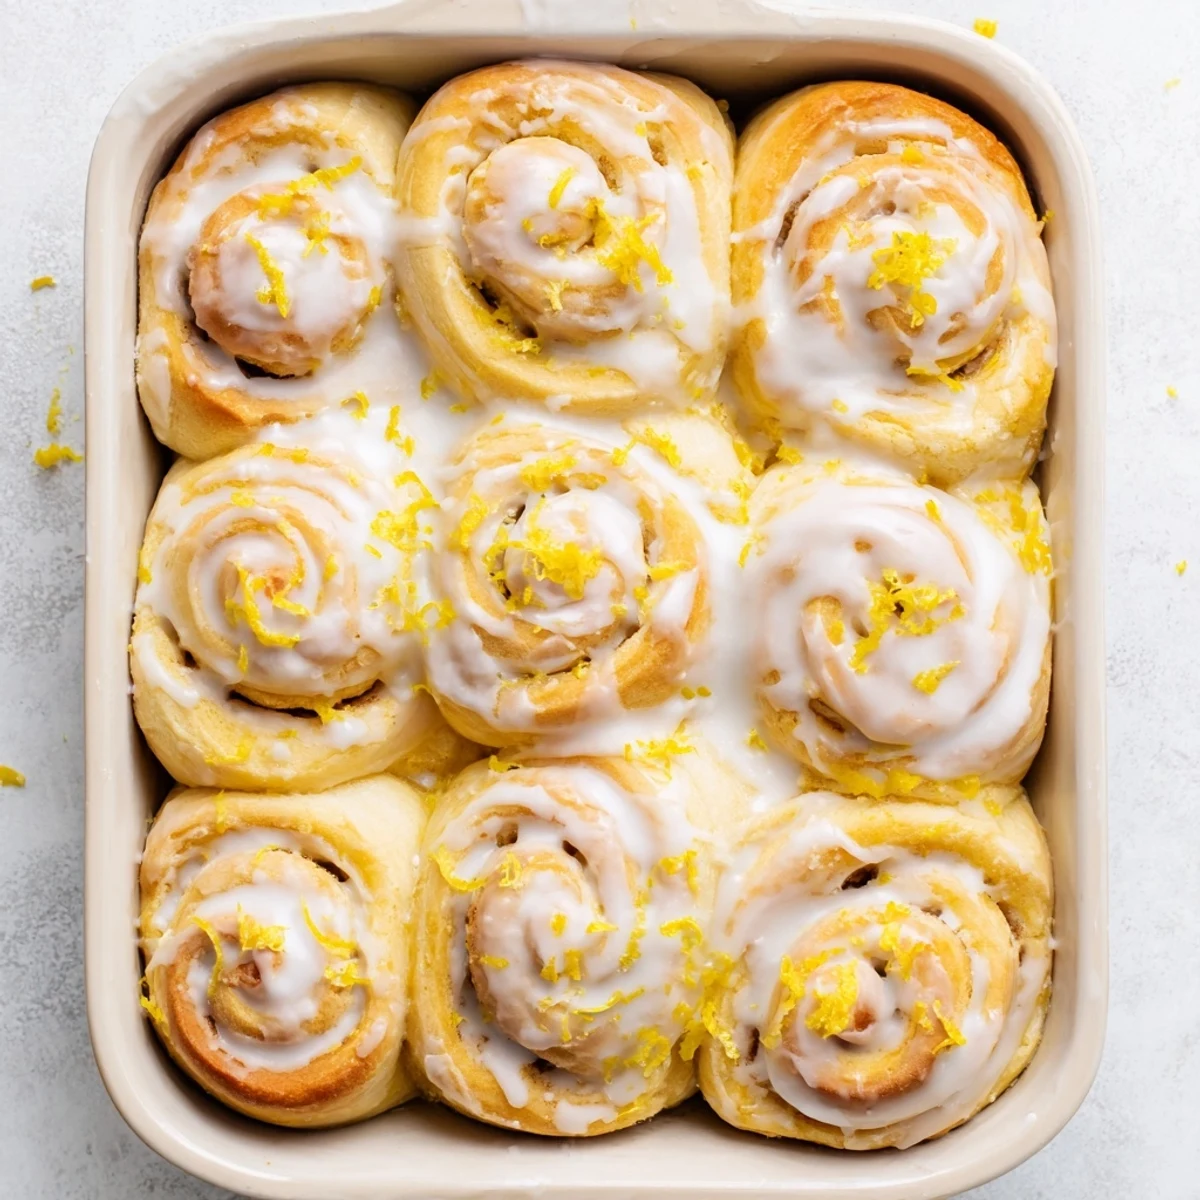
 There's something deeply satisfying about pulling apart a warm, glazed roll and watching the steam curl up into the kitchen air. These lemon rolls have become more than breakfast in our house, they're how we celebrate slow mornings and show people we care.
Recipe FAQs
- → Can I prepare these rolls the night before?
-
Yes, assemble the rolls and refrigerate overnight before the final rise. In the morning, let them come to room temperature for 30-45 minutes, then bake as directed.
- → How should I store leftover rolls?
-
Keep in an airtight container at room temperature for up to 2 days. For longer storage, refrigerate up to 5 days or freeze individually wrapped for up to 3 months.
- → Can I use bottled lemon juice instead of fresh?
-
Fresh lemon juice provides the best flavor and natural acidity. Bottled juice works in a pinch but may result in a less vibrant citrus taste.
- → What's the best way to reheat these?
-
Warm individual rolls in the microwave for 15-20 seconds or place in a 350°F oven for 5-10 minutes until heated through.
- → Can I make these without a stand mixer?
-
Absolutely. Knead by hand on a floured surface for 8-10 minutes until smooth and elastic. The dough should bounce back when pressed lightly.
