 Save to Pinterest
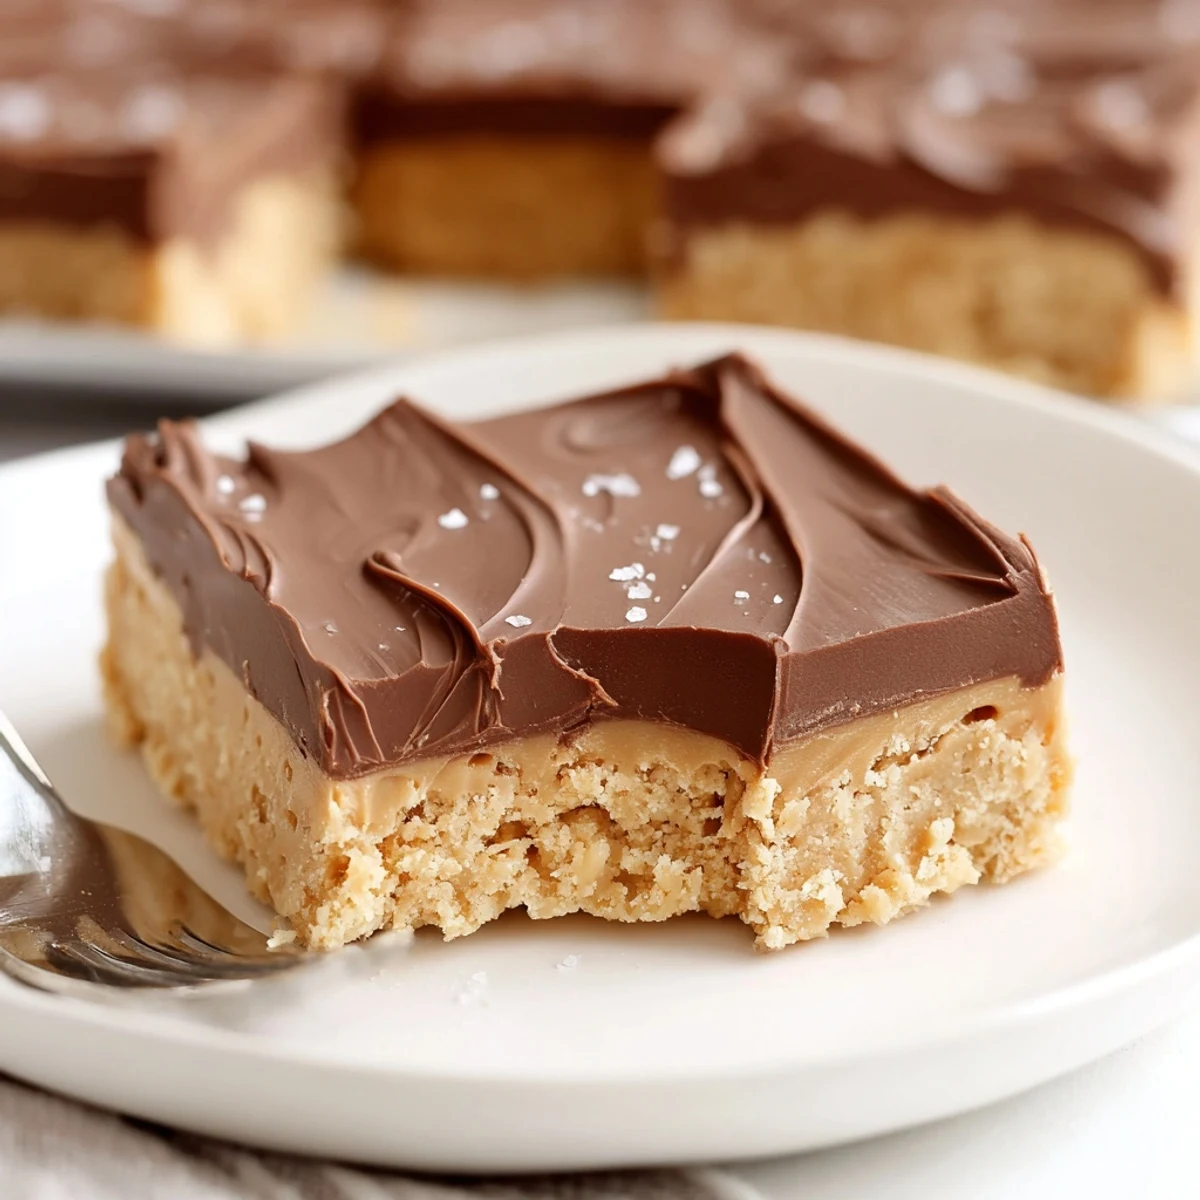
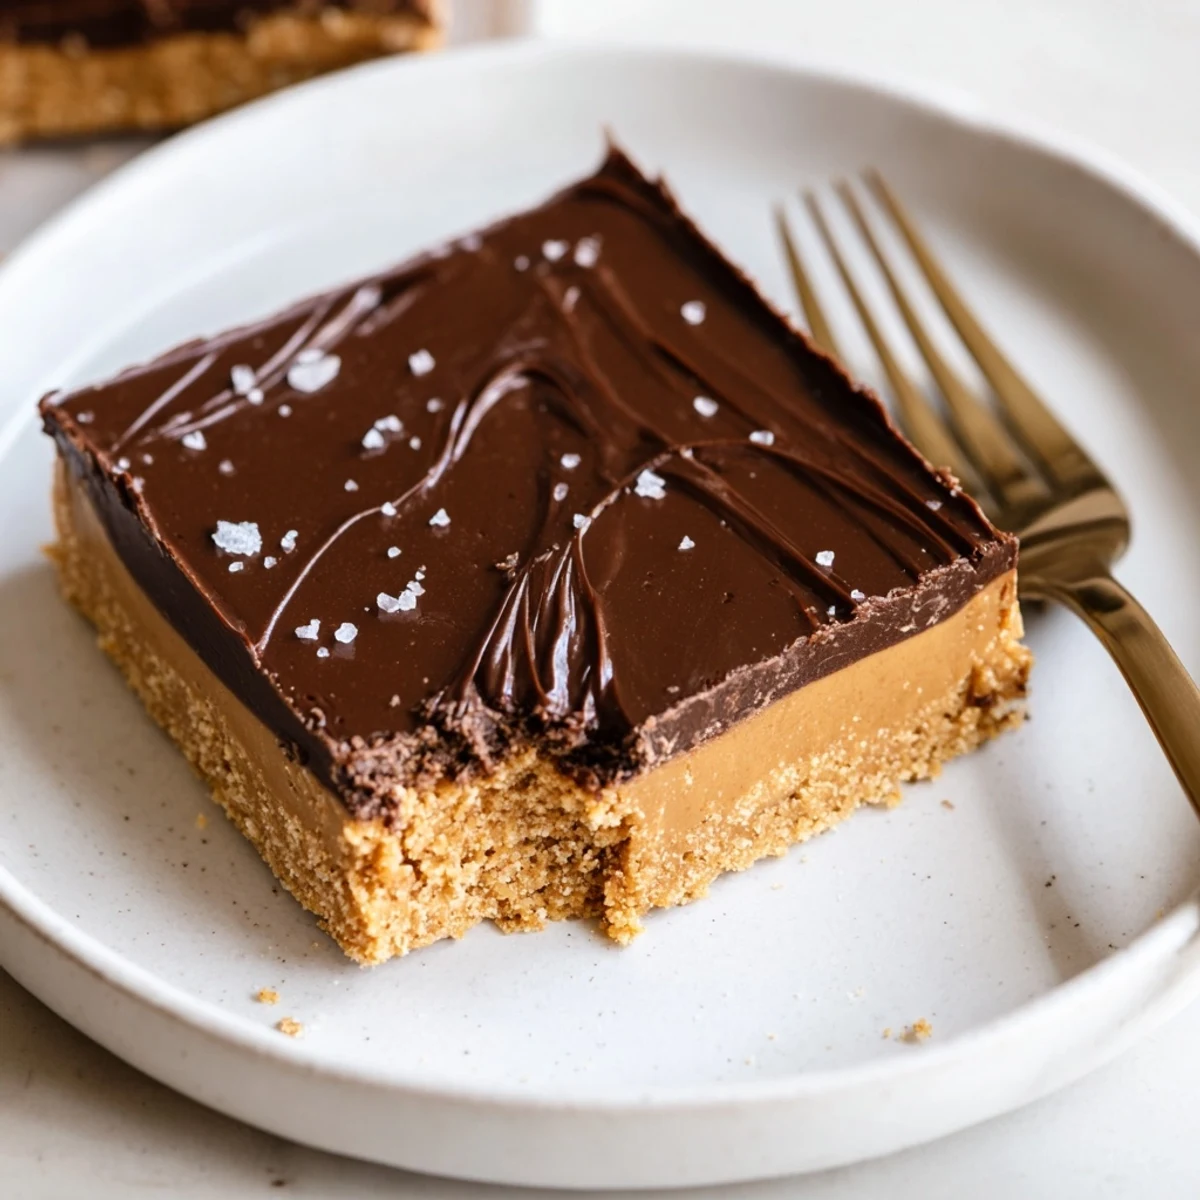
 Layer a dense base of creamy peanut butter, melted butter, powdered sugar and graham cracker crumbs into an 8×8 pan, then spread a smooth melted chocolate-and-peanut-butter glaze on top. Chill at least 2 hours until firm, then cut into 16 bars. Swap crunchy peanut butter or chopped peanuts for texture, use gluten-free cookies if needed, and keep chilled up to one week.
Just the other day, the hum of the fridge filled the kitchen as I reached for a jar of creamy peanut butter, letting the anticipation of a sweet treat pull me through a busy afternoon. You know that subtle, roasted peanut scent that clings to your fingertips? That was my motivator. No bake bars are the sort of satisfying project you can pull together even when your energy is low and the sun outside is calling. The simple assembly and promise of chocolate always makes the end result feel more celebratory than the effort suggests.
I tossed a few bars onto a plate for a spontaneous game night with friends, not thinking much of it, but by the time the cards were shuffled, even the shyest guests had enthusiastically asked for seconds. Sharing those bars felt like a sly little win; it transformed a regular evening into something everyone remarked about afterwards.
Ingredients
- Creamy peanut butter: Opt for a consistency that pours easily off a spoon for a smooth base – I learned chunky is best saved for snacking.
- Unsalted butter, melted: A gentle melt (not bubbling) blends best and keeps your dough cool and manageable.
- Powdered sugar: Sift it if you have time to avoid little lumps that can make slicing tricky.
- Graham cracker crumbs: Crushing them yourself gives a slightly heartier crunch – digestive biscuits work well for subtler sweetness.
- Vanilla extract: Just a splash brightens up the peanut butter and feels like a nod to homemade traditions.
- Semi-sweet chocolate chips: They melt into a satiny layer; use the best you can find, because this topping is what everyone tastes first.
- Creamy peanut butter (for topping): Mixing it with the chocolate makes the top layer slice smoothly – resist the urge to skip, it's a game changer.
Instructions
- Prep the baking pan:
- Line your 8x8 inch pan with parchment paper, making sure to leave generous overhang on each side for a hassle-free lift later.
- Mix the base:
- In a large bowl, stir together the melted butter and peanut butter until the mixture looks pale and glossy, like fudge in the making.
- Incorporate the dry ingredients:
- Add in the powdered sugar and graham crumbs, followed by vanilla; work it together until a thick, even dough forms – sometimes I use my hands for this, feeling for sticky parts that need more blending.
- Press and smooth:
- Spread the mixture into your pan, pressing it flat and smoothing out the top with a spatula (or the back of a spoon for those perfect corners).
- Prepare the topping:
- Combine chocolate chips and peanut butter in a microwave-safe bowl, melting them in short bursts and stirring in between until silky-smooth and glossy.
- Spread and set:
- Pour the warm topping over the base and coax it gently to each edge; the chocolate will try to set up fast, so don’t dawdle.
- Chill to perfection:
- Refrigerate for at least two hours – sometimes I get impatient and gently shake the pan after one – but truly, the wait is worth it for crisp, neat bars.
- Lift and slice:
- Use the paper overhang to lift the set slab, then cut into squares with a sharp, warm knife for the cleanest edges (run under hot water and wipe dry between slices).
 Save to Pinterest
 On a rainy weekend, I found my partner sneaking a bar right out of the pan, grinning sheepishly with chocolate smudges on their fingers. In that moment, these quick treats became a cozy ritual for us – a sweet, shared secret after a long day.
Making It Your Own
I once experimented with a dash of cinnamon in the base and, surprisingly, that subtle spice warmed up the peanut butter flavor in a lovely way. Sometimes I sprinkle chopped roasted peanuts on top or swirl in a spoon of jam before adding the chocolate for something reminiscent of a peanut butter and jelly sandwich. The basic ratios stay the same, but those little twists make each batch feel personalized and fun.
Tips for Slicing and Serving
If you wait until the bars are utterly cold and firm, your slices will be bakery-worthy. For parties or picnics, I like to use the tip of a knife to score the top first, then press straight down for those magazine-photo edges. These also pack beautifully in lunchboxes, wrapping each square in a bit of wax paper for easy, no-mess sharing.
Troubleshooting: Common Bar Woes
The texture is a bit forgiving – if you add too much peanut butter by mistake, just a small handful more graham cracker crumbs can bring it back together. If the base seems too dry, a splash more melted butter helps everything stick. And for anyone worried about melting chocolate, slow and steady in the microwave has never let me down.
- Always let the bars cool fully before cutting or they'll fall apart.
- If the chocolate topping starts to get streaky, stir in a half teaspoon of coconut oil for sheen.
- Remember to store the bars chilled so they hold their beautiful layers.
 Save to Pinterest
 If you ever need a foolproof treat to delight just about anyone, keep this recipe in mind – the combination of creamy peanut butter and chocolate rarely leaves leftovers. Simple joys are sometimes the best ones.
Recipe FAQs
- → What type of peanut butter works best?
-
Creamy peanut butter gives a smooth, cohesive base; choose chunky if you want added crunch. Avoid natural separated peanut butter unless thoroughly stirred, as oil separation can affect texture.
- → How do I melt the chocolate without seizing it?
-
Warm in 20–30 second microwave bursts, stirring between intervals until just smooth. Alternatively, use a double boiler over gently simmering water and stir until glossy and fully melted.
- → Can I make these gluten-free?
-
Yes. Substitute graham cracker crumbs with gluten-free cookies or crushed gluten-free graham crackers and proceed the same way for the base.
- → How firm should the bars be before slicing?
-
Chill for at least 2 hours so the base and topping set firm to the touch. For cleaner slices, refrigerate longer or briefly freeze before cutting.
- → Any tips for adding texture or flavor variations?
-
Fold chopped roasted peanuts into the base or sprinkle sea salt on the chocolate layer. Swap semi-sweet for milk or dark chocolate to adjust sweetness, or add a touch of espresso powder to deepen flavor.
- → How should leftovers be stored?
-
Store bars in an airtight container in the refrigerator for up to one week. Layer parchment between pieces to prevent sticking; freeze for longer storage up to 1 month.
