 Save to Pinterest
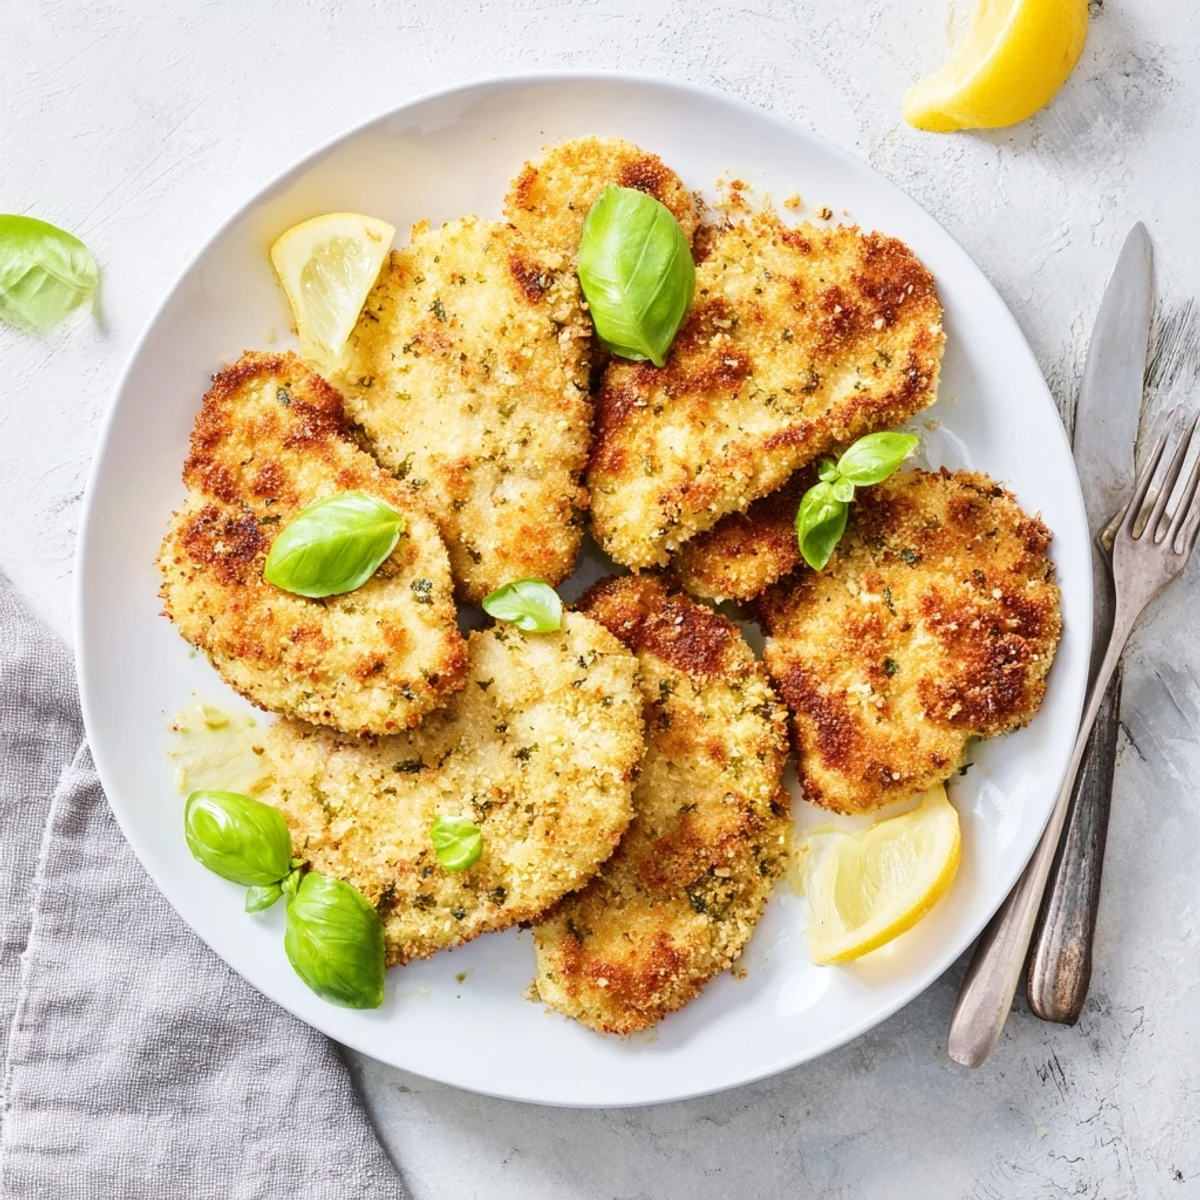
 These golden cutlets deliver crispy perfection with minimal effort. The breading combines savory Parmesan with aromatic fresh basil, creating an irresistible coating that stays crunchy even after cooking. Perfect for hectic weeknights when you want something special without spending hours in the kitchen.
The three-step coating method ensures maximum crunch—flour for the base, egg for adhesion, and the seasoned panko-Parmesan mixture for that restaurant-quality crust. Each cutlet cooks to golden perfection in just 8 minutes total.
The smell of basil hitting hot panko still takes me back to my tiny apartment kitchen where I first perfected this recipe on a Tuesday night after work. I was exhausted, craving something crispy and comforting but unwilling to spend hours at the stove. These cutlets came together so quickly that I actually sat down to eat while the sun was still up.
Last summer my sister dropped by unexpectedly while I had these sizzling in the skillet. She stood in the doorway, literally following her nose, and ended up staying for dinner with her partner. Theyve requested these cutlets at every family gathering since.
Ingredients
- Chicken breasts: Pounding them to even thickness is the secret to uniform cooking and that perfect tender texture
- Flour: Creates the first layer of coating that helps the egg mixture cling to the chicken
- Eggs and milk: The beaten egg mixture acts as the glue between flour and breadcrumbs
- Panko breadcrumbs: Japanese-style breadcrumbs stay lighter and crispier than traditional breadcrumbs
- Parmesan cheese: Adds salty depth and helps create that gorgeous golden crust
- Fresh basil: Chop it right before using so the oils stay intense and fragrant
- Garlic powder and paprika: This subtle spice combination elevates the flavor without overwhelming the fresh herbs
- Olive oil: Provides a rich, authentic Italian flavor foundation for frying
Instructions
- Pound the chicken:
- Place chicken between plastic wrap and use even pressure, working from center outward
- Set up your breading station:
- Arrange three shallow bowls in order so you can move efficiently through the coating process
- Coat each cutlet thoroughly:
- Press the final breadcrumb mixture firmly onto the chicken to ensure it sticks during frying
- Fry until golden perfection:
- Listen for the satisfying sizzle and watch for that deep golden color on both sides
- Rest and serve:
- Let the cutlets drain briefly so they stay crispy rather than getting soggy from excess oil
 Save to Pinterest
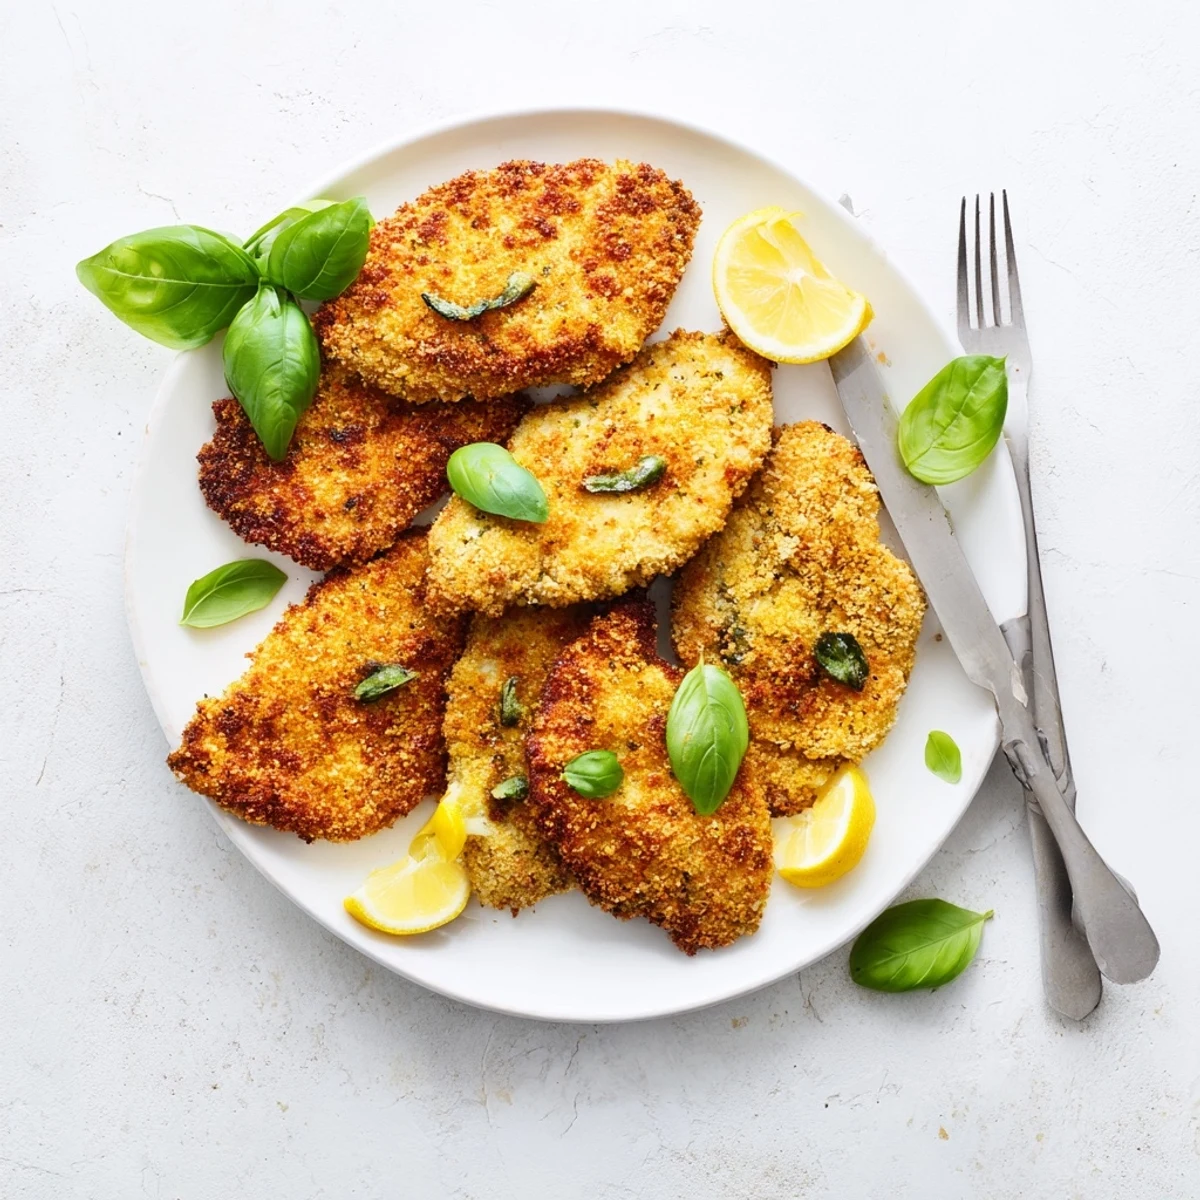
 My youngest daughter used to request these for every birthday dinner. Something about that crispy crunch made her feel special, and watching her face light up at the dinner table became the highlight of those celebrations.
Making It Ahead
You can bread the cutlets up to 4 hours ahead and keep them refrigerated on a wire rack. The coating actually adheres better with this chilling time, though do not stack them or the breading will stick together.
Freezing Extra Cutlets
Flash freeze the breaded but uncooked cutlets on a baking sheet, then transfer to freezer bags. They cook beautifully from frozen, just add 2-3 minutes to the cooking time on each side.
Serving Ideas
These cutlets shine alongside almost anything, from a simple arugula salad with lemon vinaigrette to buttered noodles or roasted vegetables. The classic chicken Parmesan route works too, just add marinara and mozzarella and broil until bubbly.
- Squeeze fresh lemon over the cutlets right before serving for bright acidity
- Try swapping basil for parsley or oregano depending on what you have on hand
- Pair with a crisp white wine like Pinot Grigio to cut through the richness
 Save to Pinterest
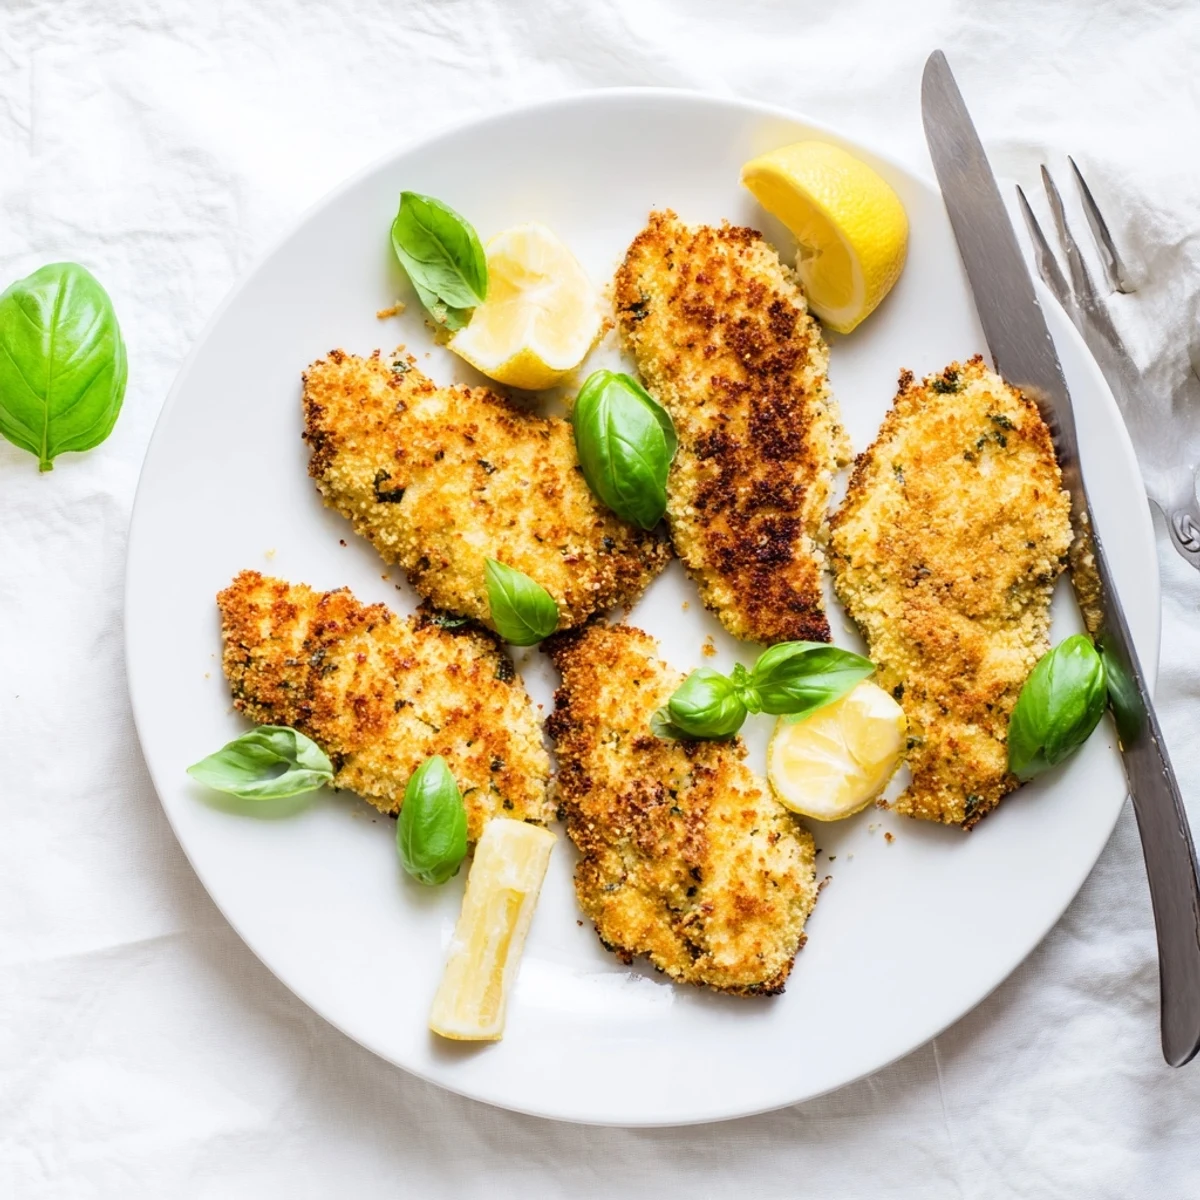
 Somehow these cutlets make even a random Tuesday feel like a small celebration at the table. Enjoy every crispy bite.
Recipe FAQs
- → Can I make these ahead of time?
-
Yes! Bread the cutlets up to 4 hours ahead and refrigerate on parchment paper. Cook fresh when ready to serve for optimal crispiness. Leftovers reheat well in a 350°F oven for 10 minutes.
- → What's the best way to pound chicken evenly?
-
Place chicken between plastic wrap or in a ziplock bag. Using the flat side of a meat mallet or heavy rolling pin, pound from center outward, rotating the breast, until you achieve uniform ½-inch thickness.
- → Can I bake instead of fry?
-
Absolutely! Arrange breaded cutlets on a wire rack over a baking sheet. Bake at 425°F for 15–18 minutes, flipping halfway. The rack circulation ensures even browning without excess oil.
- → What should I serve with these cutlets?
-
Pair with a crisp arugula salad dressed with lemon vinaigrette, garlic butter pasta, or roasted vegetables like broccoli and zucchini. The cutlets also shine in sandwiches the next day.
- → How do I know when the chicken is done?
-
Cook until golden brown, about 3–4 minutes per side. The safest method: insert an instant-read thermometer into the thickest part. It should read 165°F. The juices should run clear, not pink.
