 Save to Pinterest
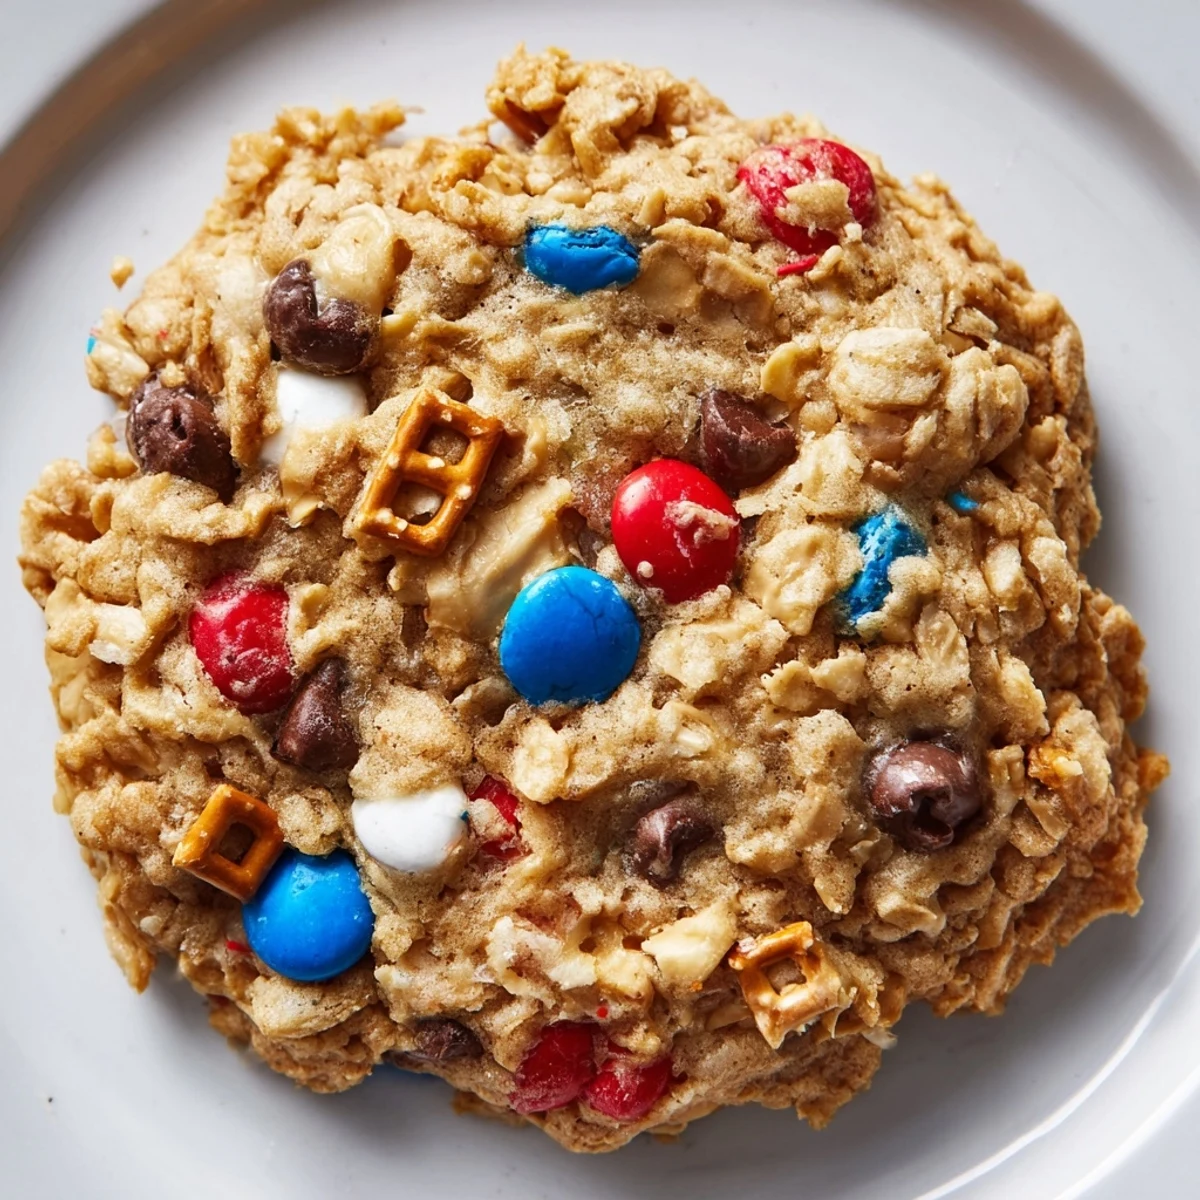
 These Patriotic Monster Cookies yield about 24 cookies and take roughly 32 minutes total (20 min prep, 12 min bake). Cream butter and sugars until fluffy, beat in peanut butter, eggs, and vanilla, then fold in oats, flour, baking soda, salt, candies, chips, and optional pretzels. Scoop rounded tablespoons, bake 10–12 minutes, and cool briefly on the sheet; underbake slightly for chewier centers.
If you've ever wondered what the 4th of July tastes like, it's the scent of buttery peanut butter and a riot of melting candies wafting through a sunlit kitchen. When the chaos outside is all fireworks, I love how baking these patriotic monster cookies brings a festival to my countertops. The dough sticks to vintage wooden spoons, spatters onto aprons, and somehow everyone migrates to the kitchen just to snag a stray candy before the real cookie magic happens. There's something gleeful about loading up a single cookie dough with absurd amounts of color and crunch—especially when you get to call it "patriotic."
I once made these for a neighborhood block party, where the only soundtrack was the clatter of kids racing past and the clink of cold drinks on porch railings. I remember someone asking if I baked them because I owned that USA-shaped cookie cutter—little did they know, it was all about the candies and chaos pressed into each bite. Watching everyone debate which color was luckiest was the real fireworks show that night.
Ingredients
- Unsalted butter: Soften it well for easy creaming—if it's too cold, lumps sneak into your dough.
- Granulated sugar: Adds signature sweetness and helps the edges get perfectly crisp.
- Packed light brown sugar: Brings in that hint of caramel and helps keep the cookies soft for days.
- Creamy peanut butter: Use the classic kind that doesn’t separate—the secret to that dense, chewy bite.
- Large eggs: Make sure they're at room temperature, so your dough comes together like a dream.
- Vanilla extract: Totally worth measuring carefully; too much can overpower the delicate nutty notes.
- Old-fashioned oats: Always go for the old-fashioned variety—the quick type changes the texture and spoils the hearty chew.
- All-purpose flour: Gives the cookies structure, so they don't collapse under all those mix-ins.
- Baking soda: This is what makes the cookies puff and spread just right.
- Salt: Don’t skip this—it gives every candy and chip its moment to shine.
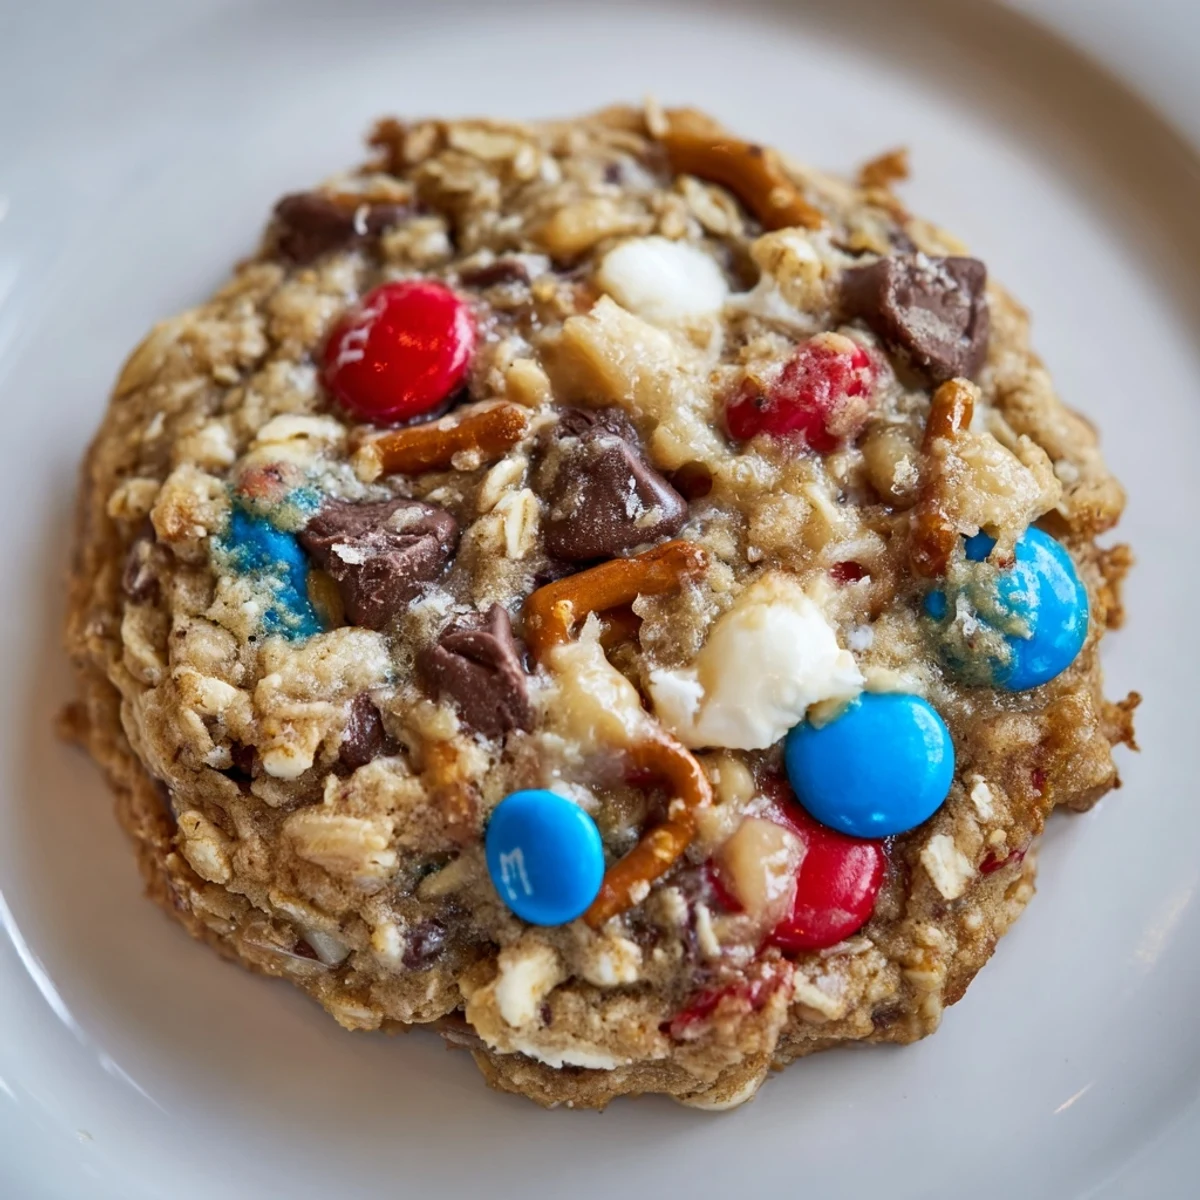
- Red, white, and blue chocolate candies: Toss in a few extra for pressing gently on top before baking—festive flair guaranteed.
- Semisweet chocolate chips: Save a few to sprinkle right at the end, for gooey pockets in every cookie.
- Mini pretzels (optional): The secret salty crunch that sneaks up and turns a good cookie into a great one.
Instructions
- Heat Things Up:
- Preheat your oven to 350°F and line two baking sheets with crinkly parchment—you’ll thank yourself at cleanup time.
- Cream and Dream:
- In a big bowl, let the butter, granulated sugar, and brown sugar whirl under the mixer until they turn pillowy and pale.
- Add the Richness:
- Fold in the peanut butter, then crack in the eggs one by one, mixing patiently as each disappears. Let the vanilla pour in last for a warm, fragrant kick.
- Dry Mix:
- In another bowl, whisk the oats, flour, baking soda, and salt together—there's something soothing about seeing oats swirl with flour.
- Combine with Care:
- Slowly add dry ingredients to the wet, mixing until just barely blended, so the dough stays tender and not tough.
- Mix in the Fun:
- Fold in the chocolate candies, chocolate chips, and (if you’re bold) the crushed mini pretzels for that undeniable monster cookie signature.
- Scoop and Space:
- Drop rounded tablespoons of dough on your lined sheets, leaving breathing room for the cookies to spread and puff.
- Bake Off:
- Slide trays in for 10–12 minutes, until edges are gold but the centers look soft and a little gooey—they'll finish on the sheet as they cool.
- Rest and Enjoy:
- Let them cool five minutes before moving to a wire rack—the hardest part is resisting warm cookie temptation.
 Save to Pinterest
 The first time these came out perfectly, my kitchen looked like a confetti cannon had gone off, but the smiles were so worth sweeping up a little extra candy underfoot. I've never seen a tray of cookies disappear as fast as when these hit the table just as the backyard sparklers came out.
Getting the Dough Just Right
If your dough seems a little stiff, don’t panic—a minute or two at room temperature will make all the difference. And if it’s too sticky, a handful of oats will pull it together quickly without needing extra flour.
Making Them for a Crowd
Doubling this recipe is a snap, and the cookies freeze surprisingly well. I’ve packed batches to share at summer picnics, where they earn you hero status the second someone bites into melty chocolate in July heat.
Festive Finishing Touches
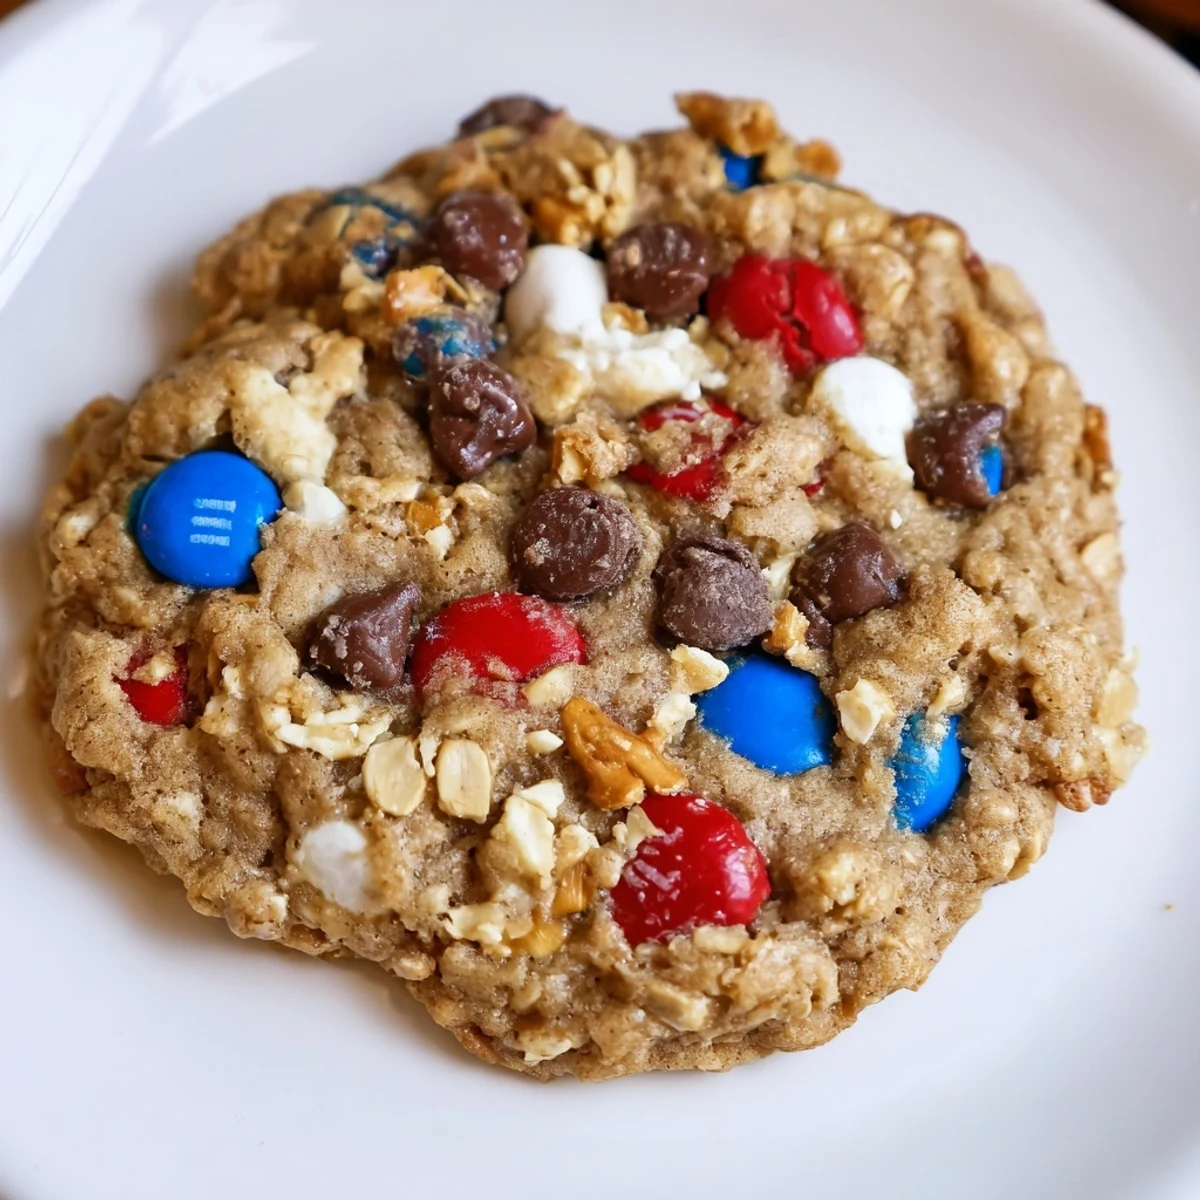
I like saving a small handful of candies and chocolate chips to press into the tops right before baking. It makes them look bakery-perfect and gives each cookie a burst of color that stands out on any platter.
- Warm cookies are irresistible, but cool ones hold their shape best.
- A sprinkle of flaky salt on top takes them over the top.
- Store leftovers in an airtight tin lined with parchment, and they'll stay chewy for days.
 Save to Pinterest
 When you make these, don’t be surprised if people ask for the recipe before they even finish chewing. Baking them is pure summertime joy any time of year.
Recipe FAQs
- → How do I prevent the red and blue candies from bleeding?
-
Fold the candies in gently and avoid overmixing. For minimal bleeding, press a few candies onto the tops of the scooped dough just before baking so they sit on the surface rather than being fully incorporated.
- → What gives these cookies a chewy texture?
-
Use a higher ratio of oats and brown sugar, include creamy peanut butter, and slightly underbake (10–11 minutes) so centers remain soft. Cooling on the baking sheet helps set chewiness.
- → Can I substitute peanut butter for nut-free options?
-
Yes—sunflower seed butter or a soy-based spread work as nut-free swaps. Expect a slightly different flavor and possibly a bit more spread; chilling the dough briefly helps control that.
- → How should I store or freeze the dough and baked cookies?
-
Store baked cookies in an airtight container at room temperature for 3–4 days. Freeze baked cookies up to 3 months. For dough, scoop into balls and freeze on a tray, then transfer to a bag; bake from frozen with an extra 1–2 minutes.
- → How can I make these gluten-free?
-
Use certified gluten-free rolled oats and swap all-purpose flour for a 1:1 gluten-free flour blend. Check labels for cross-contamination and consider slightly reducing added liquid if the blend absorbs more moisture.
- → Any tips for scaling the batch up or down?
-
Double the ingredients for a larger batch and mix in stages to ensure even distribution. If making smaller batches, chill the dough 10–15 minutes to improve handling and uniform baking.
