 Save to Pinterest
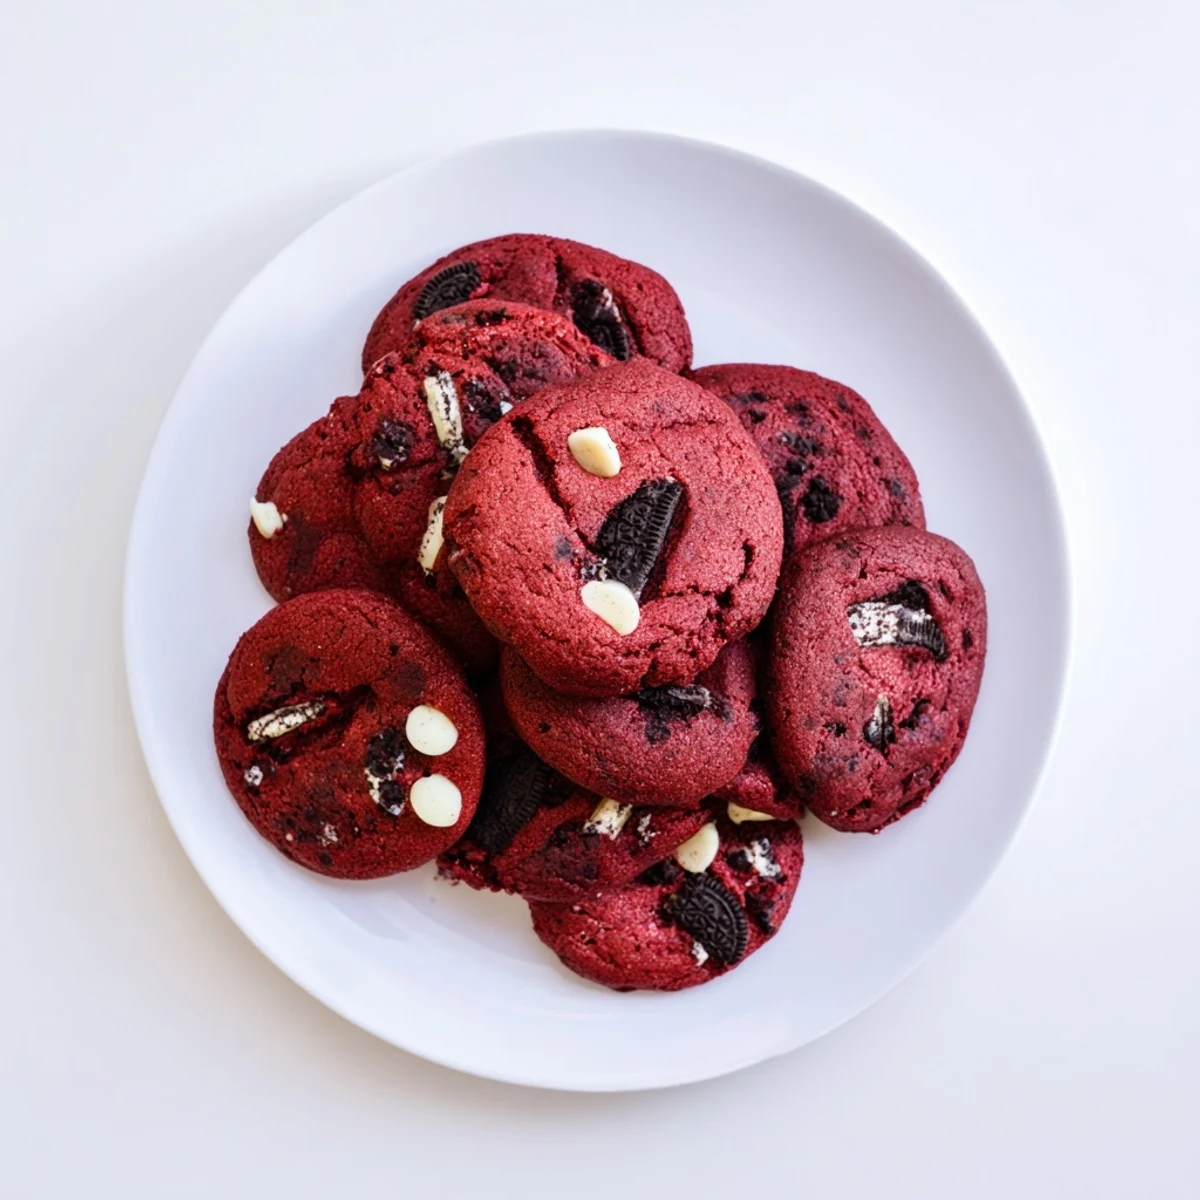
 These soft red velvet cookies combine the classic flavors of cocoa-rich red velvet with the irresistible crunch of Oreo cookies and creamy white chocolate chips. The dough comes together quickly with just 20 minutes of prep time, followed by 12 minutes in the oven for perfectly chewy results.
The secret to their texture lies in the combination of brown sugar for moisture and the perfect underbaked centers that set as they cool. Each cookie delivers a delightful contrast of soft, velvety dough against crispy Oreo pieces and melting white chocolate chips.
The first time I made these cookies, my kitchen looked like a crime scene with red food coloring splattered everywhere. I was attempting to impress my new coworkers at the holiday potluck, and somewhere between mixing and scooping, I managed to turn my favorite apron into a tie-dye experiment. But when I pulled that first tray from the oven and saw those gorgeous crimson cookies with their speckled white cookies-and-cream centers, every mess was worth it. Now I keep extra paper towels nearby and consider the colorful chaos part of the experience.
Last Valentine's Day, I made a batch for my sister's classroom party and accidentally doubled the Oreo pieces because my daughter was helping me and thought more was better. Those cookies became legendary among first graders and teachers alike, with parents messaging me for weeks asking about the recipe. Now I always add extra Oreos on top before baking, creating those gorgeous craggy bits that make people think you're some sort of cookie wizard.
Ingredients
- All-purpose flour: The foundation that gives these cookies structure while keeping them tender, exact measuring matters here
- Unsweetened cocoa powder: This provides the subtle chocolate base that makes red velvet distinctive without overpowering the classic flavor
- Baking soda: Essential for that perfect spread and soft lift, make sure it's fresh for the best results
- Salt: Just enough to enhance the chocolate and balance all that sugar
- Unsalted butter: Softened to room temperature ensures proper creaming, which creates those irresistible texture
- Light brown sugar: Adds moisture and that slight caramel note that keeps cookies chewy for days
- Granulated sugar: Creates crisp edges while balancing the brown sugar for the best of both worlds
- Egg and extra yolk: The yolk adds richness and helps achieve that fudgy center we all love
- Vanilla extract: Don't skip this, it amplifies everything else and adds that homemade cookie warmth
- Milk: Just enough to bring the dough together and create the perfect consistency
- Red food coloring: Gel coloring gives you that vibrant crimson without affecting the dough texture
- White chocolate chips: Creamy and sweet, these complement the cocoa and create those classic cookies-and-cream moments
- Oreo cookies: Roughly chopped into various sizes so you get big chunks and tiny crumbs throughout
Instructions
- Get your oven ready:
- Preheat to 350°F and line two baking sheets with parchment paper for easy cleanup and perfect bottom browning
- Whisk the dry team:
- In a medium bowl, combine the flour, cocoa powder, baking soda, and salt until everything looks evenly distributed and cocoa-scented
- Cream the butter and sugars:
- Beat them together for 2 to 3 minutes until the mixture looks pale and fluffy, this step is worth the extra time
- Add the wet ingredients:
- Mix in the egg, extra yolk, vanilla, milk, and red food coloring until you have a smooth, beautifully colored batter
- Combine everything:
- Gradually add your dry ingredients and mix until just combined, being careful not to overwork the dough
- Fold in the goodies:
- Gently incorporate the white chocolate chips and chopped Oreos until they're evenly distributed throughout
- Scoop and space:
- Drop rounded balls onto your prepared sheets, leaving about 2 inches between each for proper spreading
- Bake to perfection:
- Bake for 10 to 12 minutes until edges are set but centers still look slightly soft, they'll finish cooking on the hot pan
- The waiting game:
- Let them cool on the baking sheet for 5 minutes before transferring to a wire rack, this patience makes all the difference
 Save to Pinterest
 My neighbor's daughter started calling me the cookie lady after I brought these over during their family movie night. She now requests them for every birthday and school event, and her mom confessed she keeps a few hidden in the freezer for emergency sweet cravings. There's something about that combination of red velvet and cookies-and-cream that makes people feel like kids again.
Making These Your Own
While this recipe is pretty perfect as written, I've learned that dark chocolate chips create an incredibly sophisticated version if you want something less sweet. And during winter holidays, I've swapped the Oreos for crushed candy canes and added peppermint extract for a festive twist. The base dough is versatile enough that you can experiment with different mix-ins while keeping that classic red velvet charm.
The Science of Soft Cookies
The extra egg yolk and brown sugar are working together to create that fudgy texture we're all after. And pulling them from the oven when centers look slightly underdone is crucial, as residual heat finishes the job. I learned this the hard way after making an entire batch that turned into hockey pucks because I was afraid they weren't done. Now I trust the process and that slightly wobbly center.
Storage and Sharing Tips
These cookies stay remarkably soft in an airtight container at room temperature for up to five days, though they rarely last that long in my house. I've also frozen the dough balls for instant fresh-baked cookies whenever the mood strikes, just add an extra minute to the baking time. They freeze beautifully as baked cookies too, perfect for last-minute treats or unexpected guests.
- Layer cookies between parchment paper when freezing to prevent sticking
- Warm frozen baked cookies at 300°F for 5 minutes to bring back that fresh-baked texture
- Package these in clear bags with red ribbon for the most impressive edible gifts
 Save to Pinterest
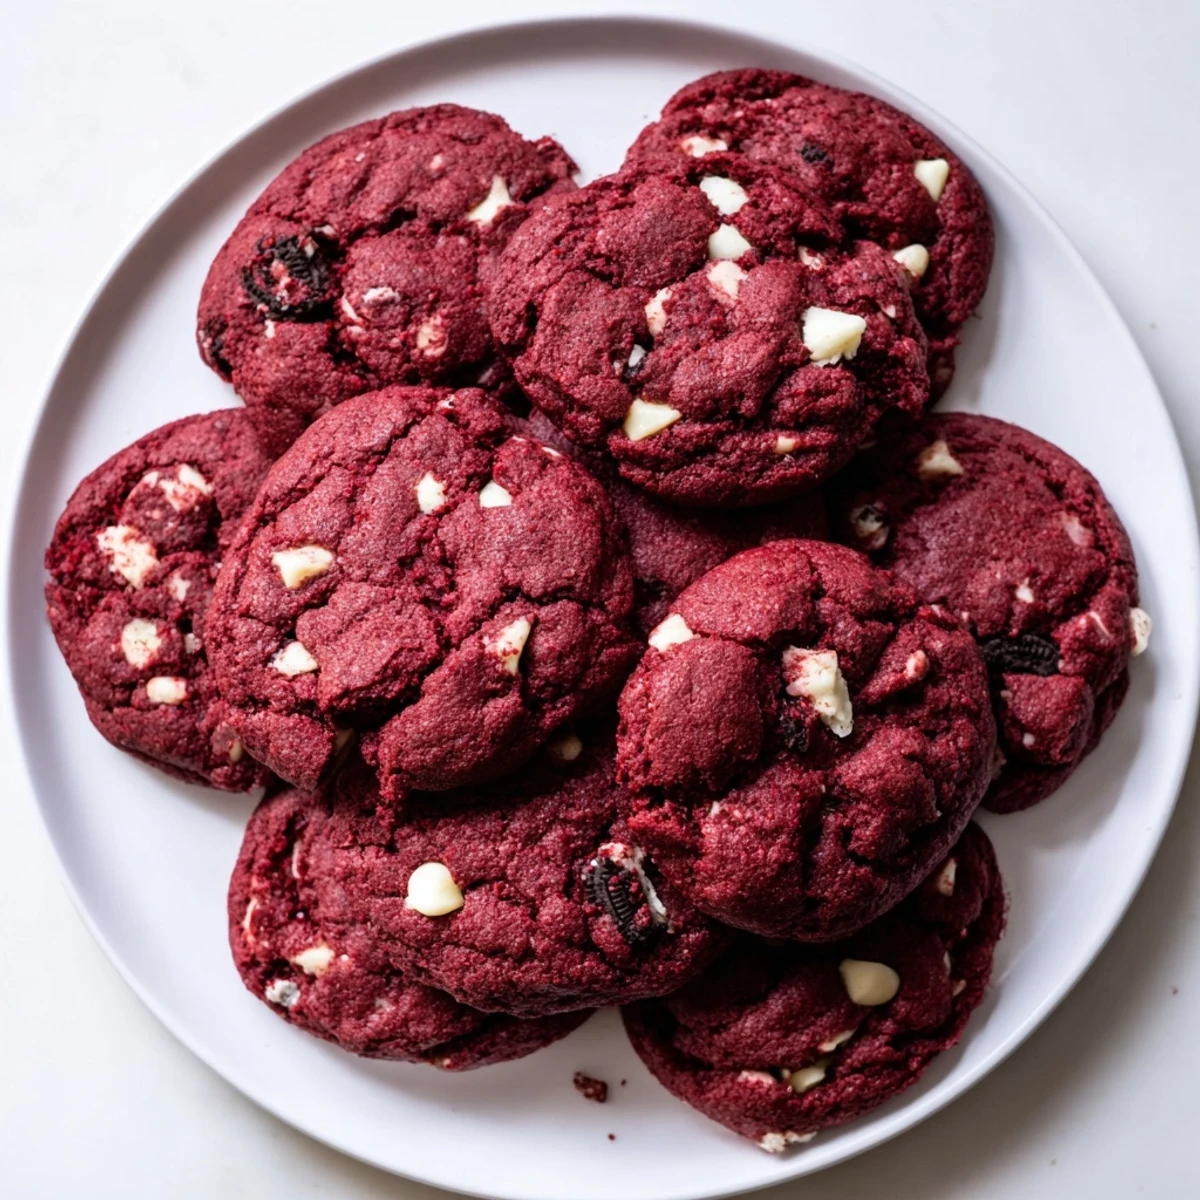
 There's something magical about pulling that first tray from the oven and seeing those vibrant red cookies studded with cream and chocolate. These aren't just desserts, they're edible happiness that turns any ordinary Tuesday into something worth celebrating.
Recipe FAQs
- → Why are my cookies flat?
-
Flat cookies usually result from softened butter that's too warm or dough that wasn't chilled. Try refrigerating the dough for 15-20 minutes before baking to help the cookies hold their shape better in the oven.
- → Can I use liquid food coloring instead of gel?
-
Yes, liquid food coloring works but you'll need to use more of it to achieve the same vibrant red color. Gel coloring is more concentrated, so start with 1-2 tablespoons of liquid and adjust as needed.
- → How should I store these cookies?
-
Store in an airtight container at room temperature for up to 5 days. Place parchment paper between layers to prevent sticking. For longer storage, freeze baked cookies for up to 3 months.
- → Can I make the dough ahead of time?
-
Absolutely! The dough can be refrigerated for up to 48 hours before baking. You can also scoop the dough balls and freeze them on a baking sheet, then transfer to a freezer bag for up to 3 months.
- → What's the best way to chop Oreos for these cookies?
-
Place whole Oreos in a sealed plastic bag and crush them with a rolling pin or meat mallet. Aim for rough, chunky pieces rather than fine crumbs to get those satisfying crunch pockets throughout each cookie.
- → Why add both egg and egg yolk?
-
The extra yolk adds richness and contributes to the soft, chewy texture while helping bind the dough. The yolk's fat content creates a more tender cookie that stays moist longer.
