 Save to Pinterest
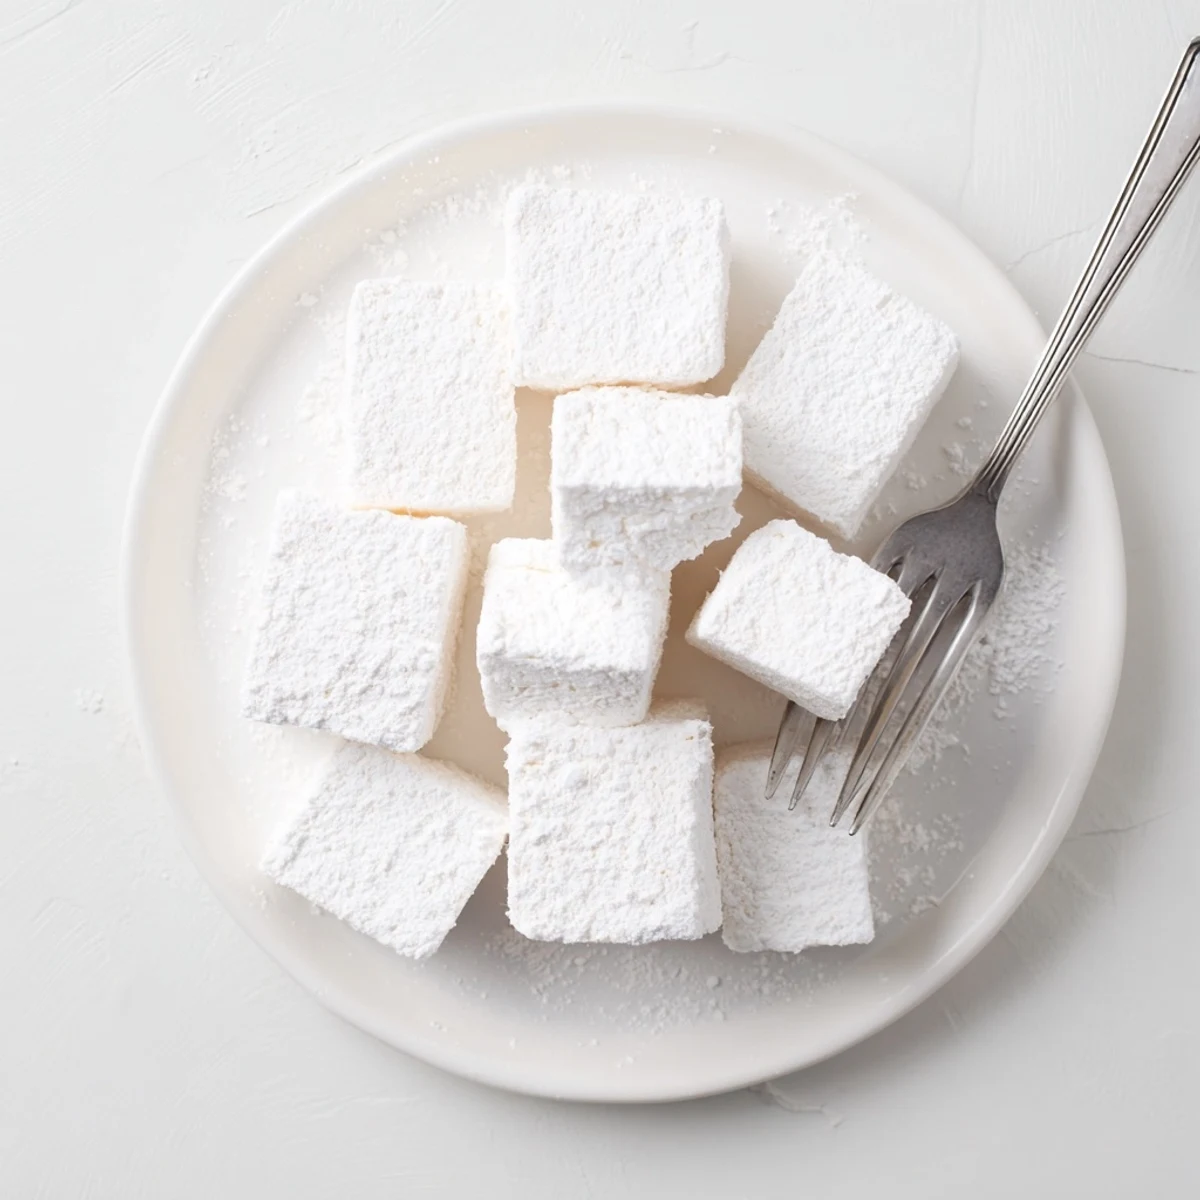
 Create pillowy vanilla confections using sugar syrup and gelatin, whipped to glossy perfection. These versatile treats transform hot chocolate into an indulgent experience and make delightful homemade gifts.
The process involves blooming gelatin, heating sugar syrup to precise temperature, then whipping until tripled in volume for that signature cloud-like texture.
The first time I made marshmallows, I stood there watching this strange liquid transform into something impossibly fluffy and thought, 'Wait, THIS is how they're made?' It felt like kitchen magic. Now my kitchen counter is permanently dusted with a fine layer of confectioners sugar, and I wouldn't have it any other way. There's something deeply satisfying about making something most people only know from a plastic bag.
Last winter, I made a batch for a snow day gathering and watched adults revert to childhood, grabbing them straight from the cutting board. Someone tried to roast one over our stove burner, which I absolutely do not recommend but also cannot entirely discourage. They disappeared faster than I could dust them.
Ingredients
- Sugar: Granulated sugar creates the syrup structure that will become those pillowy clouds we're after
- Corn syrup: This prevents crystallization and helps achieve that perfectly smooth, glossy texture
- Gelatin: The magic ingredient that transforms hot syrup into fluffy marshmallow - bloom it properly for best results
- Vanilla extract: Pure vanilla gives that classic flavor, but peppermint or almond work beautifully too
- Confectioners sugar and cornstarch: This coating keeps your marshmallows from sticking to everything in sight
Instructions
- Prepare your pan:
- Lightly grease a 9x9-inch pan and dust it with a mixture of confectioners sugar and cornstarch, tapping out any excess
- Bloom the gelatin:
- Combine gelatin with cold water in your stand mixer bowl and let it soften while you make the syrup
- Make the sugar syrup:
- Combine sugar, corn syrup, water and salt in a saucepan, stirring until dissolved, then boil to 240°F without stirring
- Combine and whip:
- With mixer on low, carefully pour hot syrup into gelatin, then beat on high for 10-12 minutes until thick and glossy
- Add flavor and spread:
- Mix in vanilla during the last minute, then quickly spread into your prepared pan with a greased spatula
- Set and cut:
- Dust the top with more sugar mixture, let set for at least 4 hours, then cut into squares and toss in coating
 Save to Pinterest
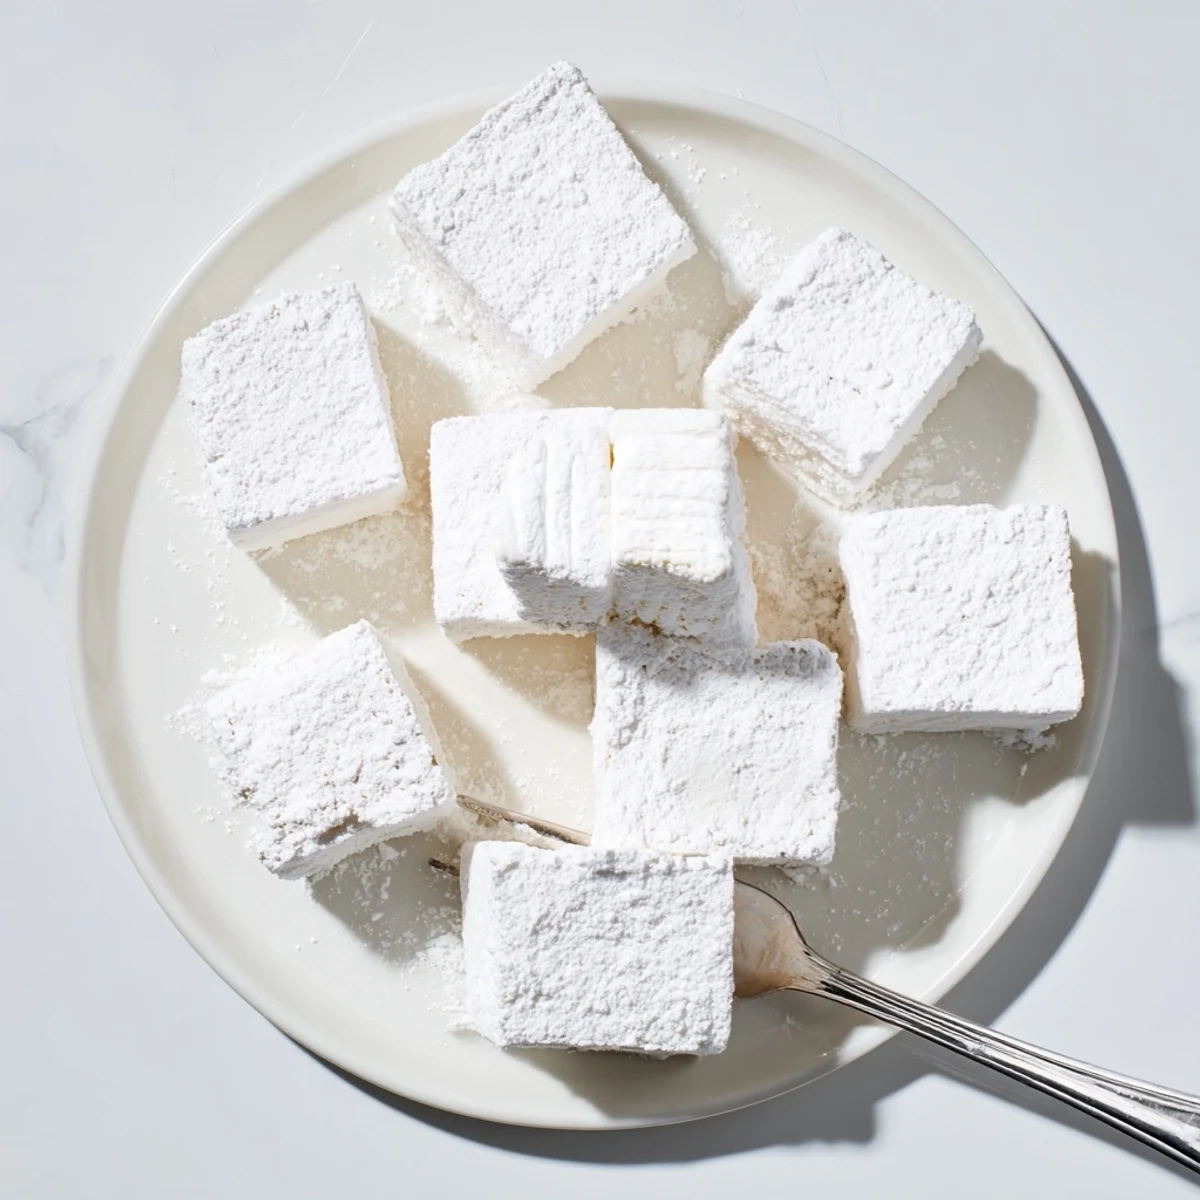
 My niece called them 'cloud squares' when she was little, and honestly, that's the perfect name. They're the kind of treat that makes people smile before they even take a bite, just because they look so cheerful and whimsical sitting there.
Making Them Your Own
I've learned that adding food coloring during that final minute of mixing creates stunning results. Peppermint with pink swirls for Christmas, pale green with vanilla for spring - suddenly you have seasonal treats that feel impossibly fancy despite being so simple to make.
Storage Secrets
Store them in an airtight container with a piece of wax paper between layers. They'll last about a week, though in my house they've never made it past day three. The texture stays perfect, unlike storebought versions that can get weirdly hard or sticky.
Serving Ideas
Drop them into hot chocolate, toast them over a fire, or just eat them straight from the container. I've also started cutting them into larger rectangles for s'mores - the way they melt and golden-brown is entirely different from anything you've experienced.
- Dip them in melted chocolate for the most decadent treat imaginable
- Cube them smaller to float in coffee or specialty cocktails
- Package them pretty with a ribbon for gifts that people actually get excited about
 Save to Pinterest
 Once you make these, storebought marshmallows will never taste quite right again. And that's a wonderful problem to have.
Recipe FAQs
- → What makes homemade marshmallows better than store-bought?
-
Fresh-made versions offer superior texture—lighter, fluffier, and melt smoothly in beverages. You control ingredients and customize flavors, avoiding preservatives found in commercial varieties.
- → How do I know when sugar syrup reaches the right temperature?
-
Use a candy thermometer to monitor. At 240°F (115°C), the syrup reaches the soft-ball stage, creating the perfect consistency for fluffy texture that sets properly without becoming too hard or sticky.
- → Can I make these without a stand mixer?
-
A hand mixer works, though requires more effort and longer beating time (15-18 minutes). The key is whipping until tripled in volume, thick, and glossy—this creates the signature airy structure.
- → Why do my marshmallows stick to the knife when cutting?
-
Dust your knife or pizza cutter generously with the cornstarch-confectioners sugar mixture. Re-dust frequently during cutting. This prevents sticking and helps maintain clean square edges.
- → How long should marshmallows set before cutting?
-
Allow at least 4 hours at room temperature, preferably overnight. Proper setting ensures clean cuts and the right texture—too soon and they'll be sticky; too long and they become challenging to slice.
- → What variations can I try?
-
Replace vanilla with peppermint, almond, or citrus extracts. Add food coloring during the final minute of mixing. For cocoa versions, add 2 tablespoons cocoa powder with the sugar mixture.
