 Save to Pinterest
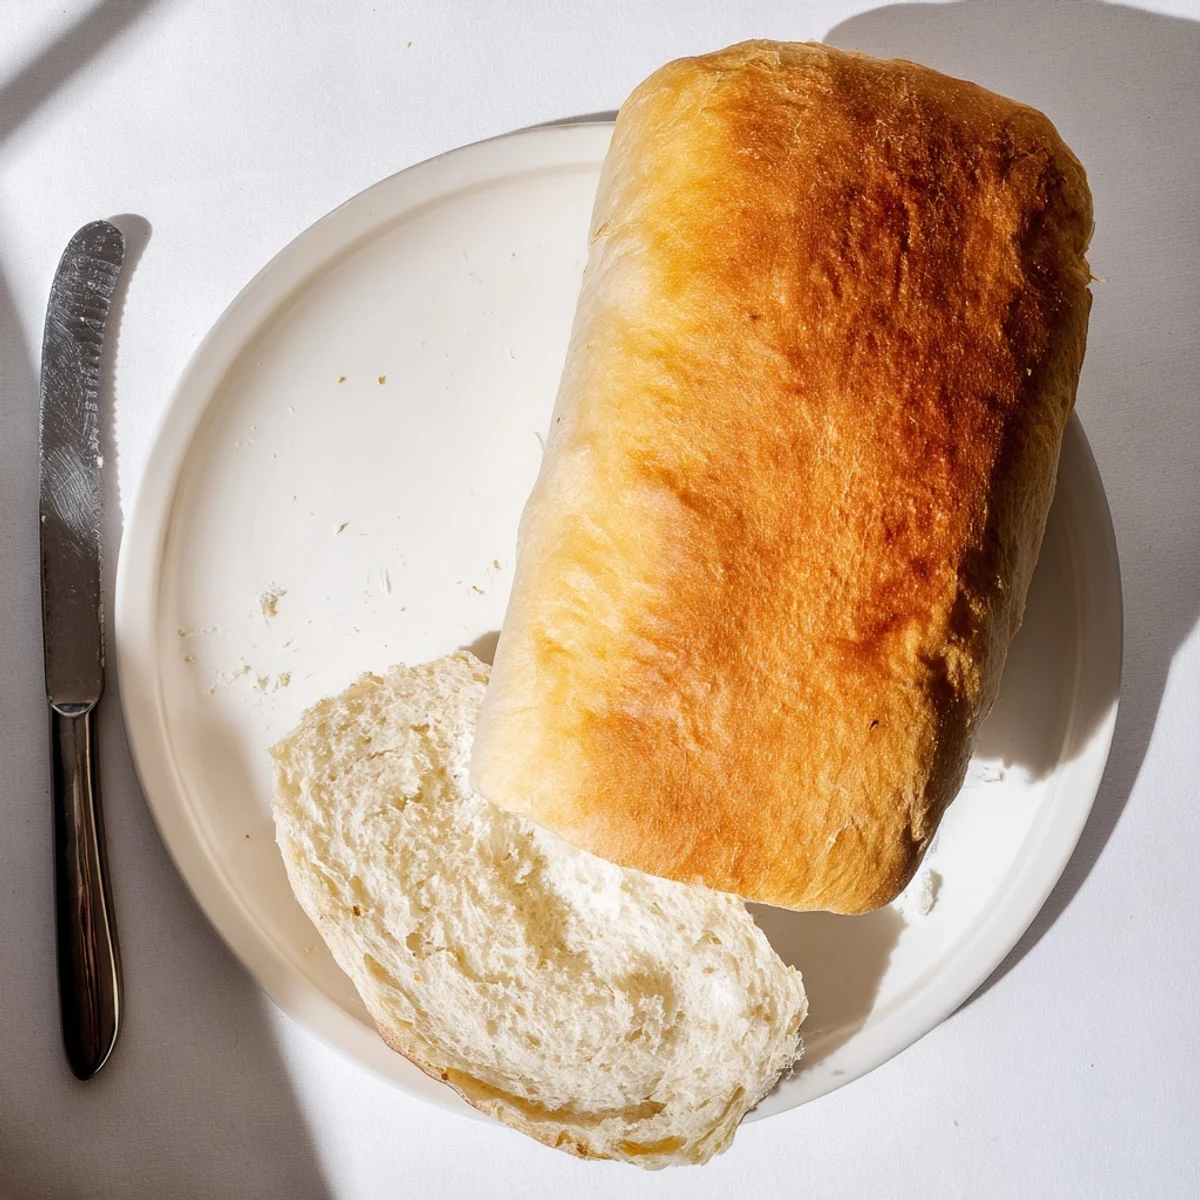
 This stovetop method delivers incredibly soft and fluffy bread without needing an oven. The dough comes together with basic pantry staples—flour, yeast, sugar, salt, olive oil, and warm water. After a quick knead and one-hour rise, simply cook the round loaf in a covered skillet over low heat. The key is cooking slowly on the lowest setting, flipping once, until both sides are golden brown and the bread sounds hollow when tapped. You'll have warm, fresh bread ready to slice and serve with butter or olive oil in about 45 minutes of active time.
My college apartment had exactly one working burner and an oven that smelled like burning plastic whenever you turned it on. That first night, craving something that felt like home, I wondered if bread was possible without the ritual of a preheated oven. The smell of yeasty dough rising on the counter became the best kind of therapy after long days of classes. Now, even with a perfectly functional oven, I still make this stovetop version just because I can.
Last winter during a power outage, my neighbor knocked on the door asking if I had any bread. I mixed this up by candlelight, cooking it on my gas stove while we talked at the kitchen table. Something about bread made without electricity felt almost magical. We ate it warm with jam, watching snow fall outside the window.
Ingredients
- All-purpose flour: 2 ½ cups (315 g) of everyday flour creates the perfect structure, though bread flour will give you an even chewier crumb if thats your preference
- Instant dry yeast: 1 ½ teaspoons works quickly and reliably, no proofing needed, which means less time waiting and more time eating
- Sugar: Just 1 teaspoon helps feed the yeast and gives the crust a lovely golden color
- Salt: 1 teaspoon is essential for flavor, so dont be tempted to skip it
- Olive oil: 1 tablespoon keeps the dough tender and adds subtle richness, plus youll need extra for greasing your pan
- Warm water: 1 cup (240 ml) at about 110°F feels like warm bath water, hot enough to activate yeast but not kill it
Instructions
- Mix the dry ingredients:
- In a large bowl, combine the flour, yeast, sugar, and salt, giving everything a good whisk to distribute the yeast evenly
- Bring it together:
- Pour in the warm water and olive oil, then stir with a wooden spoon until you have a shaggy, slightly sticky dough that pulls away from the sides
- Knead with purpose:
- Turn the dough onto a lightly floured surface and knead for 8 to 10 minutes, pushing and folding until it transforms from rough and tacky to smooth and elastic
- Let it rise:
- Place your dough in a greased bowl, cover with a damp cloth, and tuck it somewhere warm for about 1 hour until it has doubled in size
- Shape your loaf:
- Gently punch down the risen dough and shape it into a round ball, tucking the edges underneath to create tension on the surface
- Prepare the pan:
- Grease a heavy-bottomed skillet generously with olive oil and place your dough in the center, smoothing the top with lightly oiled hands
- First side down:
- Cover the pan with a tight-fitting lid and cook over the lowest possible heat for 15 minutes, checking occasionally that the bottom is not browning too quickly
- The big flip:
- Carefully turn the bread with a spatula, cover again, and cook for another 12 to 15 minutes until both sides are golden and tapping the loaf produces a hollow sound
- Rest before slicing:
- Remove the bread from the pan and let it cool on a wire rack for at least 15 minutes, which is absolutely the hardest part
 Save to Pinterest
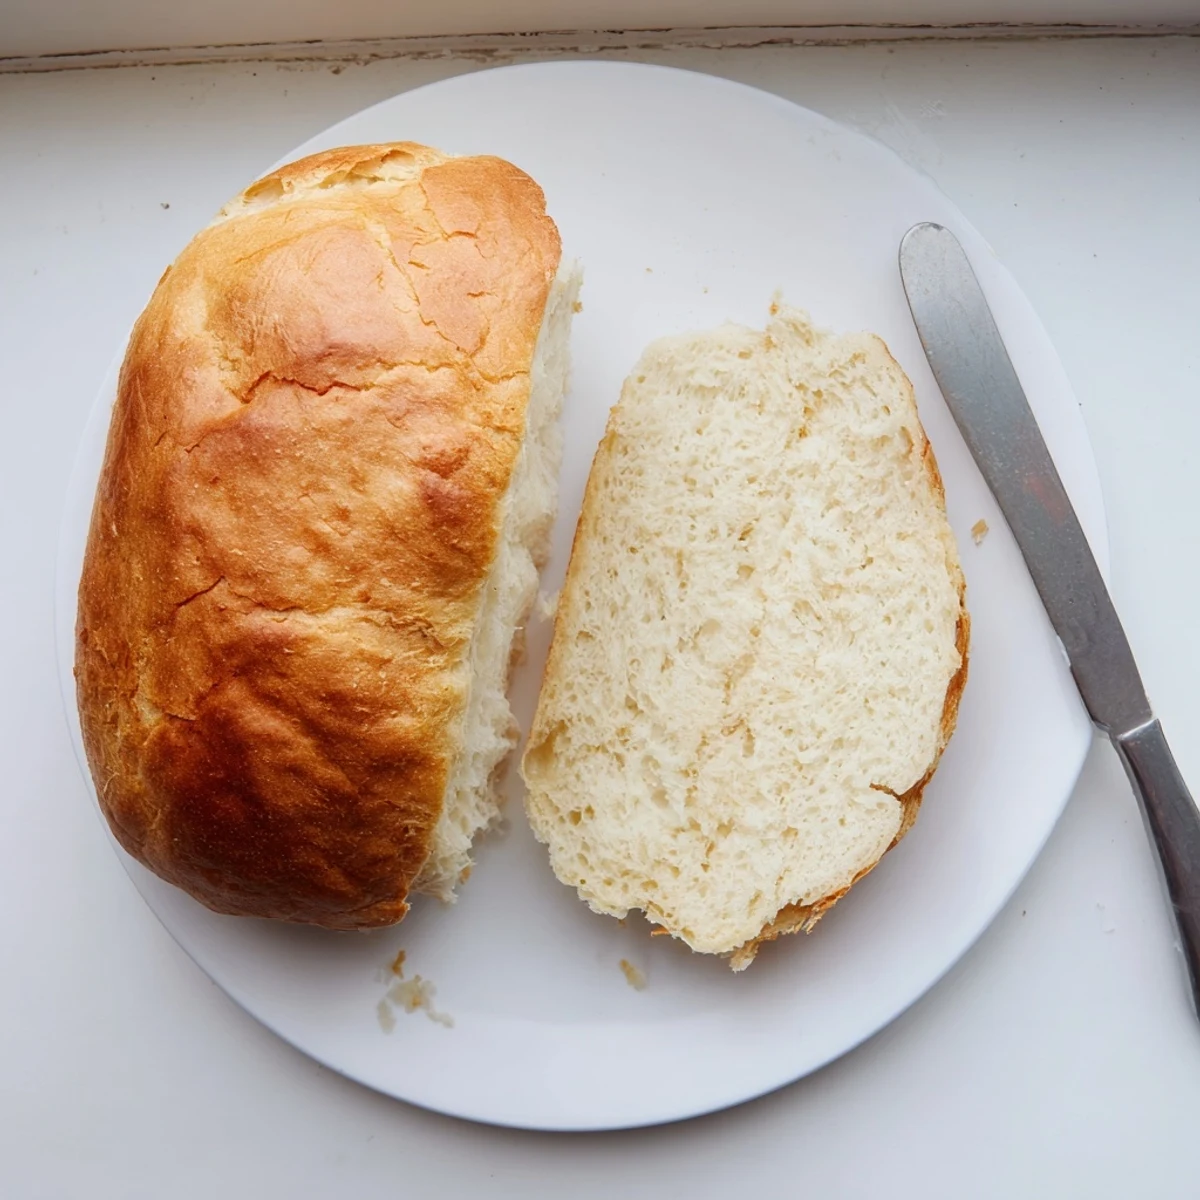
 My daughter now asks for stovetop bread specifically, claiming it tastes better than anything baked in the oven. Maybe it is the ritual of watching it cook, hearing the faint sizzle through the lid, the anticipation that builds while we set the table. Bread made this way feels earned somehow.
Getting The Perfect Rise
I have found that yeast thrives in unexpected places, like inside a turned-off oven with just the light on, or near a sunny windowsill. The dough needs warmth more than anything else. On particularly cold days, I will even place the bowl near a radiator or on top of a running dryer for 20 minutes.
Customization Ideas
This basic dough is beautifully forgiving and welcomes additions. Try mixing in 2 teaspoons of dried rosemary or thyme directly into the flour before adding the water. A handful of shredded cheese or chopped olives works wonderfully too. Just keep any additions to about ½ cup so the dough still rises properly.
Serving Suggestions
Warm bread deserves to be treated well. I love serving this with good salted butter, maybe some honey if I am feeling indulgent. It also makes incredible toast the next day, crisped up in a skillet with a little olive oil.
- Leftovers can be refreshed in a warm pan for 2 minutes per side
- Storing it in a paper bag keeps the crust nice while preventing moisture buildup
- This bread freezes beautifully if wrapped tightly in plastic and foil
 Save to Pinterest
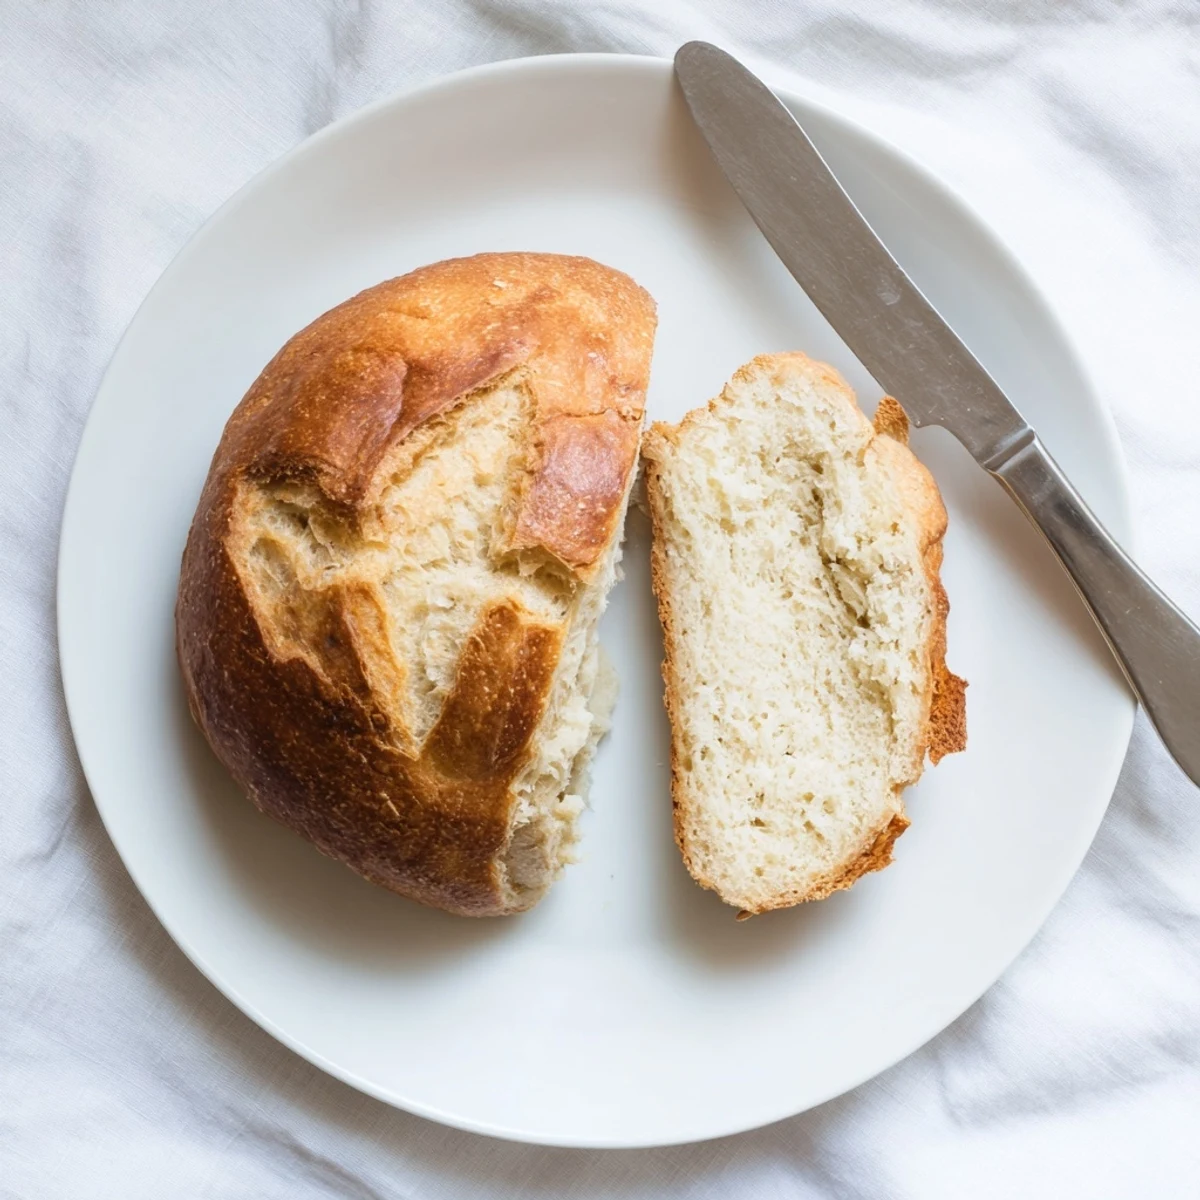
 There is something deeply satisfying about making bread with the simplest equipment. Hope this recipe finds its way into your regular rotation.
Recipe FAQs
- → Can I make this bread without a stand mixer?
-
Absolutely. This dough is mixed and kneaded entirely by hand using just a wooden spoon and your hands on a floured surface. No special equipment needed beyond a bowl and skillet.
- → Why cook on the lowest heat setting?
-
Low heat ensures the bread cooks through completely without burning the bottom before the interior finishes baking. This gentle heat mimics an oven's consistent temperature.
- → How do I know when the bread is done?
-
The bread is ready when both sides are golden brown and it sounds hollow when tapped on the bottom. This hollow sound indicates the interior is fully cooked.
- → Can I add herbs or cheese to the dough?
-
Yes. Dried herbs like rosemary, thyme, or oregano work beautifully kneaded into the dough. You can also fold in shredded cheese or garlic for extra flavor variations.
- → What size skillet works best?
-
A 10-12 inch skillet with a tight-fitting lid is ideal. The lid traps steam and heat, helping the bread cook evenly and rise properly. Cast iron or heavy-bottomed pans distribute heat most effectively.
- → Can I use whole wheat flour instead?
-
You can substitute up to half the all-purpose flour with whole wheat. Using entirely whole wheat may result in a denser loaf since whole wheat flour has less gluten development potential.
