 Save to Pinterest
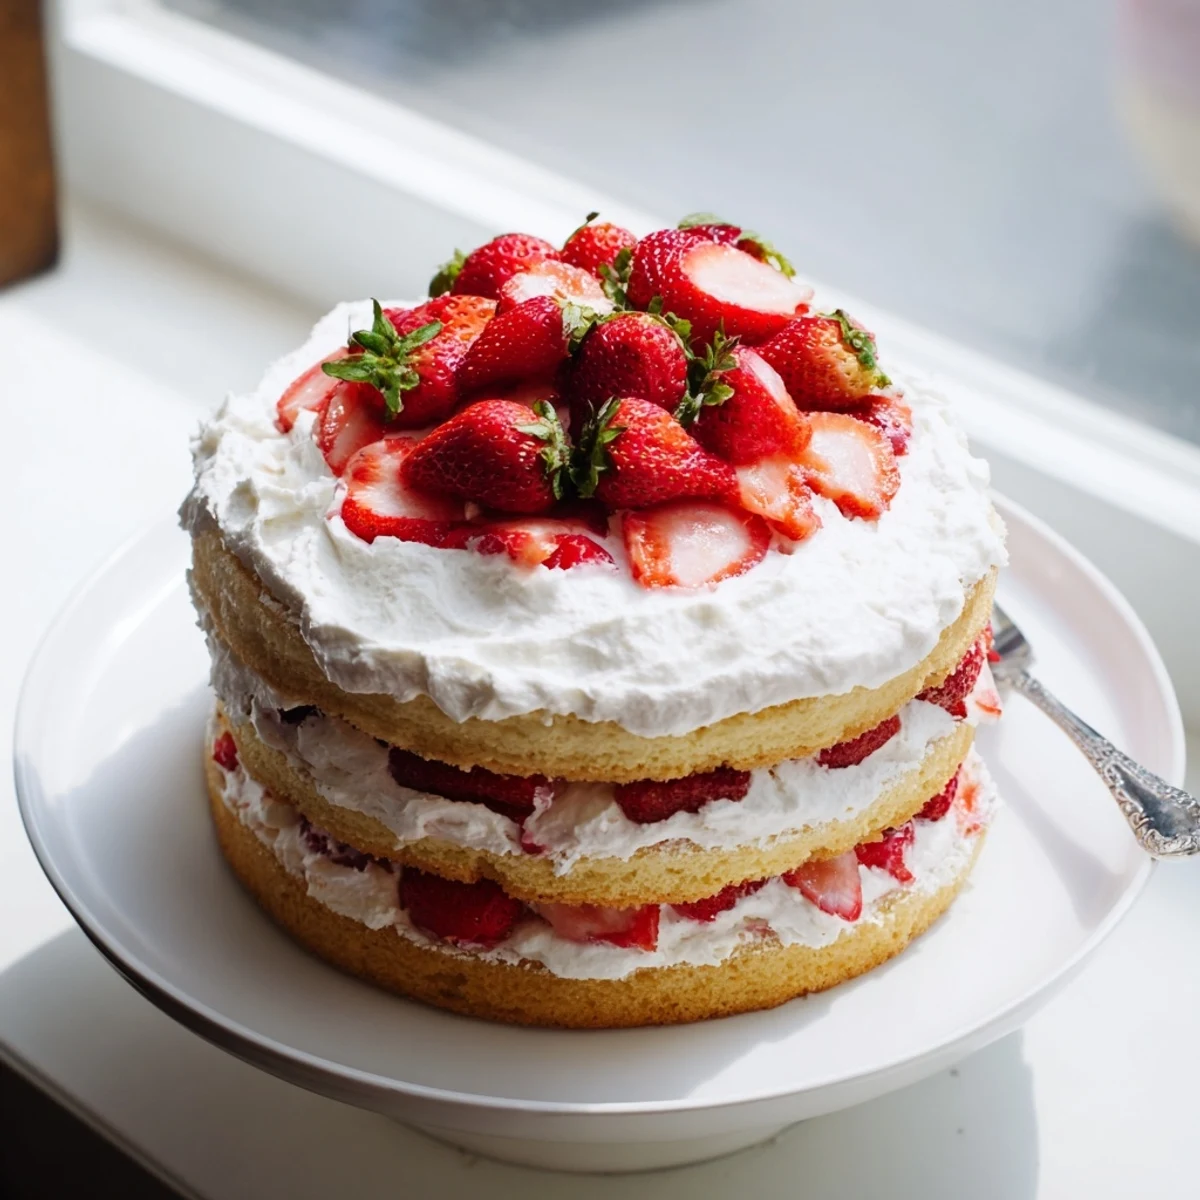
 This stunning dessert transforms the classic strawberry shortcake into an elegant layer cake. Light vanilla sponge cakes are baked until golden, then filled with fresh strawberries that have been macerated in sugar and lemon juice to release their natural juices. The entire creation is frosted with freshly whipped cream flavored with vanilla and a touch of powdered sugar. Perfect for summer gatherings, this cake serves 10-12 people and requires just 35 minutes of active preparation time.
My grandmother never measured anything for her strawberry shortcake, but she taught me that the secret lies in letting the berries release their juices until they become this ruby colored syrup that soaks into every crumb. This cake version came about one summer when I had too many strawberries from the farmers market and not enough biscuit confidence. The combination of tender vanilla sponge and macerated berries became an instant family tradition that somehow feels both elegant and wonderfully messy.
I made this for my daughters birthday last June, and watching her face light up when she saw the layers of cream and glistening berries reminded me why baking from scratch matters. The whole family hovered around the kitchen island while I assembled it, everyone stealing strawberry slices that somehow escaped the bowl. Now she requests it for every special occasion, and honestly, I am happy to oblige.
Ingredients
- All purpose flour: Provides structure while keeping the sponge tender, measure by weight for consistent results
- Baking powder and baking soda: Work together to create the lift that makes this cake light and airy
- Unsalted butter: Room temperature butter creamed with sugar creates the perfect foundation for a tender crumb
- Granulated sugar: Sweetens and tenderizes the cake while helping create a golden crust
- Large eggs: Bind the ingredients together and add richness, always use room temperature eggs for better emulsification
- Vanilla extract: Pure vanilla extract rounds out the sweetness and complements the strawberries beautifully
- Buttermilk: The acidity in buttermilk tenderizes the gluten and adds subtle tanginess that enhances the vanilla flavor
- Fresh strawberries: Choose berries that are fully red and fragrant, as they will sweeten naturally as they macerate
- Lemon juice: Brightens the strawberry filling and helps the berries release their juices faster
- Heavy whipping cream: Must be very cold to whip properly, creating the lush clouds between cake layers
- Powdered sugar: Stabilizes the whipped cream and adds just the right amount of sweetness without being cloying
Instructions
- Prep your pans and oven:
- Preheat oven to 350°F (175°C) and generously grease two 8-inch round cake pans, lining the bottoms with parchment paper for easy release later.
- Mix the dry ingredients:
- Whisk together flour, baking powder, baking soda, and salt in a medium bowl, ensuring everything is evenly distributed before combining with wet ingredients.
- Cream butter and sugar:
- Beat softened butter and granulated sugar in a large bowl until the mixture turns pale and fluffy, about three to five minutes, which incorporates crucial air bubbles.
- Add eggs and vanilla:
- Add eggs one at a time, beating well after each addition, then pour in the vanilla extract until fully incorporated.
- Combine wet and dry:
- Alternate adding the flour mixture and buttermilk to the butter mixture, starting and ending with flour, mixing only until you no longer see dry streaks.
- Bake the layers:
- Divide batter evenly between prepared pans and bake for 22 to 25 minutes until a toothpick inserted in the center comes out clean, then cool in pans for 10 minutes.
- Prep the strawberries:
- Toss sliced strawberries with sugar and lemon juice, letting them sit for at least 20 minutes and occasionally stirring until they release their juices.
- Whip the cream:
- In a thoroughly chilled bowl, beat heavy cream with powdered sugar and vanilla until stiff peaks form that hold their shape when the beaters are lifted.
- Assemble the cake:
- Place one cooled cake layer on your serving plate, top with half the strawberries and their juices, then spread half the whipped cream before repeating with the second layer.
 Save to Pinterest
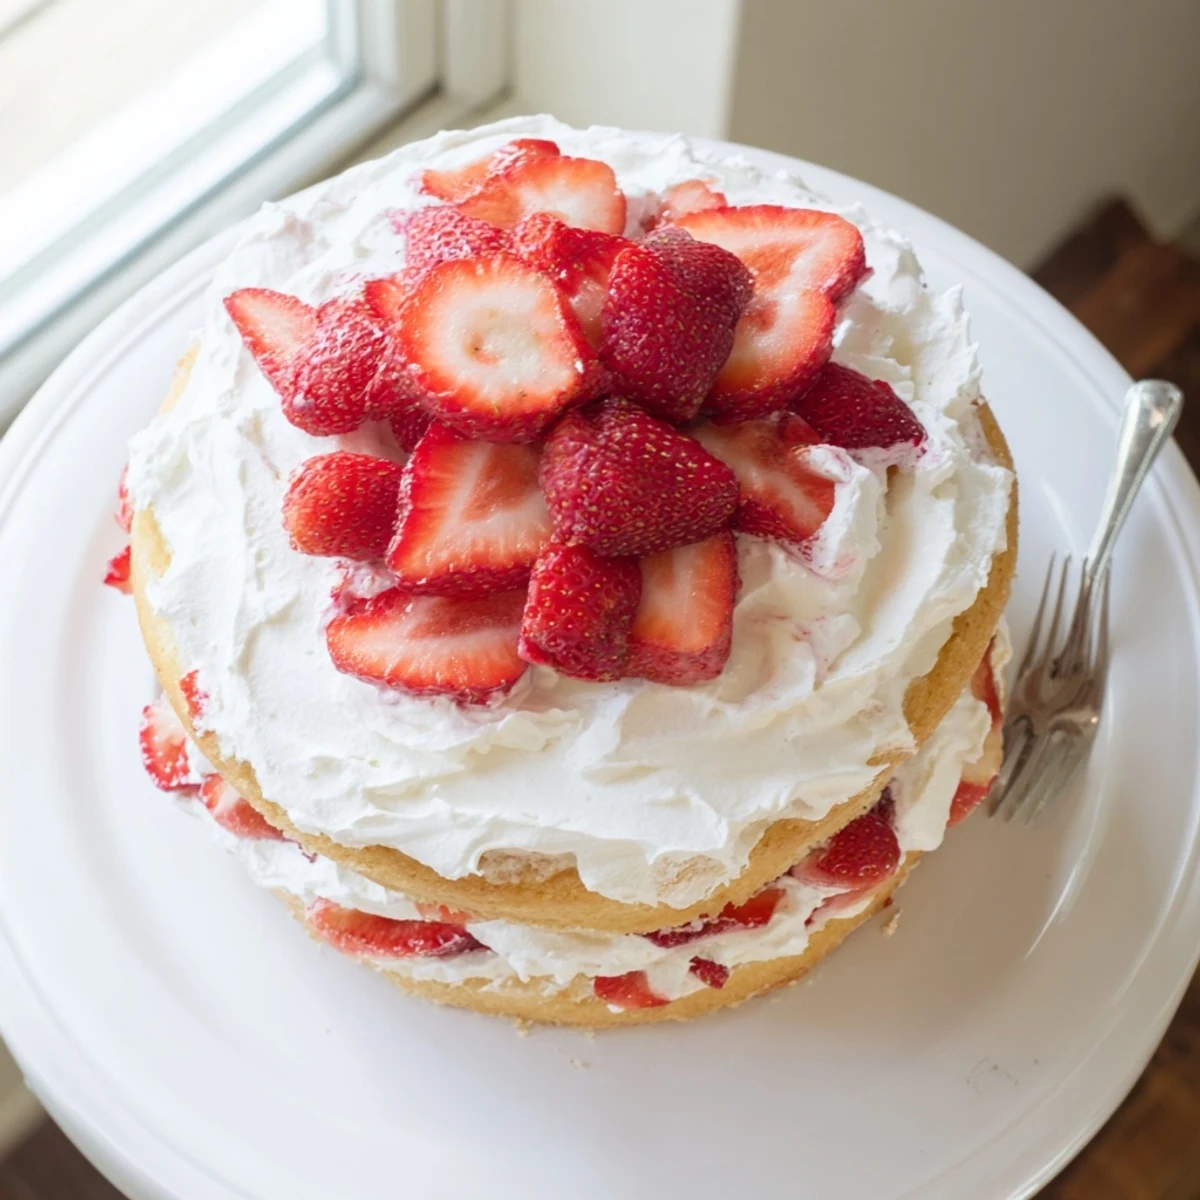
 This recipe has become my go to for summer potlucks because it travels surprisingly well and always looks stunning even after the journey. Something about the contrast of white cream against ruby red berries makes people gasp when I uncover it. Last summer my neighbor asked for the recipe before she even took her first bite.
Making It Ahead
The cake layers can be baked up to two days in advance, wrapped tightly in plastic, and stored at room temperature. You can also macerate the strawberries the night before, keeping them refrigerated in a sealed container.
Serving Suggestions
This cake needs about an hour in the refrigerator after assembly to let the flavors meld and the layers to settle, making it easier to slice cleanly. Use a sharp serrated knife and wipe it clean between cuts for the most beautiful presentation.
Storage Tips
Leftovers keep surprisingly well for up to three days when stored in an airtight container in the refrigerator, though the texture will become more like a trifle over time. Any longer and the cake starts to absorb too much moisture from the strawberries.
- Bring chilled cake to room temperature for about 20 minutes before serving for the best flavor and texture
- Place a paper towel inside the container to absorb excess moisture from the strawberries
- The assembled cake does not freeze well, but unfrosted cake layers can be frozen for up to three months
 Save to Pinterest
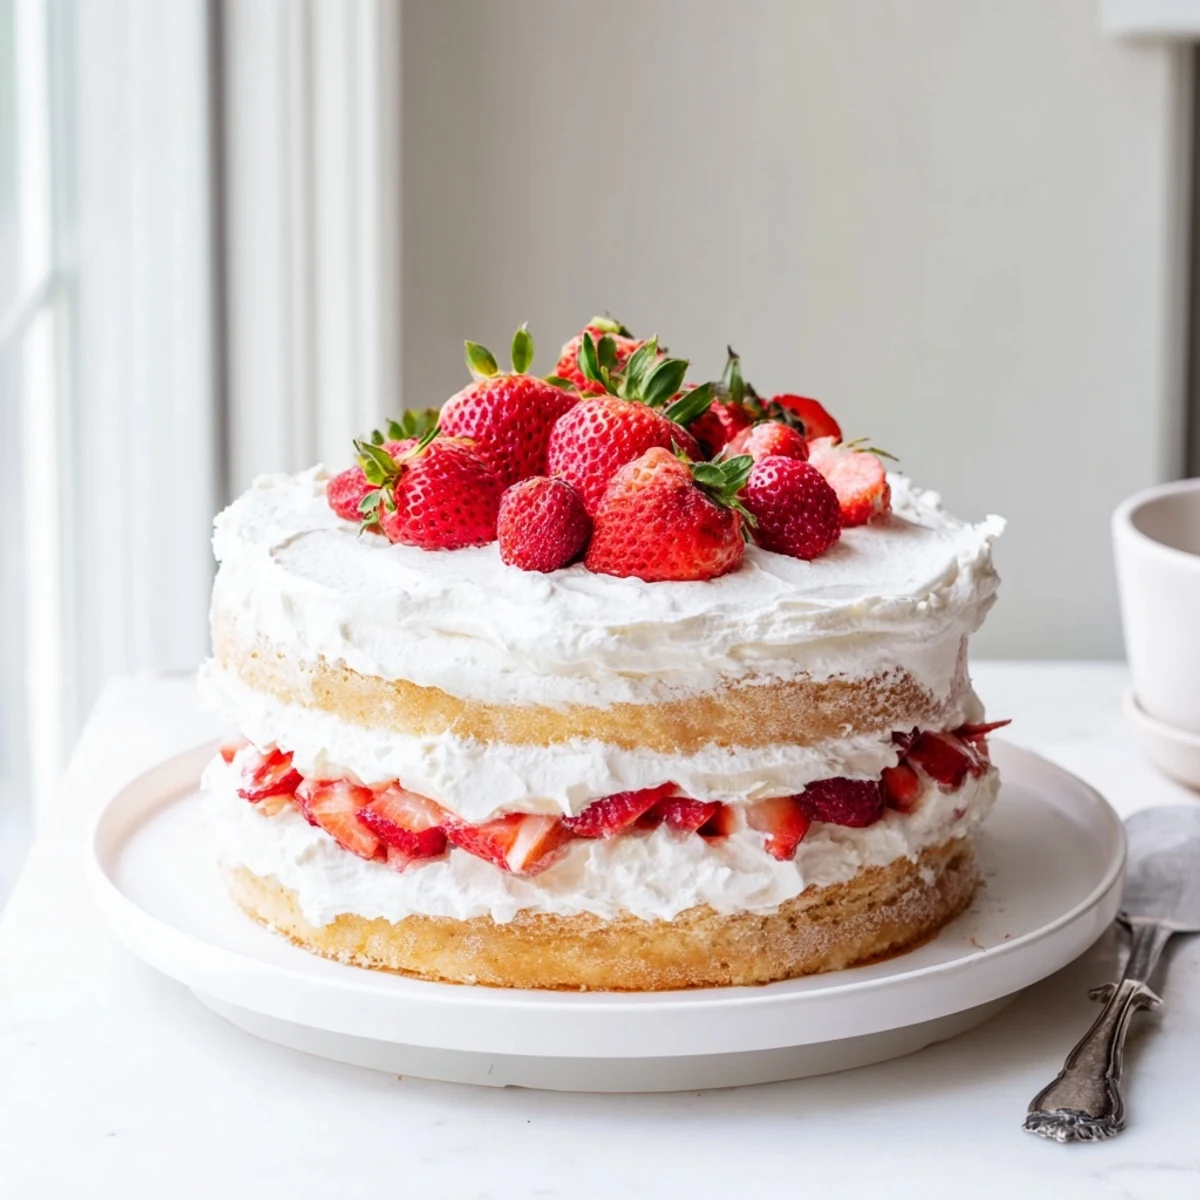
 There is something deeply satisfying about serving a cake that looks impressive but comes together with such straightforward, honest ingredients. Every bite of tender vanilla sponge mingling with sweet strawberries and clouds of cream feels like summer on a plate.
Recipe FAQs
- → Can I make this cake ahead of time?
-
Yes, you can bake the cake layers up to 2 days in advance. Wrap them tightly in plastic wrap and store at room temperature. The strawberry filling can be prepared 1 day ahead and refrigerated. However, assemble the cake with whipped cream no more than 4-6 hours before serving to maintain optimal texture.
- → How do I know when the sponge cake is done baking?
-
Insert a toothpick into the center of the cake—if it comes out clean or with just a few moist crumbs, the cake is ready. The edges should also begin to pull away slightly from the pan, and the top should spring back when gently touched.
- → Can I use frozen strawberries instead of fresh?
-
Frozen strawberries can work, but they release more liquid when thawed. Thaw them completely and drain excess liquid before macerating. The texture will be softer, and the color may be slightly darker. Fresh strawberries provide the best results for this presentation.
- → What's the best way to slice the cake for clean layers?
-
Use a long serrated knife and a gentle sawing motion. For perfectly even layers, you can insert toothpicks around the circumference as a guide. Chill the cooled cakes briefly in the freezer for 30 minutes before slicing—they'll be firmer and less likely to crumble.
- → How long does the assembled cake need to chill before serving?
-
Refrigerate the assembled cake for at least 1 hour before slicing. This allows the flavors to meld and the structure to set, making cleaner cuts. The cake can be stored covered in the refrigerator for up to 2 days, though it's best enjoyed within the first 24 hours.
- → Can I make this gluten-free?
-
Yes, substitute the all-purpose flour with a high-quality gluten-free flour blend that contains xanthan gum. The texture may be slightly denser, but the flavor will remain delicious. Ensure all other ingredients, particularly baking powder and vanilla extract, are certified gluten-free.
