 Save to Pinterest
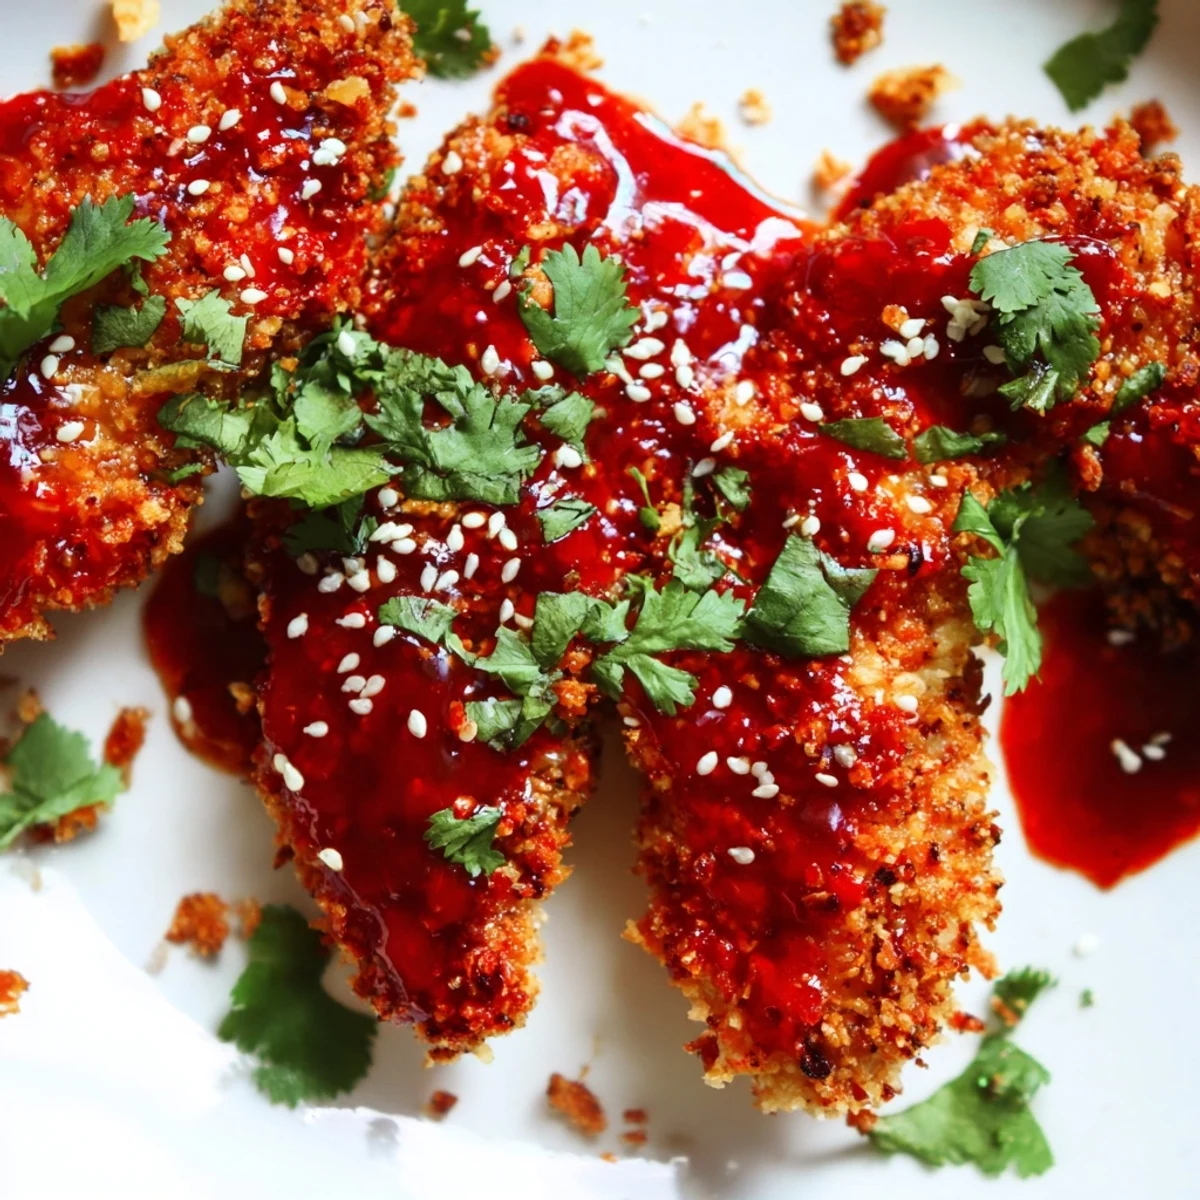
 Golden chicken strips get a crunchy coconut-panco coating before being tossed in a vibrant Thai sauce. The glaze balances sweet chili, tangy lime, and spicy sriracha with aromatic garlic and ginger. Each tender delivers satisfying crunch followed by sticky, finger-licking flavor that works perfectly for gatherings or weeknight meals.
The first time I made these sticky chicken fingers, my kitchen smelled like my favorite Thai takeout spot downtown. I was experimenting with what I had in the pantry, and when that sauce hit the hot chicken, something magical happened. Now they are the most requested thing at every gathering I host. The way the sweet and spicy clings to every crispy bite still makes me excited every single time.
I served these at a Super Bowl party last winter, and honestly, the platter was empty before I could even grab a piece for myself. My friend Sarah, who claims she does not like spicy food, kept sneaking back for thirds. Now she texts me whenever she needs the recipe because her family asks for them every Friday night.
Ingredients
- Chicken tenders: I prefer tenders because they stay juicy, but breast strips work perfectly too if you pound them slightly even
- Panko breadcrumbs: These create that restaurant style crunch that regular breadcrumbs just cannot achieve
- Shredded coconut: Totally optional, but it adds a subtle sweetness and extra crispy texture people will try to identify
- Sweet chili sauce: The backbone of the glaze, look for one with real chili flakes for the best flavor
- Sriracha: Start with one tablespoon and taste your sauce, you can always add more heat
- Fresh lime: Brightens the whole dish and cuts through the rich sticky glaze
- Fresh cilantro: Do not skip this, it brings a fresh herbal contrast that wakes everything up
Instructions
- Get your oven ready:
- Preheat to 425°F and line a baking sheet with parchment paper, then give it a quick spray of oil
- Season the chicken:
- Pat the strips dry with paper towels, then sprinkle both sides with salt and pepper
- Set up your breading station:
- Arrange three shallow bowls with flour first, then beaten eggs, then panko mixed with coconut
- Coat each strip:
- Dredge in flour, dip in egg, then press into the panko mixture until fully covered
- Bake until golden:
- Arrange on the sheet, lightly oil the tops, and bake for 20 to 25 minutes, flipping halfway through
- Make the magic sauce:
- While chicken cooks, simmer all sauce ingredients in a small pan for 3 to 4 minutes until slightly thickened
- Toss and coat:
- Transfer hot chicken to a bowl, pour the sauce over, and gently toss until every piece is glazed
- Finish with flair:
- Top with cilantro and sesame seeds, then serve immediately with lime wedges on the side
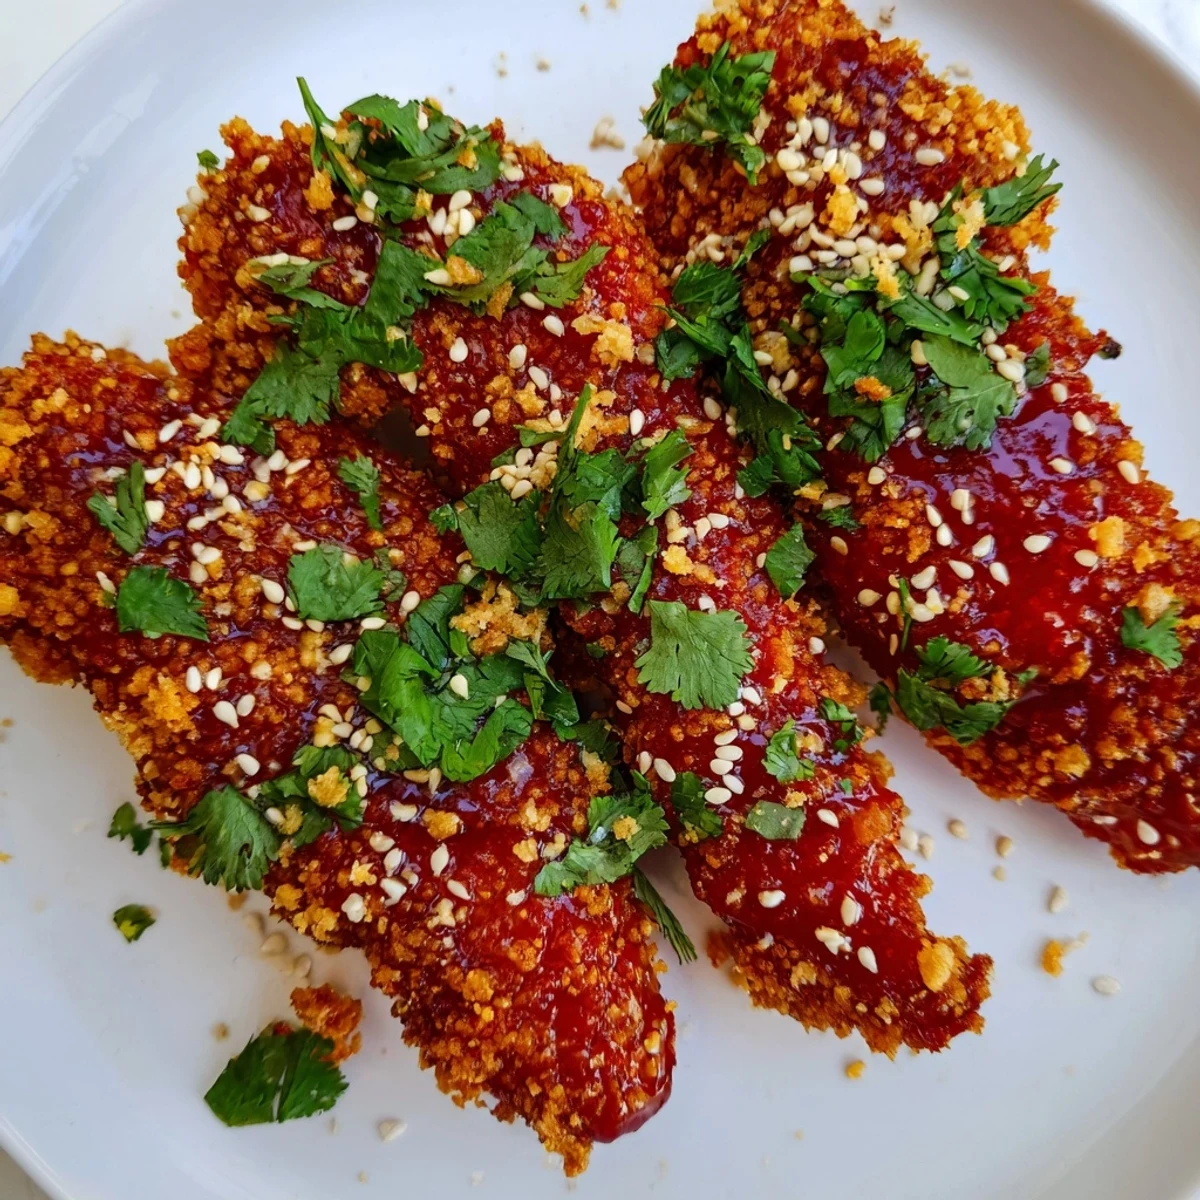
 Save to Pinterest
 These have become my go to when friends are coming over and I want something that feels special without being fussy. Last month my cousin asked if she could pay me to make them for her birthday party instead of ordering catering.
Making Them Ahead
You can bread the chicken strips up to 4 hours ahead and keep them refrigerated on a parchment lined tray. When you are ready to cook, give them an extra minute or two in the oven since they will be cold. The sauce can also be made a day ahead and gently reheated.
Air Fryer Method
Cook the breaded strips at 400°F for 12 to 15 minutes, shaking the basket halfway through. They get incredibly crisp this way, maybe even better than the oven. Work in batches so they do not crowd each other.
Serving Ideas
These are fantastic over jasmine rice with steamed broccoli for a complete meal. I also love them in lettuce wraps with cucumber and extra cilantro for a lighter option.
- Set out extra lime wedges for people who love that extra citrus kick
- Offer a small bowl of extra sriracha for the heat seekers
- Keep napkins close because sticky fingers are part of the experience
 Save to Pinterest
 I hope these bring as much joy to your table as they have to mine. The first bite always reminds me why homemade is worth the effort.
Recipe FAQs
- → How do I get the crispiest coating?
-
Pat chicken completely dry before breading. Press the panko mixture firmly onto each strip. Spray or brush with oil before baking, and turn halfway through cooking time for even golden color.
- → Can I make these ahead of time?
-
Bread and freeze raw chicken strips up to 2 weeks ahead. Bake from frozen, adding 5-10 minutes to cooking time. Store sauce separately in the refrigerator for up to 5 days.
- → What can I serve with these?
-
Jasmine rice soaks up extra sauce beautifully. Asian slaw with sesame dressing adds fresh crunch. Steamed bok choy or snap peas provide vibrant color and balance the richness.
- → How can I adjust the heat level?
-
Reduce sriracha to 1 teaspoon for mild flavor, or increase to 2 tablespoons for fiery heat. Sweet chili sauce provides mild sweetness, so balance with extra honey if reducing spice.
- → Is the air fryer method better?
-
Air frying produces exceptional crispiness with less oil. Cook at 200°C for 12-15 minutes, shaking the basket halfway. The exterior becomes incredibly crunchy while staying tender inside.
- → Can I use chicken breasts instead of tenders?
-
Slice chicken breasts against the grain into even strips, about 2cm thick. Pound lightly to even thickness for consistent cooking. Adjust baking time as needed based on thickness.
