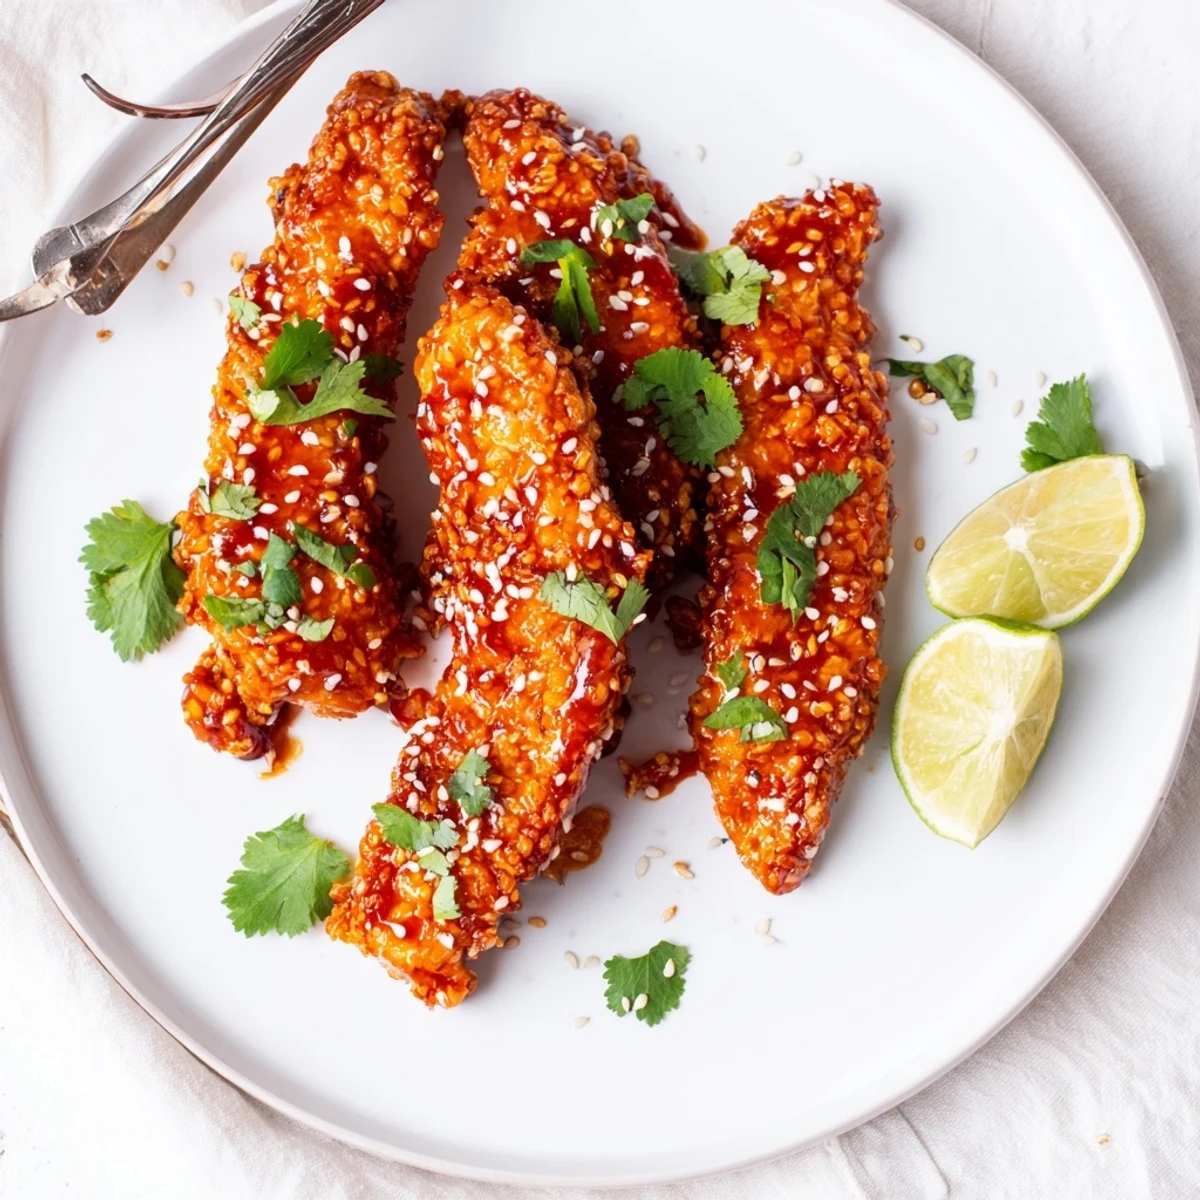
 Save to Pinterest
 These Thai sticky chicken fingers feature tender chicken strips marinated in soy, lime, and fish sauce, then coated in crispy panko breadcrumbs and baked or fried until golden.
The real star is the glossy Thai-inspired sticky sauce made with sweet chili, honey, soy, and a kick of sriracha, clinging to every crunchy bite.
Ready in just 45 minutes, they work beautifully as a crowd-pleasing appetizer or a satisfying main dish paired with jasmine rice and a cool cucumber salad.
The sizzle of chicken hitting a hot pan on a rainy Tuesday evening changed my entire perspective on weeknight dinners. I had been staring at a package of chicken tenders, completely uninspired, when a half used bottle of sweet chili sauce in the fridge door caught my eye. Thirty minutes later, I was standing at the counter eating crispy, saucy fingers straight off the baking sheet, unable to wait for a plate. My roommate walked in, grabbed one without asking, and just nodded slowly with her mouth full.
I brought these to a friends potluck last summer and watched a tray of forty pieces vanish before the pasta salad even got touched. Someone actually asked if I had ordered them from a restaurant, which remains one of the proudest moments of my amateur cooking life.
Ingredients
- 600 g boneless skinless chicken tenders or breast cut into strips: Tenders save you the trouble of slicing, but breast works beautifully if that is what you have on hand.
- 2 tbsp soy sauce plus 1 tbsp fish sauce for the marinade: This combination builds a salty, umami rich foundation that soaks into every fiber of the meat.
- 1 tbsp lime juice, 1 clove minced garlic, and 1 tsp grated ginger: Fresh lime and ginger are nonnegotiable here because the bottled stuff simply cannot compete.
- 100 g all purpose flour, 2 large eggs, and 120 g panko breadcrumbs: The classic three station breading setup, and panko is worth seeking out for its lighter, airier crunch.
- 60 ml sweet chili sauce, 2 tbsp honey, and 2 tbsp soy sauce for the glaze: Sweet, salty, and deeply caramelized when heated, this trio is the heart of the entire dish.
- 1 tbsp rice vinegar, 1 tbsp sriracha, and 1/2 tsp sesame oil: Vinegar sharpens the sweetness, sriracha brings a gentle warmth, and sesame oil adds a toasty finish that ties everything to its Thai roots.
- Sesame seeds, fresh cilantro, and lime wedges for garnish: A generous shower of these at the end makes the dish look as vibrant as it tastes.
Instructions
- Whisk the marinade together:
- Combine soy sauce, lime juice, fish sauce, minced garlic, and grated ginger in a bowl, then add the chicken strips and toss until every piece is slick and coated. Let it sit for at least fifteen minutes while you set up everything else.
- Set up your breading station:
- Arrange three shallow bowls in a row: flour in the first, beaten eggs in the second, and panko mixed with salt and pepper in the third. This assembly line keeps your hands from turning into breaded claws halfway through.
- Preheat your oven or pan:
- Heat the oven to 200 degrees Celsius and line a baking sheet with parchment, or warm about a centimeter of oil in a wide skillet over medium high heat until it shimmers.
- Bread each piece of chicken:
- Shake off excess marinade, then dredge through flour, dip into egg, and press firmly into the panko, making sure every surface is covered. Really press the crumbs on with your palms for maximum adhesion.
- Cook until golden and crisp:
- Bake for eighteen to twenty two minutes, flipping halfway, or fry for three to four minutes per side until the crust is deeply golden and the chicken is cooked through. You are listening for a gentle crackle when you turn them.
- Make the Thai sticky sauce:
- While the chicken cooks, combine sweet chili sauce, honey, soy sauce, rice vinegar, sriracha, and sesame oil in a small saucepan over medium heat. Stir constantly for about three to five minutes until it bubbles, thickens slightly, and coats the back of a spoon.
- Toss and glaze:
- Transfer the cooked chicken fingers into the saucepan or a large bowl, pouring the warm glaze over them. Gently toss with tongs until every piece is wrapped in that glossy, sticky coating.
- Finish and serve:
- Pile the saucy fingers onto a platter, scatter sesame seeds and chopped cilantro over the top, and tuck lime wedges around the edges for squeezing. Serve immediately because the crunch only lasts so long against that sauce.
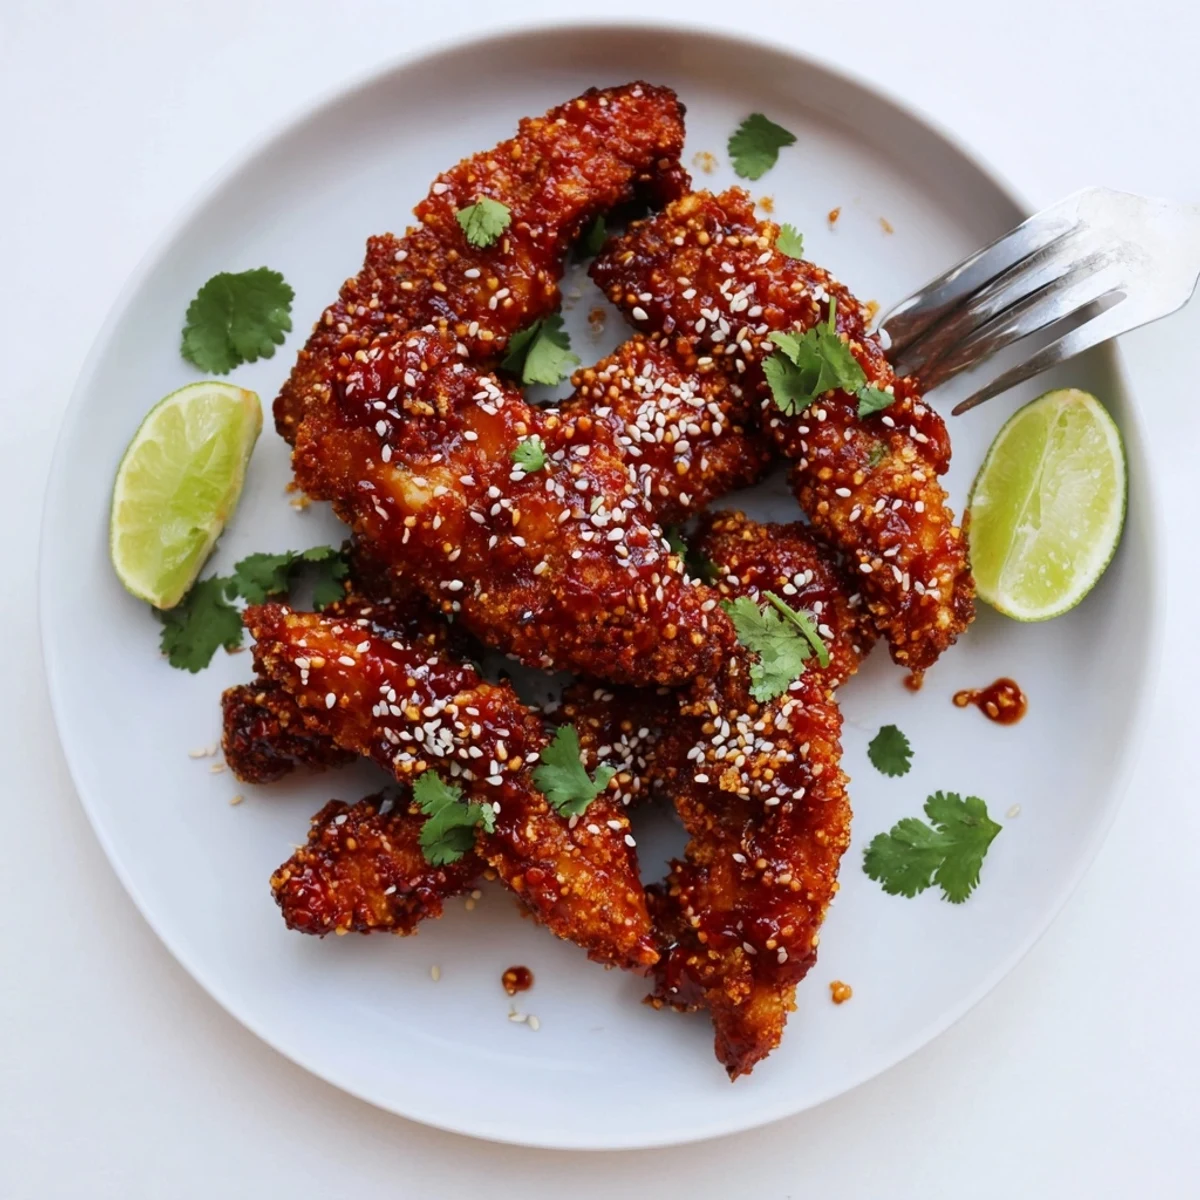 Save to Pinterest
 The night I served these to my family, my normally reserved father in law went back for a fourth helping and said nothing, which in his vocabulary is the highest compliment possible.
What to Serve Alongside
These chicken fingers love company, and a pile of fluffy jasmine rice is the most natural partner because it soaks up every drop of extra sauce. A crisp cucumber salad with a sharp vinegar dressing cuts through the sweetness beautifully, and a simple slaw with sesame dressing turns the whole plate into something that feels complete rather than thrown together.
Frying Versus Baking
Both methods reward you differently: frying gives you an undeniably shatterable crust with deeper color, while baking is gentler on your kitchen and your conscience. If you choose the oven route, a light spray of oil over the breaded chicken before it goes in helps the panko turn golden rather than pale. Honestly, I rotate between the two depending on how much cleanup I am willing to face.
Making It Your Own
The beauty of this recipe is how forgiving it is once you understand the basic structure of marinade, breading, and glaze. You can ramp the sriracha up or down, swap honey for maple syrup in a pinch, or even air fry the tenders at 190 degrees Celsius for about twelve minutes. The sauce also doubles as a stir fry glaze for tofu or shrimp on nights when chicken does not make the cut.
- For a gluten free version, use tamari instead of soy sauce and gluten free panko and flour, which are easier to find than you might think.
- If you are short on time, skip the marinade and just season the chicken with salt and pepper before breading.
- Leftover glazed chicken reheats surprisingly well in an air fryer for about three minutes at 180 degrees Celsius.
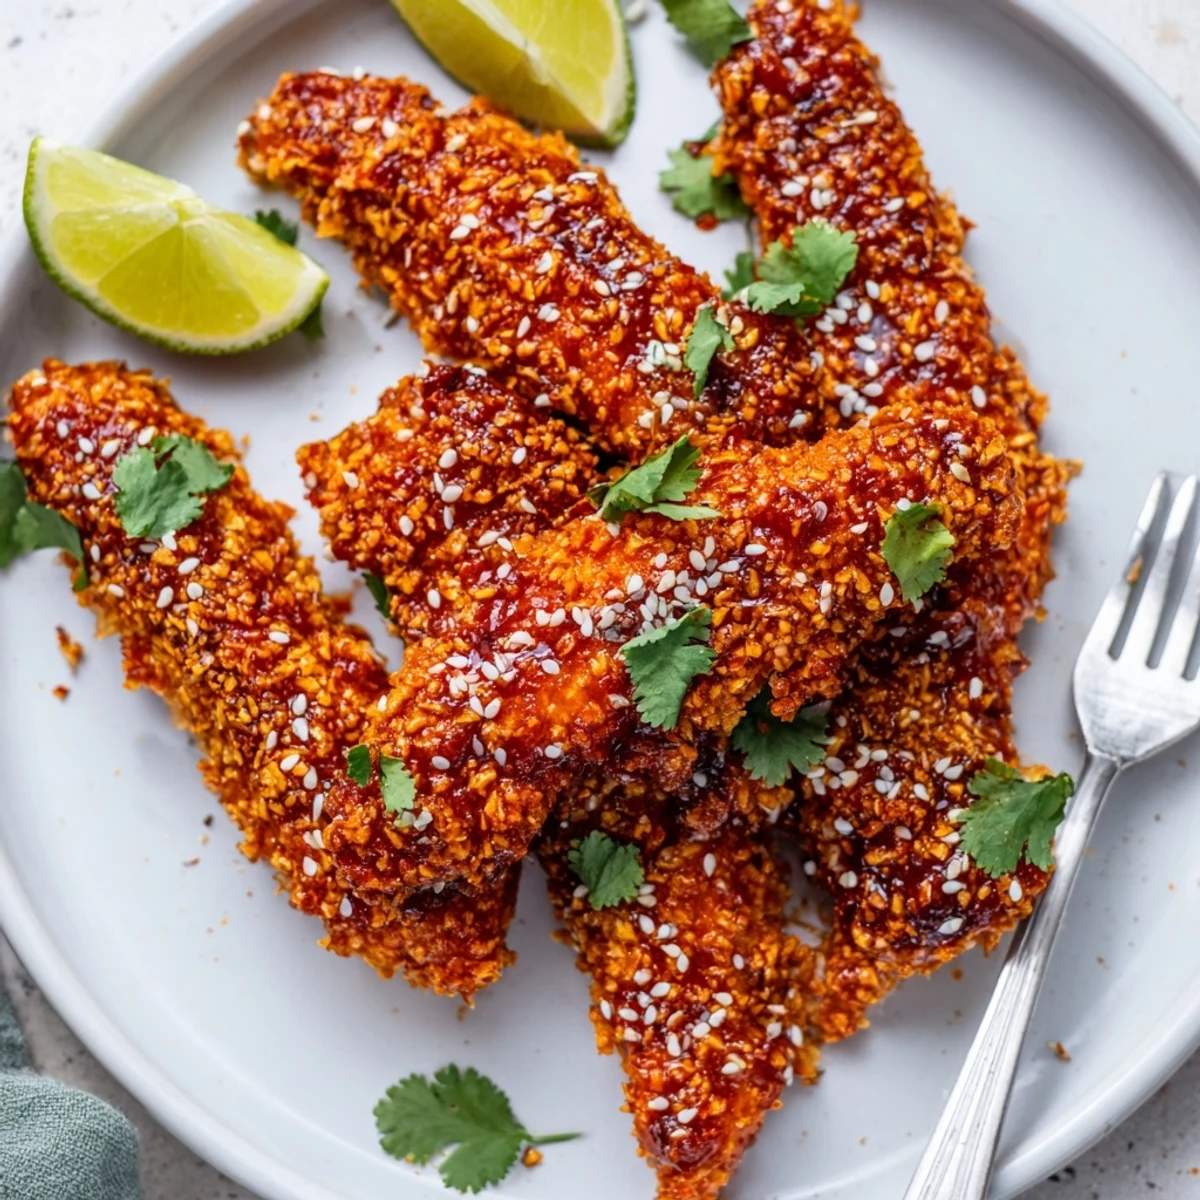 Save to Pinterest
 Keep a stack of napkins nearby, because eating these is gloriously messy work, and that is exactly how it should be. Share them with people who do not mind sticky fingers, and watch the room go quiet.
Recipe FAQs
- → Can I bake these chicken fingers instead of frying?
-
Yes, absolutely. Bake the panko-coated chicken at 200°C (400°F) for 18-22 minutes, flipping halfway through, until golden and cooked through. This method yields crisp results with less oil.
- → How do I get the chicken extra crispy?
-
For maximum crunch, try double-coating the chicken by repeating the egg and panko steps. Also, ensure your oven is fully preheated and avoid overcrowding the baking sheet so air can circulate around each piece.
- → Is the sriracha in the sticky sauce very spicy?
-
The sriracha is optional and adds a mild to moderate kick. With just one tablespoon balanced against honey and sweet chili sauce, the heat is gentle. You can reduce or omit it entirely for a milder version.
- → Can I make this dish gluten-free?
-
Yes, swap the all-purpose flour and panko for gluten-free alternatives, and replace the soy sauce with tamari. Double-check all bottled sauces like sweet chili and fish sauce for hidden wheat ingredients.
- → What should I serve with Thai sticky chicken fingers?
-
They pair wonderfully with steamed jasmine rice and a refreshing cucumber salad. You can also serve them as an appetizer with extra sweet chili sauce on the side, alongside pickled vegetables or a simple Asian slaw.
- → How long should I marinate the chicken?
-
A minimum of 15 minutes is sufficient, but you can marinate the chicken for up to 2 hours in the refrigerator for deeper flavor. Avoid marinating beyond that, as the lime juice can start to break down the meat texture.
