 Save to Pinterest
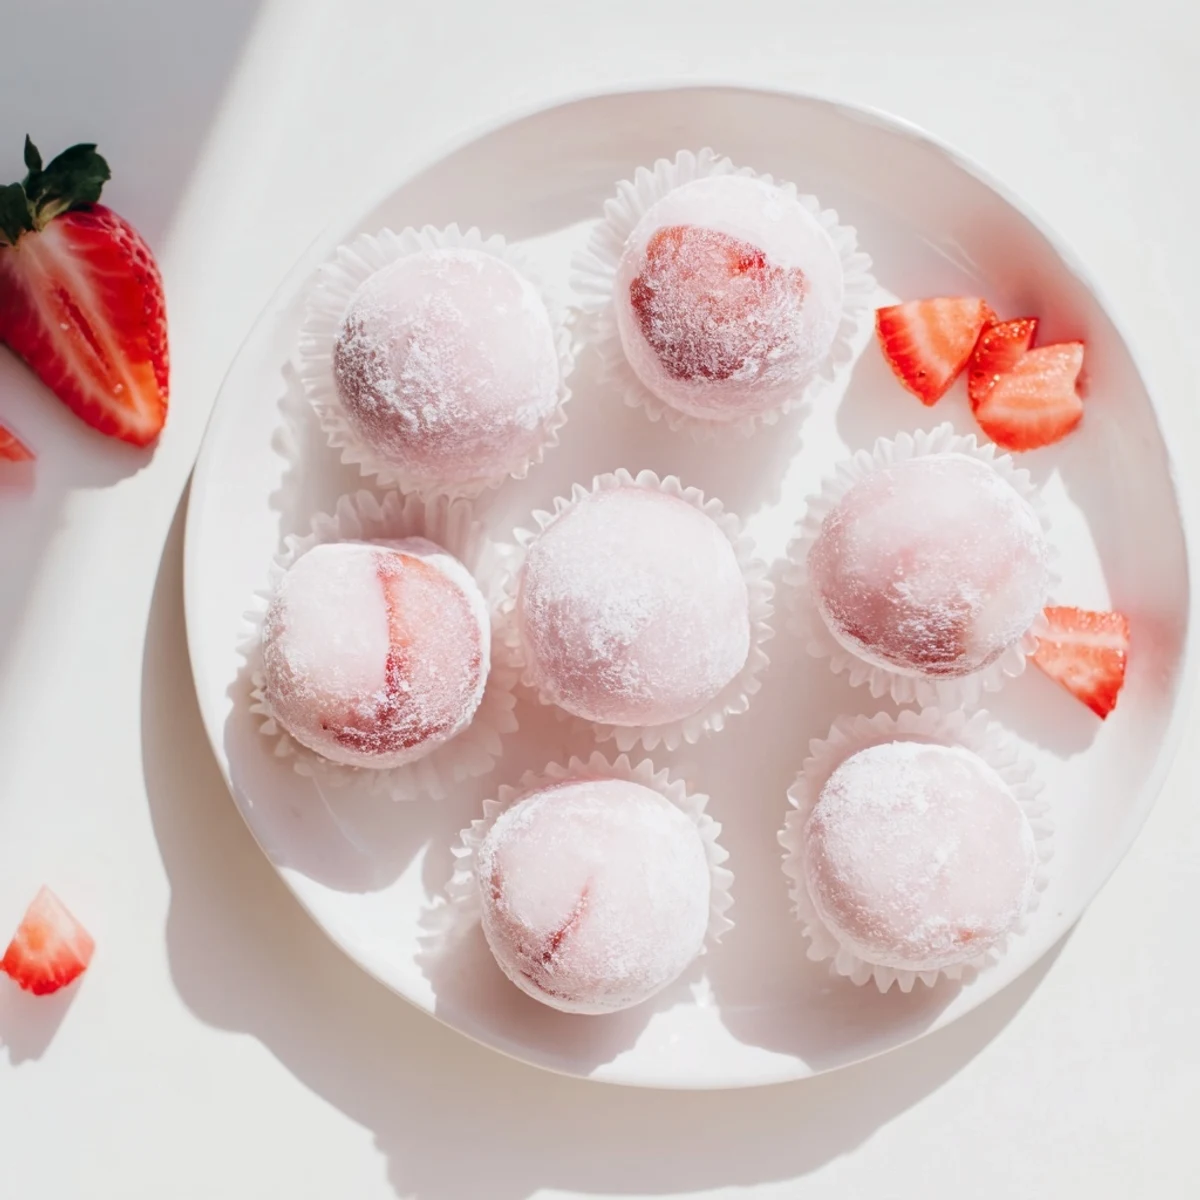
 Create these delightful Japanese confections by blending fresh strawberries with creamy coconut milk, then churning into velvety dairy-free ice cream balls. Wrap each scoop in tender, chewy sweet rice dough for the perfect texture contrast. The natural strawberry sweetness pairs beautifully with the subtle coconut notes, while the soft mochi exterior provides that signature satisfying chew. Best enjoyed straight from the freezer with a cup of green tea for an authentic experience.
The first time I attempted mochi ice cream, my kitchen looked like a pink disaster zone. I had watched countless videos of Japanese chefs effortlessly wrapping ice cream in that smooth, stretchy dough, but my attempt ended with sticky fingers everywhere and melted ice cream pooling on the counter. It took three tries and some very patient friends taste-testing imperfect batches before I finally nailed the technique. Now I can make eight perfect little bundles in under an hour.
Last summer my neighbor came over while I was testing this recipe, and she ended up staying for two hours just to watch the process. We stood at the counter with the kitchen fan blasting, trying to work quickly before the ice cream softened, laughing when our fingers got too sticky to hold anything. She took home six pieces and texted me the next day asking for the recipe because her kids had already devoured them all.
Ingredients
- Fresh strawberries: Frozen ones can work in a pinch, but fresh strawberries give that bright, floral sweetness that makes this special
- Full-fat coconut milk: This creates the creamy dairy-free base, so do not use light versions or your ice cream will turn icy
- Maple syrup: Adds a caramel undertone that complements the strawberries better than plain sugar
- Sweet rice flour: This is non-negotiable, regular flour will not give you that signature chewy texture
- Beetroot powder: Totally optional but gives the mochi this gorgeous natural pink color without artificial food dye
Instructions
- Blend the ice cream base:
- Puree those strawberries until completely smooth with the coconut milk, maple syrup, vanilla, and salt. Any bits of fruit will freeze into icy crystals, so take your time with this step.
- Freeze into scoopable perfection:
- Churn according to your ice cream makers instructions or freeze in a shallow dish, stirring every 30 minutes. The manual method takes longer but yields equally creamy results with a bit of patience.
- Pre-scoop your ice cream balls:
- Portion into eight small balls on a parchment-lined tray and freeze until firm. This step is crucial, trying to scoop soft ice cream while assembling is a recipe for frustration.
- Prepare the mochi dough:
- Whisk the sweet rice flour, sugar, water, and beetroot powder until smooth. Cover loosely and microwave in intervals, stirring between each, until thick and translucent.
- Let the dough cool slightly:
- Wait about ten minutes until you can handle it comfortably. Working with hot dough will melt your ice cream instantly, and nobody wants that.
- Roll and cut your mochi rounds:
- Dust your surface generously with potato starch, roll the dough to about 1/4 inch thick, and cut eight circles using a round cutter. Keep them separated with parchment so they do not stick together.
- Wrap and seal the ice cream:
- Place a frozen ball in the center of each mochi round and pinch the edges together tightly. Place seam-side down in cupcake liners and freeze for at least an hour before serving.
 Save to Pinterest
 My daughter now requests these for every birthday instead of cake, and her friends are always fascinated by the concept. There is something magical about biting through that soft exterior to reach the cold, strawberry-sweet center. I love watching peoples faces when they try their first one.
Working With Mochi Dough
The dough might seem intimidatingly sticky at first, but that is exactly how it should be. The potato starch is your best friend here, use it liberally on your work surface, hands, and rolling pin. If the dough starts to feel too dry or develops a skin, a quick 15-second zap in the microwave brings back that perfect pliable texture.
Make-Ahead Strategy
You can prepare the ice cream balls and mochi rounds up to three days in advance, storing them separately in the freezer. Assembly goes much faster when both components are ready and waiting. I often make a double batch and keep everything frozen for impromptu dessert emergencies.
Flavor Variations
Once you master this technique, the flavor possibilities are endless. Try swapping strawberries for mango, matcha, or even black sesame. The beetroot powder can be replaced with matcha powder for green mochi or left plain for classic white.
- Try adding a tiny pinch of salt to the ice cream base for deeper flavor
- Roll the finished mochi in toasted sesame seeds for extra texture
- Let them sit at room temperature for five minutes before eating for the best texture
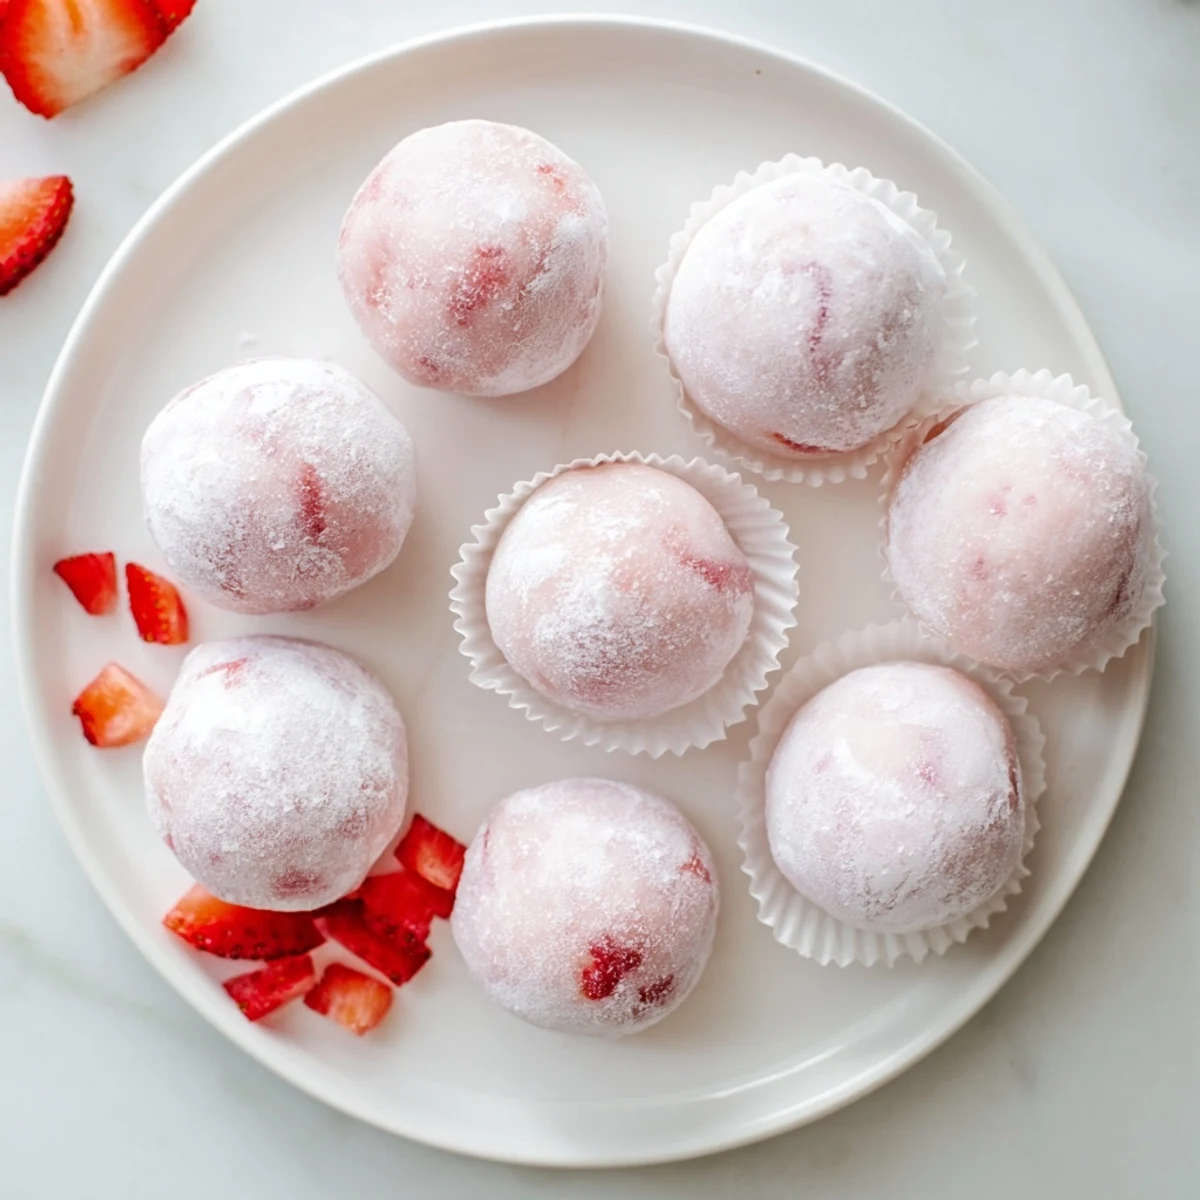
 Save to Pinterest
 These little packages of joy have become my go-to dessert for bringing to gatherings. They are impressive, delicious, and somehow feel fancy despite being so simple to make at home.
Recipe FAQs
- → How long does homemade mochi ice cream stay fresh?
-
Store in an airtight container in the freezer for up to 2 weeks. For best texture and flavor, consume within the first week. The mochi remains soft and chewy thanks to the sugar content in the dough.
- → Can I make this without an ice cream maker?
-
Absolutely. Pour the blended mixture into a shallow dish and freeze, stirring every 30 minutes for 2-3 hours until creamy. This manual churning method prevents large ice crystals from forming and yields smooth results.
- → What gives mochi its characteristic chewy texture?
-
Glutinous rice flour, also called sweet rice flour or mochiko, creates the unique stretchy texture when cooked with sugar and water. The starch gelatinizes during microwaving, becoming translucent and elastic.
- → Why use potato starch for dusting?
-
Potato starch prevents sticking without adding flavor or affecting the mochi texture. Cornstarch works as an alternative. The starch coating keeps the dough manageable while shaping and creates a professional finish.
- → Can I use other fruits besides strawberries?
-
Certainly. Try mango, matcha green tea, black sesame, or chocolate variations. Adjust sweetener amounts based on fruit natural sweetness. The mochi wrapper complements almost any flavor profile beautifully.
- → Is beetroot powder necessary for the dough?
-
Completely optional. It adds a lovely pink hue that complements the strawberry filling. Without it, the mochi will be off-white. Alternative natural colorings include strawberry powder or a drop of beet juice.
