 Save to Pinterest
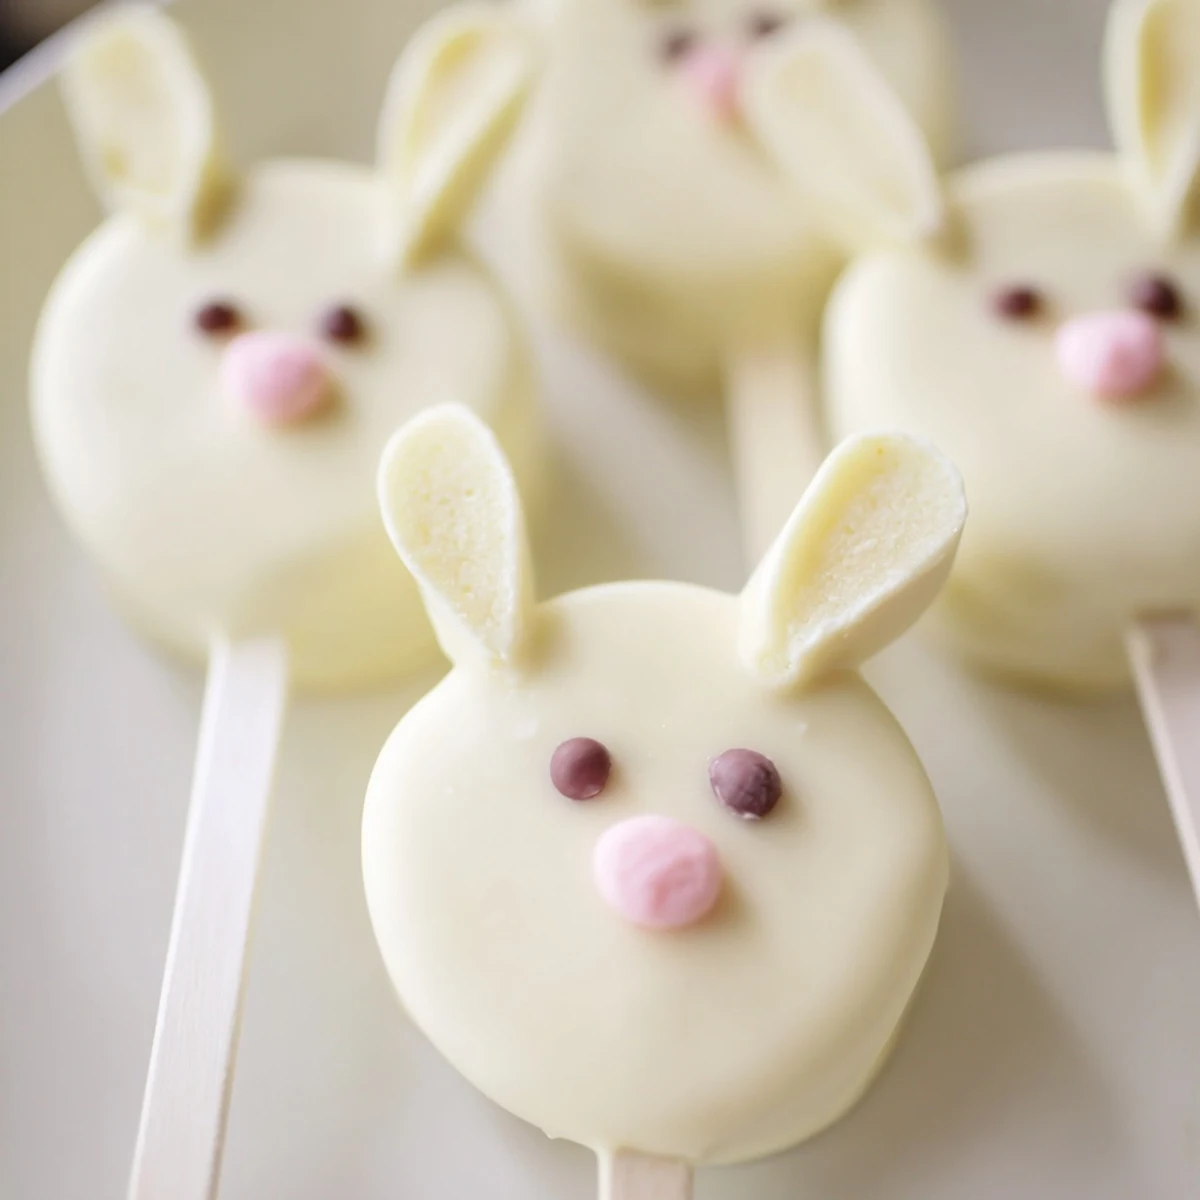
 These delightful bunny-shaped treats combine moist vanilla cake with creamy white chocolate coating for a festive Easter dessert. The cake mixture blends vanilla crumbs with cream cheese, butter, and powdered sugar for a dough that holds its shape perfectly. After forming into bunny faces and chilling, each piece gets dipped in melted white chocolate and decorated with candy eyes, sprinkles, and fondant details. The process takes about one hour from start to finish and yields eight charming cakesicles on sticks that are easy to serve and enjoy.
Last Easter my niece wanted to help make something special and these bunny cakesicles ended up being the perfect project. We had white chocolate everywhere and some questionable looking bunny faces but the laughter in the kitchen made it worth it.
The first time I made these I forgot to chill the cake balls before dipping and they literally fell apart in the melted chocolate. Lesson learned but my kids still fought over eating the messy ones anyway.
Ingredients
- 1 cup vanilla cake crumbs: Homemade or store bought both work perfectly fine
- 2 tbsp cream cheese softened: This acts as the binder holding everything together
- 1 tbsp unsalted butter softened: Adds richness to the cake mixture
- 2 tbsp powdered sugar: Sweetens the filling just enough
- 1/2 tsp vanilla extract: Rounds out all the flavors beautifully
- 10 oz white chocolate: Use melts for easier coating or high quality bars for better flavor
- Edible gel food coloring: Optional for coloring bunny ears and noses
- 8 cakesicle sticks: Essential for that popsicle look
- Sprinkles and decorations: Candy eyes fondant or whatever makes you happy
Instructions
- Mix the cake base:
- Combine the cake crumbs cream cheese butter powdered sugar and vanilla until you get a dough that holds together when squeezed.
- Shape the bunnies:
- Divide into 8 portions and form each into a flattened oval bunny face shape then insert a stick about halfway through.
- Chill until firm:
- Refrigerate for at least 20 to 30 minutes because warm cake pops will slide right off those sticks.
- Melt the white chocolate:
- Heat in 30 second intervals stirring between each burst until completely smooth and pourable.
- Coat the cakesicles:
- Dip each bunny into the chocolate letting excess drip off then immediately add decorations before it sets.
 Save to Pinterest
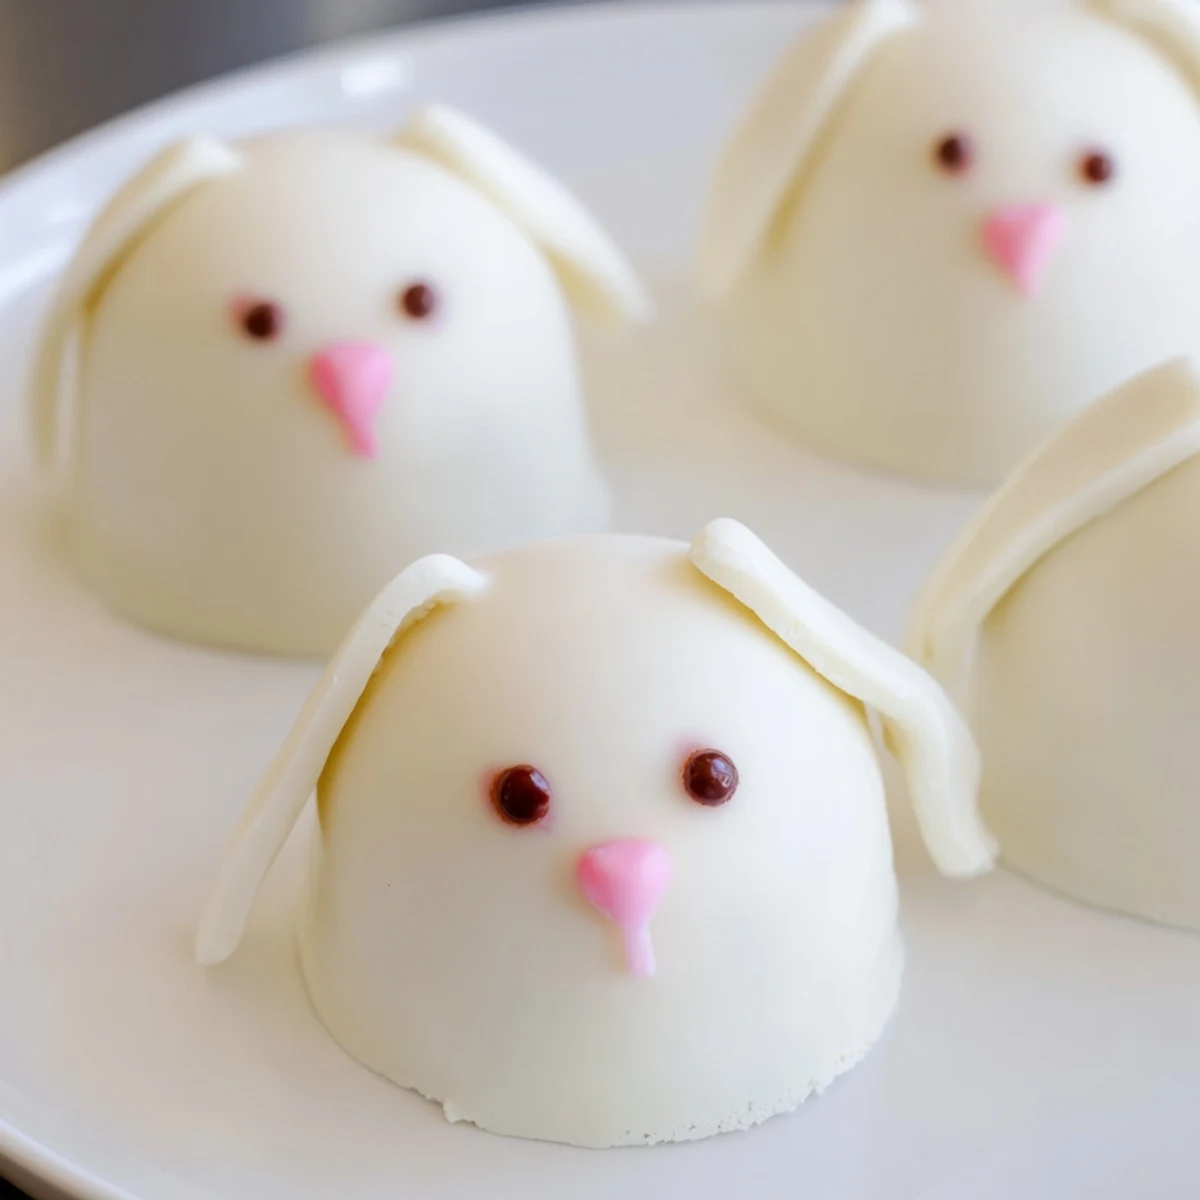
 My daughter insisted on making a bunny with three ears and somehow it became the most requested decoration style ever since. Sometimes the mistakes are the ones people remember most fondly.
Getting That Perfect Coating
The temperature of your chocolate makes all the difference. Too hot and it slides right off too cool and it goes on thick and clumpy. I keep a kitchen thermometer nearby now and aim for 90 degrees Fahrenheit.
Decoration Ideas That Actually Work
Candy eyes are adorable but sometimes sprinkles alone look even sweeter. I have also seen people use edible markers to draw whiskers directly onto the set chocolate which is honestly genius.
Making These Ahead
You can form and chill the uncoated cake shapes up to two days in advance. The coating however needs to be done the same day because white chocolate can develop those weird gray spots over time.
- Store finished cakesicles in the fridge wrapped loosely in plastic
- Bring to room temperature about 15 minutes before serving
- They disappear fast so make extra if you want leftovers
 Save to Pinterest
 Hope these little bunny cakesicles bring as much joy to your Easter table as they have to ours over the years.
Recipe FAQs
- → How far in advance can I make these bunny cakesicles?
-
You can prepare these cakesicles up to 3 days in advance and store them in an airtight container in the refrigerator. The coating stays fresh and the cake remains moist, making them perfect for preparing ahead of Easter celebrations or parties.
- → Can I use different cake flavors for the inside?
-
Absolutely! While vanilla cake crumbs provide a classic flavor that pairs beautifully with white chocolate, you can experiment with chocolate, lemon, strawberry, or red velvet cake crumbs. Each flavor combination creates a unique twist on these festive treats.
- → What if I don't have a cakesicle mold?
-
A cakesicle mold is not essential but helps achieve uniform shapes. Without one, simply shape the mixture by hand into flattened ovals or bunny face forms. The dough holds together well, allowing you to create free-form bunny shapes that still look charming and festive.
- → How do I prevent the white chocolate from seizing when melting?
-
Melt white chocolate in a microwave-safe bowl using 30-second intervals, stirring thoroughly between each burst. Avoid overheating and keep moisture away from the chocolate. If it becomes too thick, add a teaspoon of coconut oil or vegetable shortening to smooth it out.
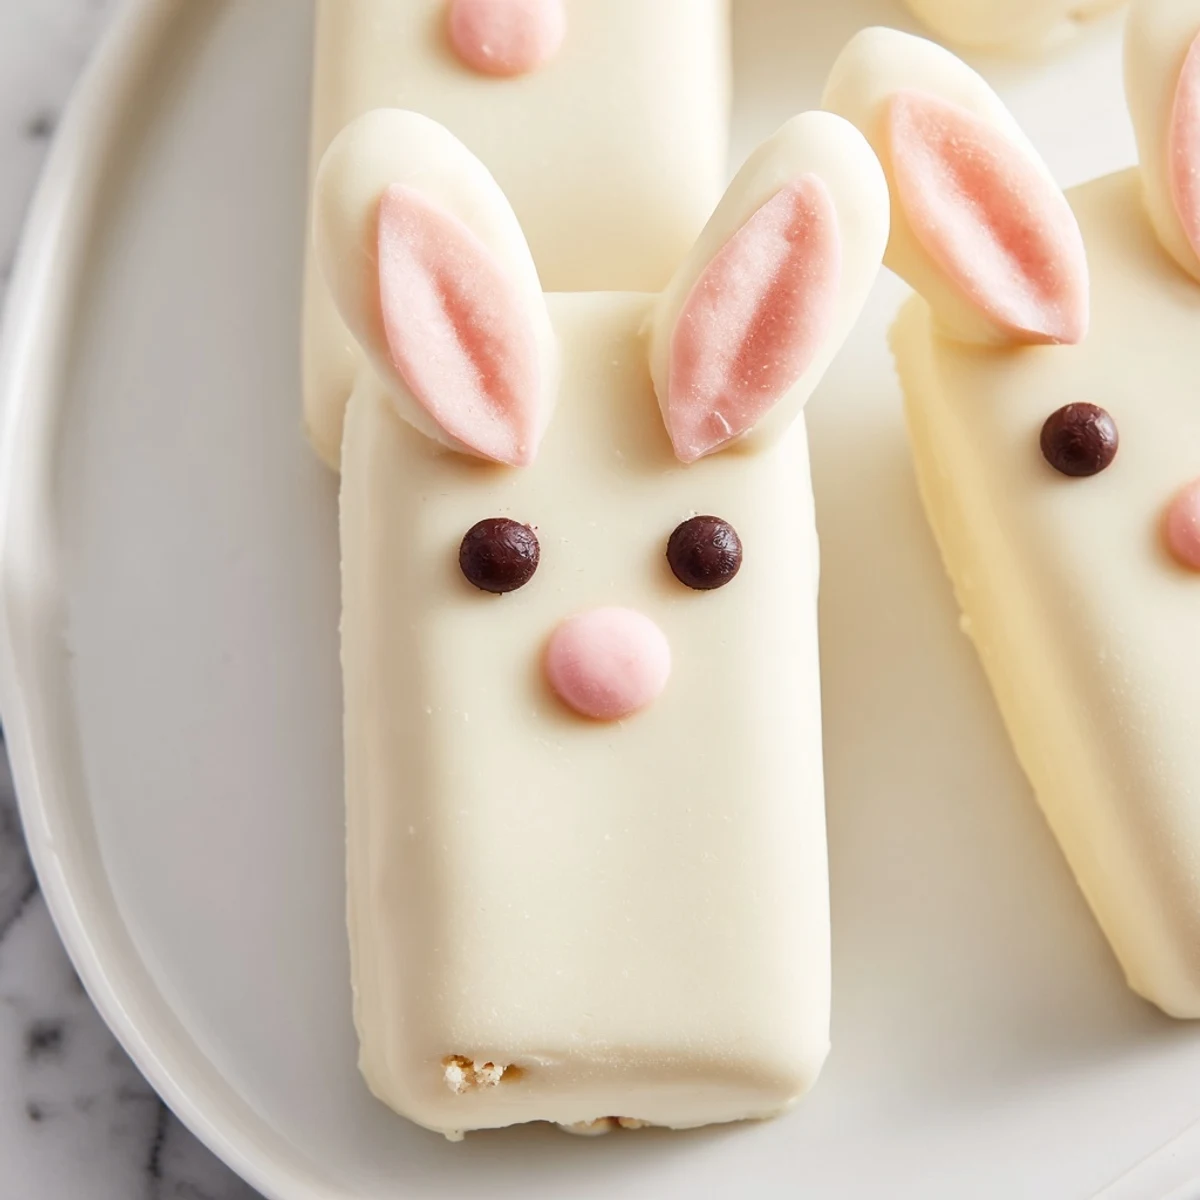
- → What decorations work best for bunny faces?
-
Candy eyes, pink sprinkles for noses, and fondant or modeling chocolate for ears create adorable bunny features. You can also use pretzel sticks for whiskers, edible food coloring pens for details, or pipe melted chocolate for extra definition. Let creativity guide your decoration style.
