 Save to Pinterest
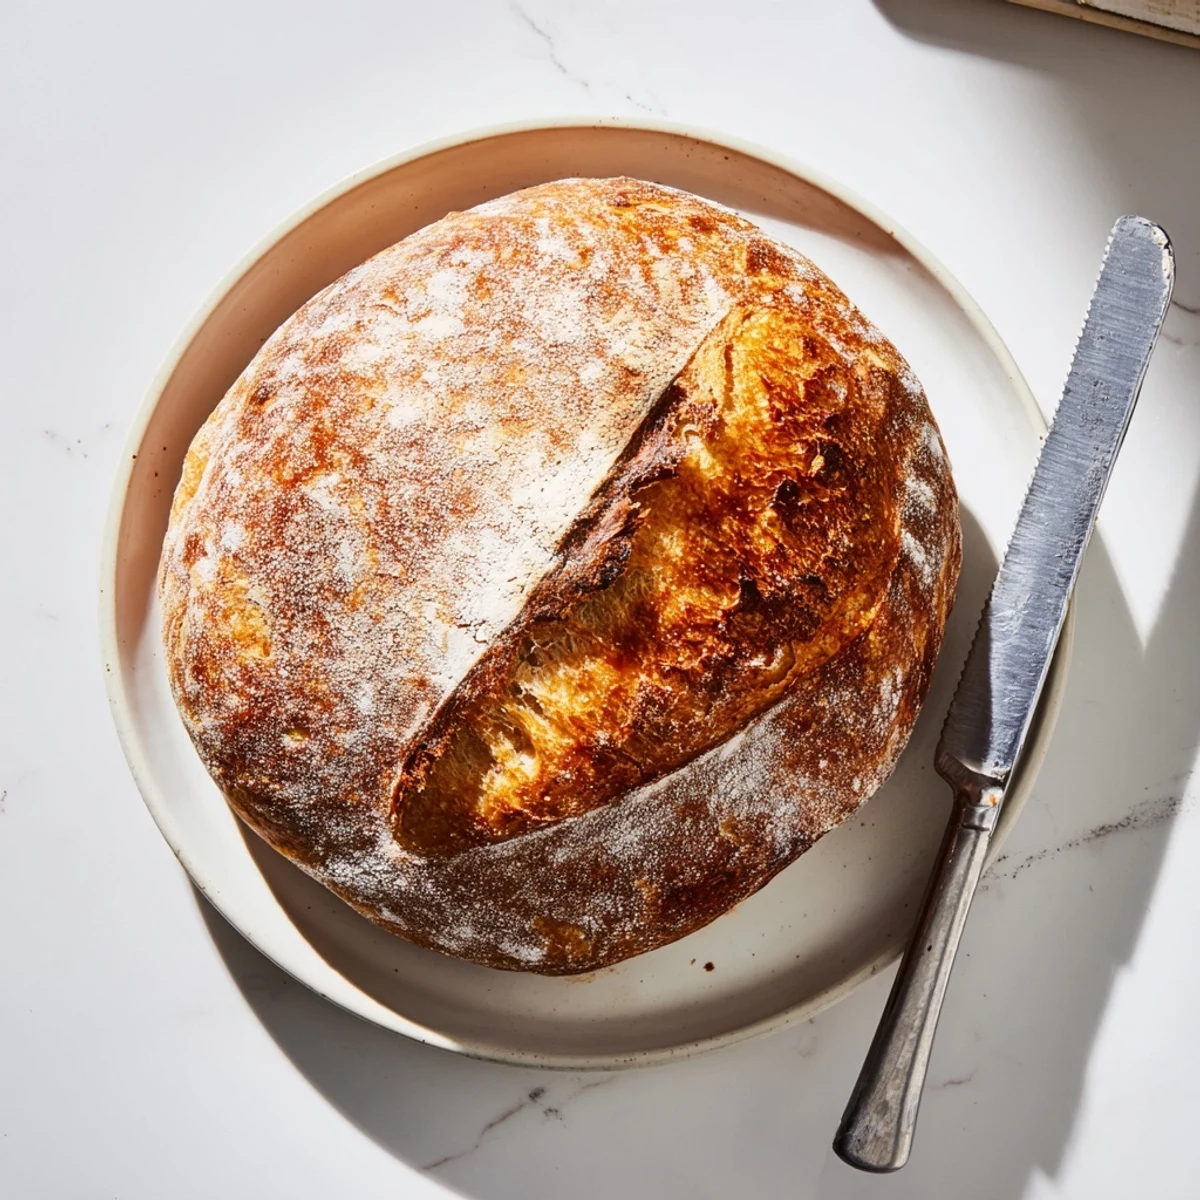
 This foolproof method delivers bakery-quality crusty bread with a tender, chewy interior. Simply combine flour, salt, yeast, and water, then let time do the work. The long fermentation develops deep flavor while the Dutch oven creates that signature crackling crust. No special skills or equipment needed beyond a heavy pot.
The morning I discovered no knead bread, I had flour everywhere on my pajamas, the floor, even the cat who had wandered in to investigate. I had mixed the dough the night before, convinced something so simple couldn possibly work, but waking up to that bubbling, fermented beauty changed everything about how I approach homemade bread.
My sister in law still talks about the first loaf I made for her, tearing into it straight from the oven with butter melting into the crevices. She couldn believe something this rustic and professional looking came from my tiny apartment kitchen with zero bread making experience.
Ingredients
- Bread flour: Higher protein content gives you that chewy artisan texture, though all purpose works in a pinch
- Salt: Dont skimp here it enhances flavor and controls fermentation speed
- Instant yeast: No need to proof it first, just mix directly with the flour for foolproof results
- Lukewarm water: Think bath temperature, about 100°F, hot enough to wake the yeast but not kill it
- Extra flour: Keep plenty handy for shaping the sticky dough and dusting your work surface
Instructions
- Mix the dough:
- Whisk flour, salt, and yeast in a large bowl, then stir in water until you have a shaggy, sticky mass that looks like a mess this is exactly right.
- Let it rest:
- Cover tightly and walk away for 12 to 18 hours while time and temperature transform your humble mixture into something extraordinary.
- Shape the loaf:
- Turn the bubbly dough onto a floured surface, gently fold edges toward the center to create tension, then form into a rough ball.
- Second rise:
- Set your dough seam side down on parchment paper, cover with a towel, and let it relax for 30 to 60 minutes while your oven preheats.
- Bake with steam:
- Transfer the dough into a screaming hot Dutch oven, cover to trap steam, and bake 30 minutes before uncovering for that golden crusty finish.
 Save to Pinterest
 This recipe has become my Sunday ritual, the house filling with that unmistakable baking aroma that makes neighbors stop by to investigate. There something profoundly satisfying about transforming four basic ingredients into something that feeds both body and soul.
Getting The Best Crust
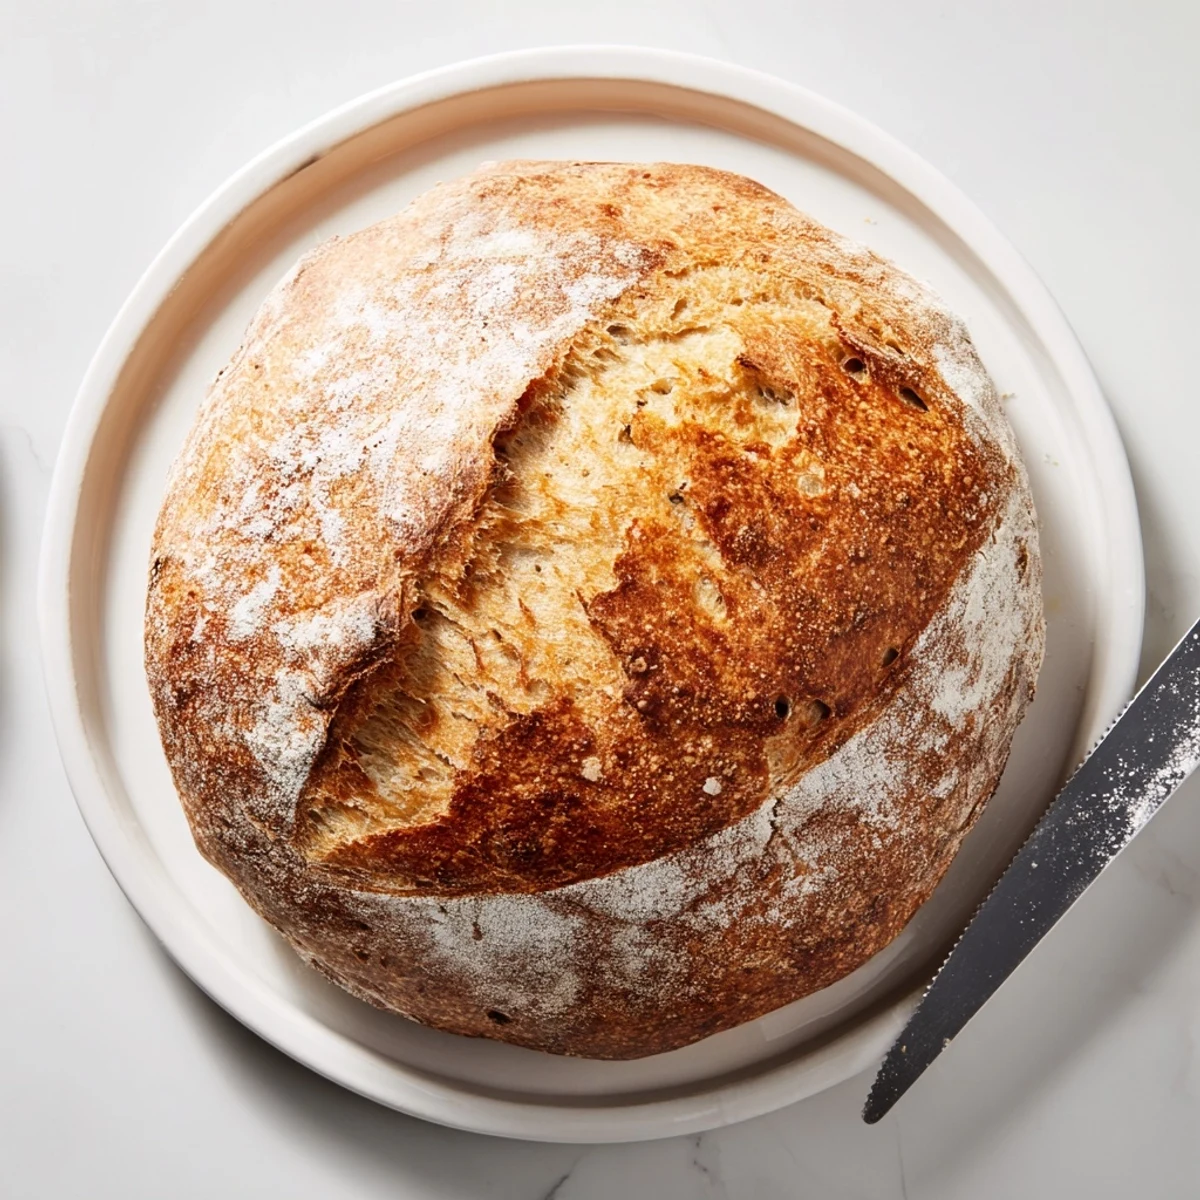
The Dutch oven method creates a mini steam oven in your own kitchen, trapping moisture that keeps the crust soft initially while the interior expands. When you remove the lid, that steam escapes and the exterior transforms into the crackly, golden masterpiece you see in artisan bakery windows. If you don own a Dutch oven, a heavy cast iron pot with a tight fitting lid or even a baking dish with an upside down metal bowl can work surprisingly well.
Flavor Variations
Once you master the basic loaf, the variations are endless. Try adding chopped rosemary and roasted garlic for an Italian inspired bread, or mix in kalamata olives and sun dried tomatoes for a Mediterranean twist. Cinnamon raisin versions make incredible French toast, and swapping a third of the flour for whole wheat adds nuttiness and nutrition while maintaining that beautiful open crumb structure.
Storage And Serving Suggestions
Homemade bread has a shorter shelf life than commercial loaves because it lacks preservatives, but the flavor is worth the faster consumption. Store cut side down on a cutting board for up to two days, or freeze slices in airtight bags for up to three months and toast directly from frozen.
- Slice leftovers and freeze for instant toast on busy mornings
- Revive slightly stale loaves with a quick sprinkle of water and 10 minutes in a warm oven
- Use day old bread to make the most incredible croutons or breadcrumbs youve ever tasted
 Save to Pinterest
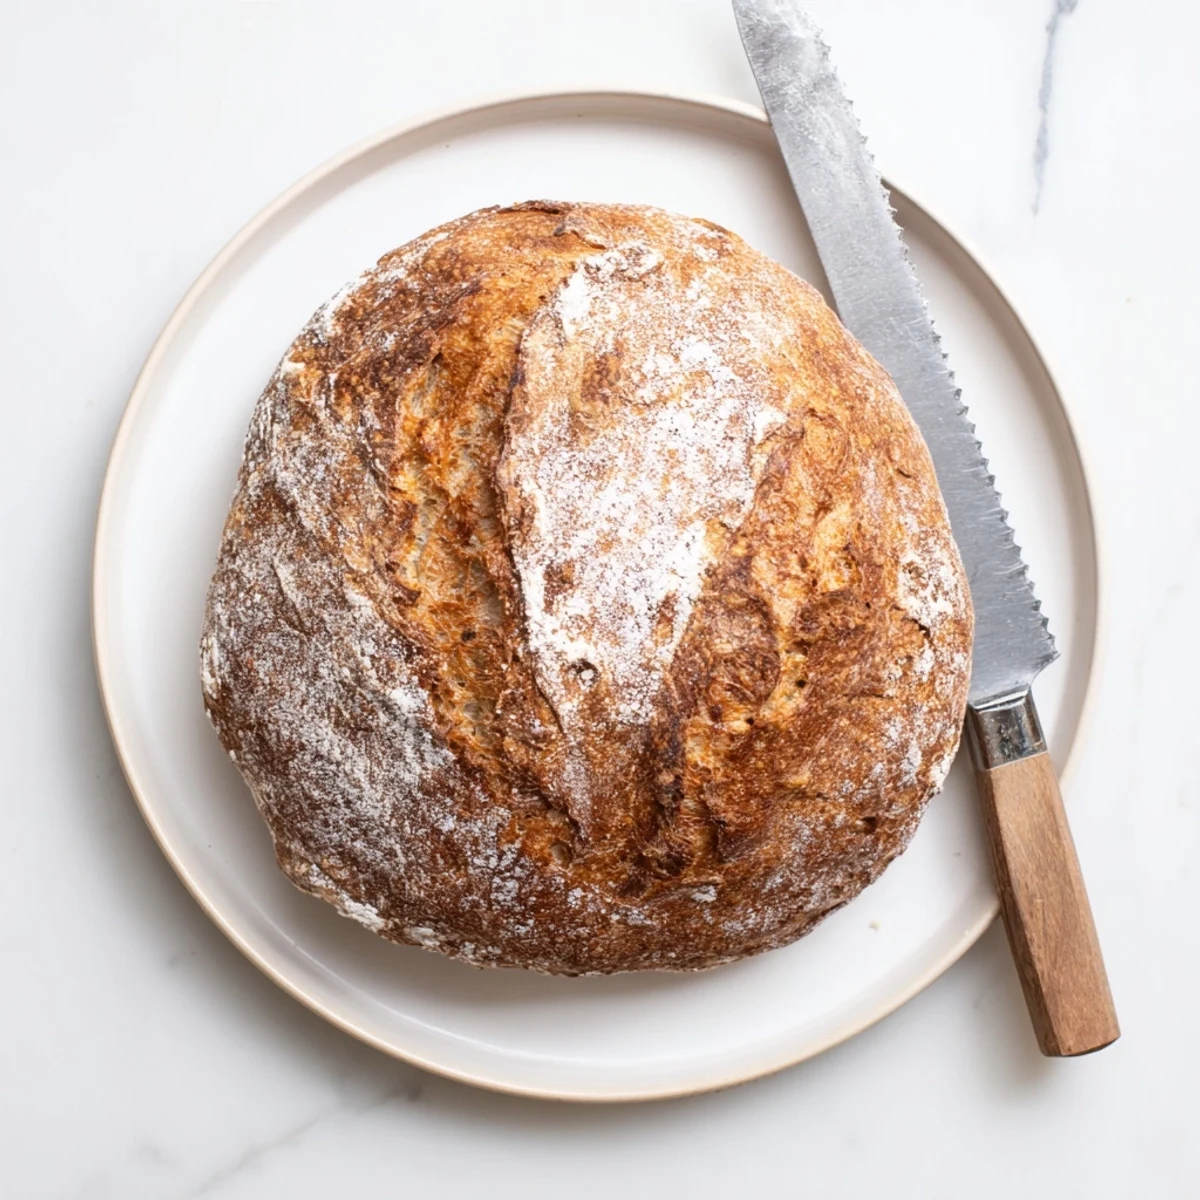
 There something magical about pulling a steaming, crackling loaf from the oven that you created with your own hands. May your kitchen always smell like fresh bread.
Recipe FAQs
- → Why does this bread require no kneading?
-
The extended 12-18 hour rising period allows gluten strands to develop naturally through fermentation. This slow process creates the same structure that kneading typically achieves, but with minimal effort.
- → Can I use all-purpose flour instead of bread flour?
-
Yes, all-purpose flour works beautifully. Bread flour yields slightly more structure due to higher protein content, but the difference is subtle. Both produce excellent results.
- → Why bake in a Dutch oven?
-
The heavy pot traps steam during baking, creating the perfect environment for a crackling crust and impressive oven spring. It mimics professional steam-injected ovens.
- → How do I know when the dough has risen enough?
-
Look for bubbles dotting the surface and dough that has at least doubled in size. It should look puffy and somewhat jiggly when you gently shake the bowl.
- → Can I add mix-ins like herbs or cheese?
-
Absolutely. Fold in chopped olives, rosemary, grated cheese, or dried fruit after the initial rise. Start with 1/2 cup and adjust based on preference.
