 Save to Pinterest
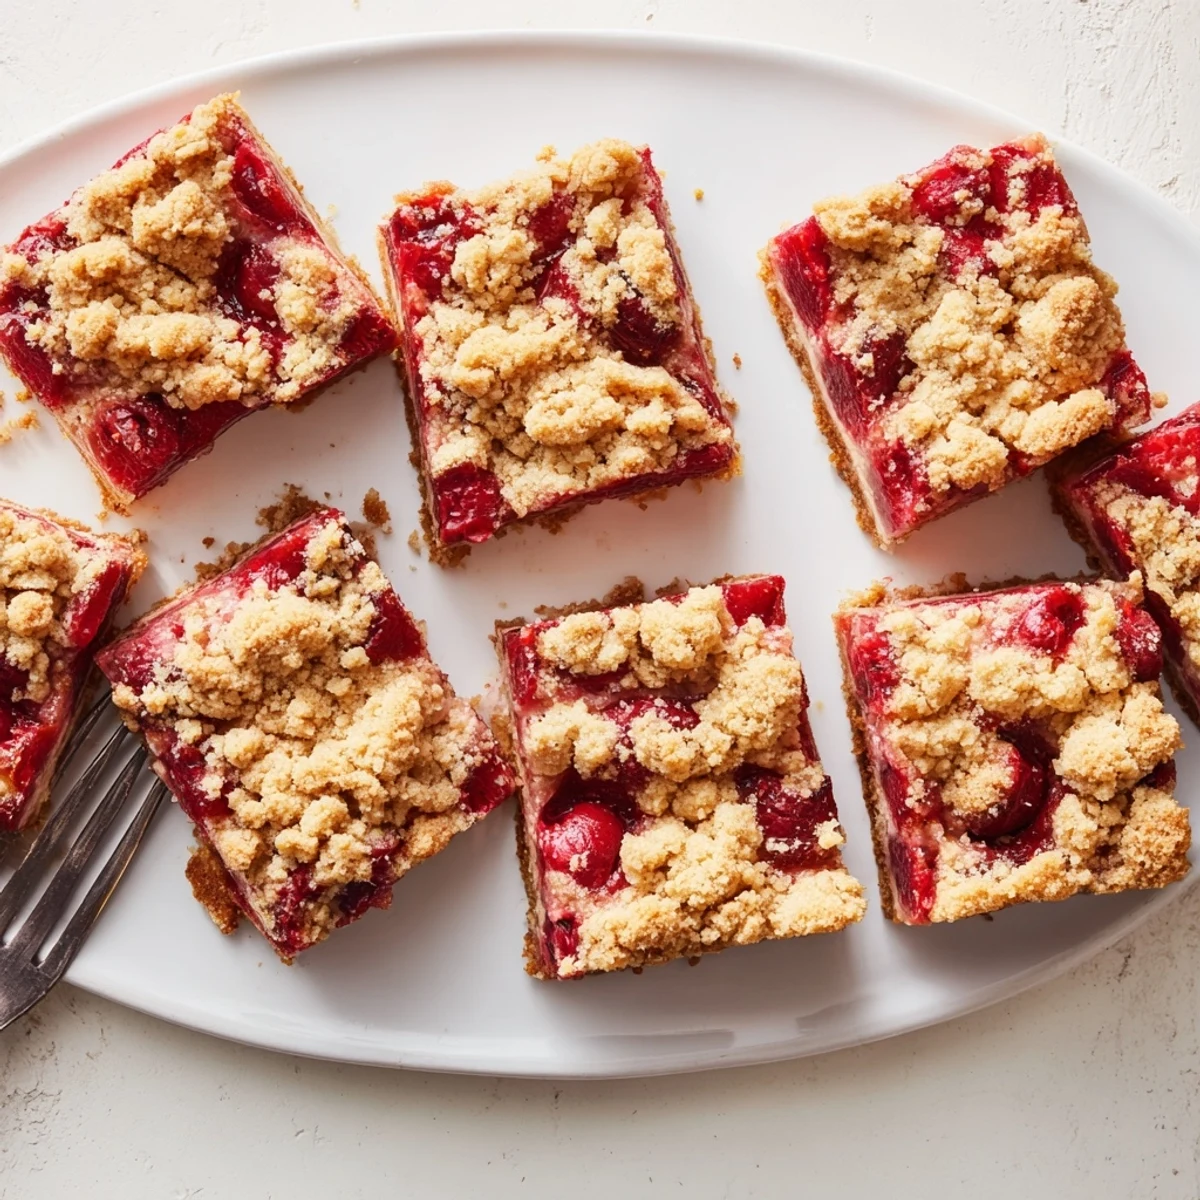
 These cherry crumble bars feature a buttery, cinnamon-spiced crust topped with sweet-tart cherry filling and finished with a generous layer of crumble topping. The fresh cherries create a luscious fruit layer that bubbles up during baking, while the cold butter creates irresistibly tender crumbs. With just 20 minutes of prep time and 40 minutes in the oven, these bars come together quickly for an impressive homemade treat. The yield of 16 bars makes them perfect for sharing, and they store well for several days. Serve them plain, or elevate with whipped cream or vanilla ice cream for an extra indulgent dessert experience.
Last summer I found myself with four pounds of cherries from a weekend market run and no plan for them all. These bars were born from that happy abundance, the kind of spontaneous baking that happens when you refuse to let good fruit go to waste. My kitchen smelled like warm sugar and vanilla all afternoon, and I ended up delivering half the batch to neighbors who became instant friends over crumble-covered plates.
I made these for my fathers birthday one year when he casually mentioned cherry pie was his childhood favorite but nobody ever made it anymore. Watching him sneak a second bar before dinner even started told me everything. Now they appear at every summer gathering, simple enough for a Tuesday but special enough for celebrations.
Ingredients
- 2 cups (250 g) all-purpose flour: The foundation for the crumble, providing structure without becoming tough
- 1 cup (200 g) granulated sugar: Sweetens both the crumble and balances the tart cherries
- 1/2 teaspoon baking powder: Gives the crust a subtle lift so it is not too dense
- 1/4 teaspoon salt: Enhances all the flavors and keeps the buttery taste from being flat
- 1/2 teaspoon ground cinnamon: Adds warmth that pairs beautifully with dark cherries
- 1 cup (225 g) unsalted butter, cold and diced: Creates that irresistible crumbly texture when it melts into the flour
- 1 large egg: Binds the crumble mixture just enough so it holds together when pressed
- 3 cups (450 g) pitted fresh or frozen cherries, halved: The star of the show, halved so every bite gets fruit
- 1/2 cup (100 g) granulated sugar: Sweetens the filling while letting cherry flavor remain front and center
- 2 tablespoons cornstarch: Thickens the cherry juices so they do not make the crust soggy
- 1 tablespoon lemon juice: Brightens the cherries and prevents the filling from being cloying
- 1/2 teaspoon vanilla extract: Rounds out the fruit flavors with classic dessert warmth
Instructions
- Preheat your oven and prepare the pan:
- Heat oven to 350°F (175°C) and line a 9x9-inch pan with parchment paper, letting the edges overhang like handles for easy lifting later.
- Mix the dry crumble ingredients:
- Whisk together flour, sugar, baking powder, salt, and cinnamon in a large bowl until they are uniformly combined.
- Work in the butter and egg:
- Add cold diced butter and the egg, using a pastry cutter or your fingers to blend until the mixture looks like coarse crumbs with some pea-sized butter pieces remaining.
- Form the bottom crust:
- Press about two-thirds of the crumble mixture firmly and evenly into the bottom of your prepared pan to create a solid base layer.
- Prepare the cherry filling:
- In a separate bowl, toss cherries with sugar, cornstarch, lemon juice, and vanilla until every piece is evenly coated in the mixture.
- Layer the cherries:
- Spread the cherry filling evenly over the pressed crust, using a spoon to distribute any juices that settle at the bottom of the bowl.
- Add the crumble topping:
- Sprinkle the remaining crumble mixture over the cherries, leaving some clusters and irregular pieces for that classic crumbly look.
- Bake until golden and bubbly:
- Bake for 38 to 42 minutes until the top is golden brown and you see the cherry filling bubbling through the crumble in spots.
- Cool completely before slicing:
- Let the bars cool completely in the pan, then use the parchment overhang to lift them out before cutting into 16 squares.
 Save to Pinterest
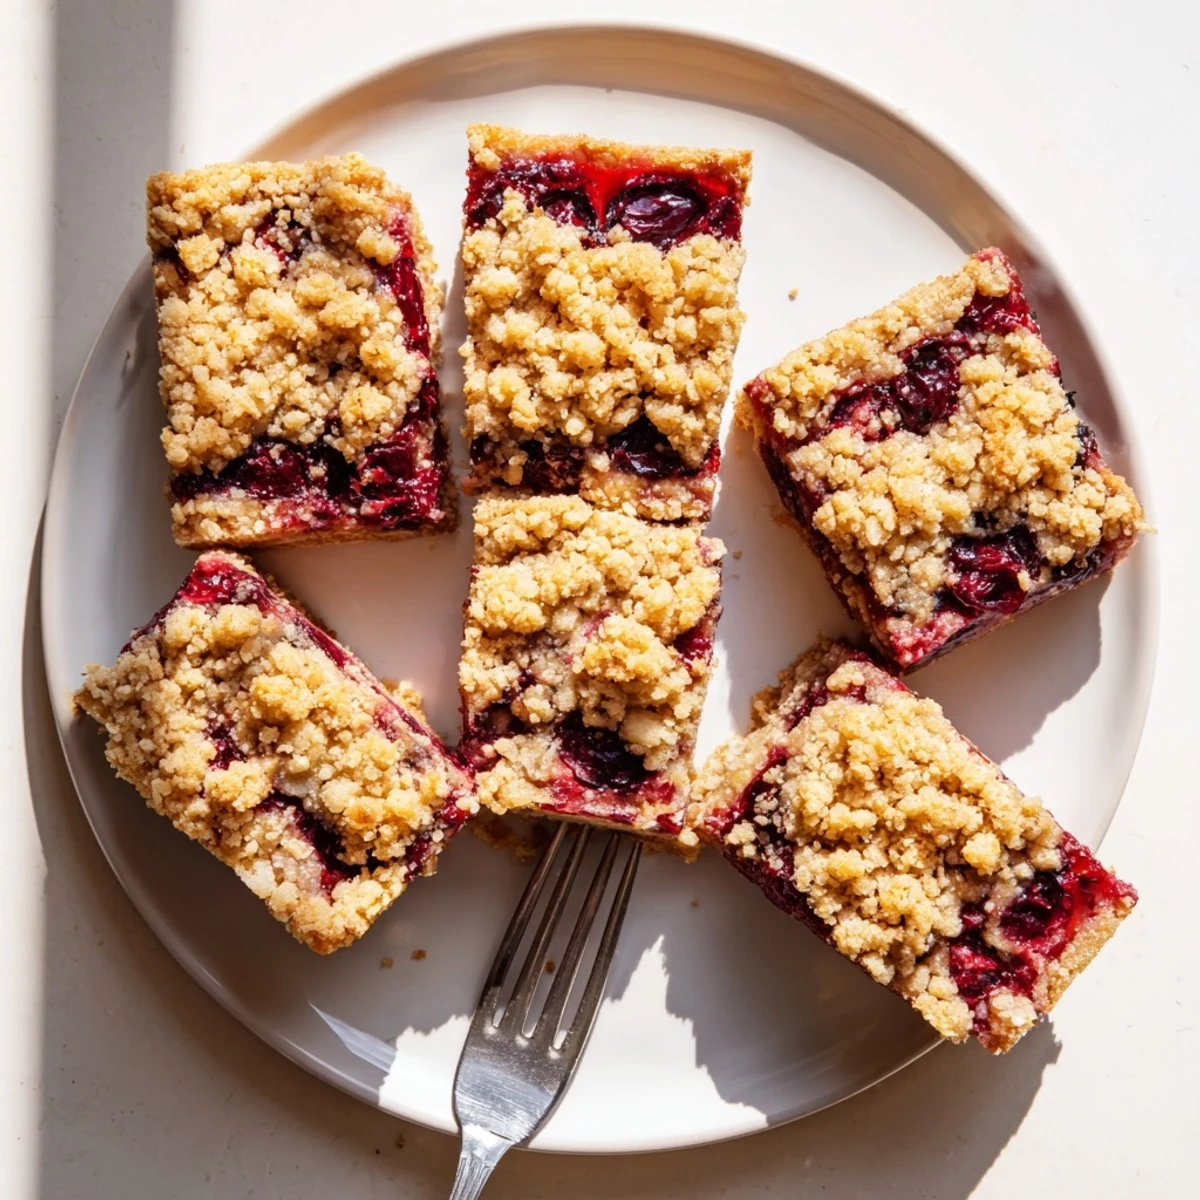
 These became my go-to contribution to a neighborhood summer potluck where nobody knew what to bring dessert-wise. The host called me the next day asking for the recipe because her husband had eaten three bars and declared them better than any bakery crumble he had ever tasted.
Fruit Substitutions
Cherries work beautifully here, but I have made these with mixed berries, sliced peaches, and even diced apples in the fall. Adjust the sugar slightly depending on how sweet your fruit is and keep the cornstarch the same for juicy fruits like berries.
Making Them Gluten-Free
A 1-to-1 gluten-free flour blend works perfectly in these bars without any other changes needed. The texture stays remarkably close to the original, though the crumble may spread slightly more during baking.
Storage and Serving
These bars keep well at room temperature for two days or refrigerated for up to five days, though they rarely last that long in my house. They are excellent slightly warmed with a scoop of vanilla ice cream melting into the crumble.
- Wrap individual bars in parchment for easy grab-and-go breakfasts or snacks
- Freeze unbaked for up to three months and bake straight from frozen, adding a few minutes to the time
- Layer between wax paper in an airtight container if you need to stack them
 Save to Pinterest
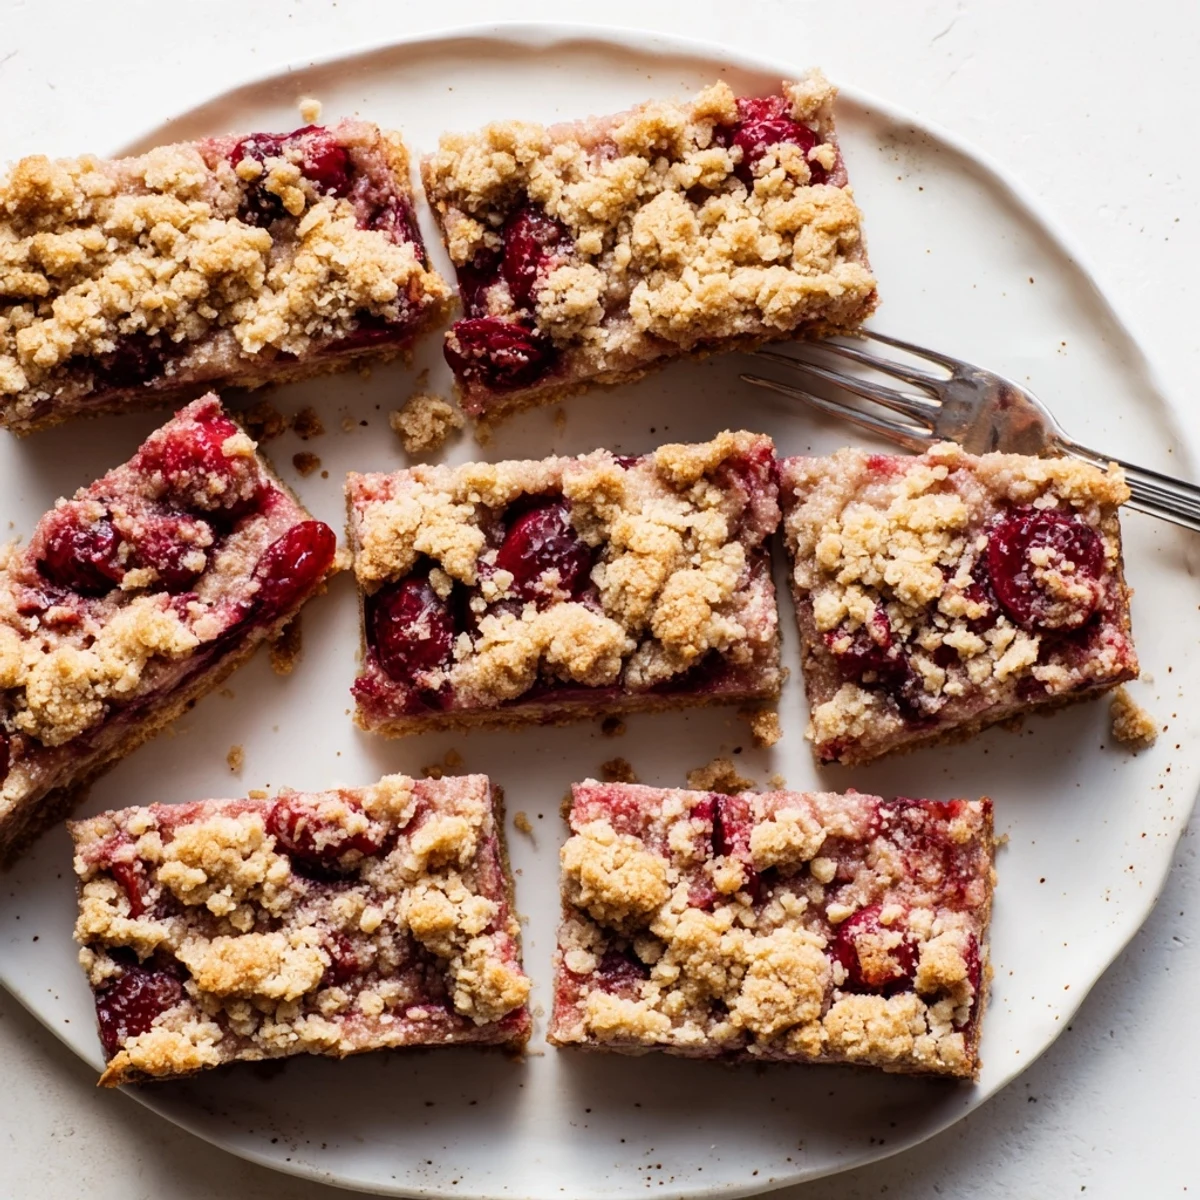
 There is something deeply satisfying about a dessert that feels fancy but comes together with such straightforward ingredients and simple steps. Hope these bars find their way into your summer rotation.
Recipe FAQs
- → Can I use frozen cherries instead of fresh?
-
Yes, frozen cherries work beautifully in these bars. Use them straight from the freezer—no need to thaw first. They may require an extra 2-3 minutes of baking time to ensure the filling bubbles properly.
- → How should I store these cherry crumble bars?
-
Store cooled bars in an airtight container at room temperature for up to 3 days. For longer storage, refrigerate for up to a week. They also freeze well—wrap individual bars tightly and freeze for up to 3 months.
- → Can I make these bars gluten-free?
-
Absolutely. Substitute the all-purpose flour with a reliable 1:1 gluten-free flour blend. The texture and taste remain remarkably similar, making these accessible for those avoiding gluten.
- → Why must I press the crust firmly?
-
Pressing firmly creates a compact, stable base that holds together when sliced. A loose crust crumbles apart, making it difficult to get clean, uniform bars. Use the bottom of a measuring cup for even pressure.
- → What other fruits can I use?
-
Swap cherries for mixed berries, blueberries, sliced peaches, or diced apples. Adjust sugar slightly based on fruit sweetness—tart fruits need the full amount, while sweeter varieties may need less.
- → How do I know when the bars are done?
-
The bars are ready when the crumble topping is golden brown and you see the cherry filling bubbling through the crumbs, especially around the edges. The center should feel set but slightly soft—firming up as it cools.
