 Save to Pinterest
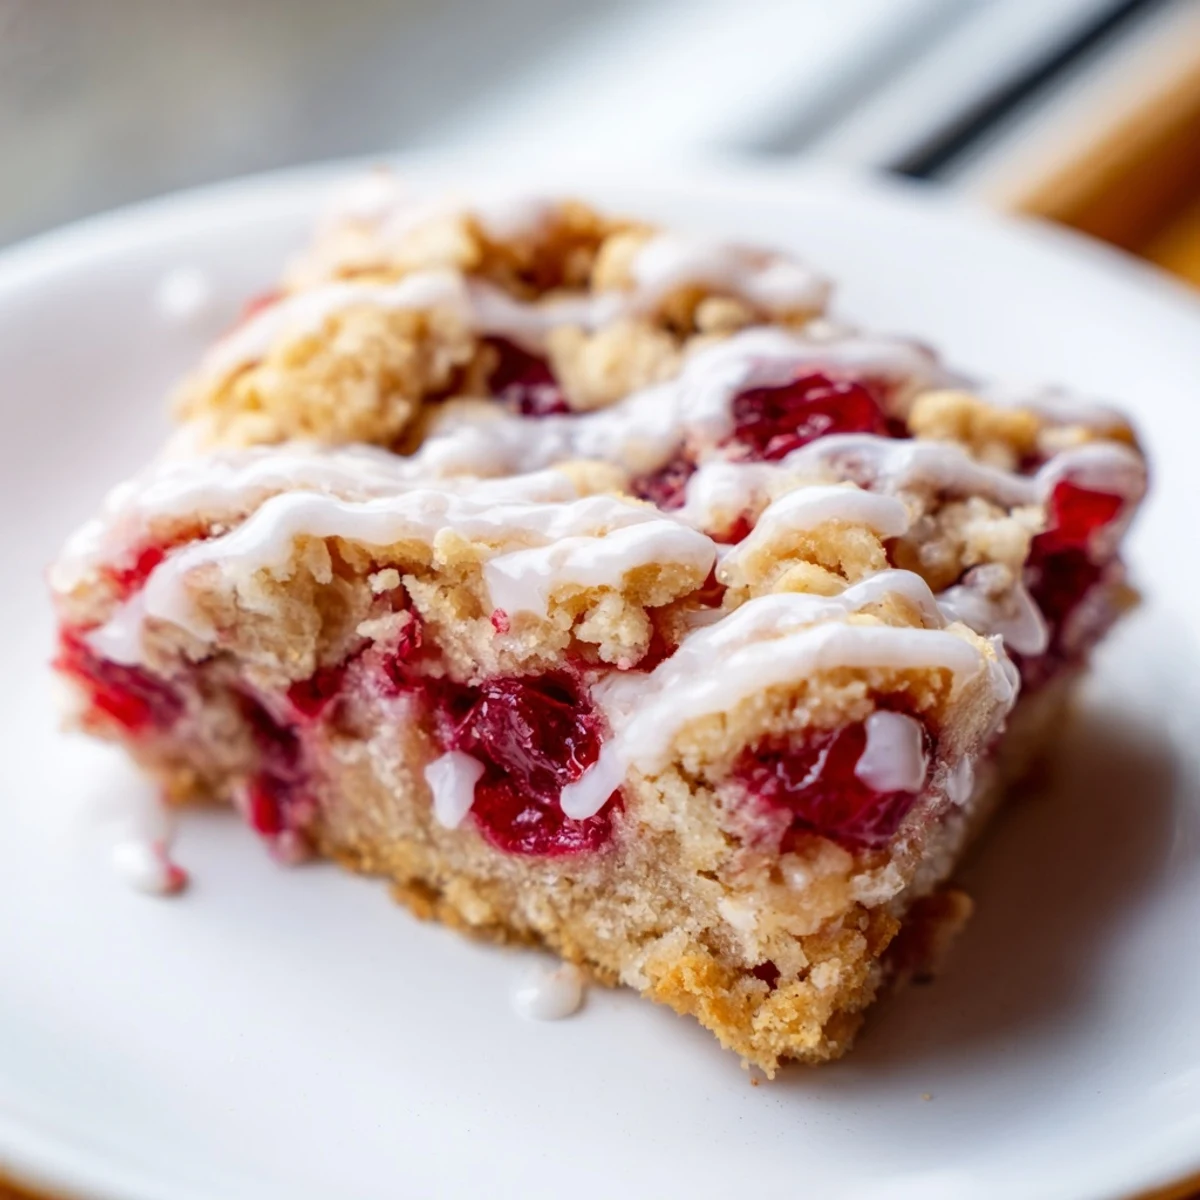
 These cherry pie bars feature a tender, buttery vanilla dough that's incredibly simple to prepare. The base is spread with sweet cherry pie filling, then topped with crumbles of the same dough for a rustic, homespun appearance. After baking until golden, a quick vanilla glaze adds the perfect finishing touch.
The entire process takes just 50 minutes from start to finish, with only 15 minutes of active prep time. The bars yield 16 generous servings, making them ideal for potlucks, bake sales, or family gatherings. They're even better the next day, so you can make them ahead for events.
My grandmother kept cherry pie filling in her pantry year-round, treating those glossy red cans like culinary gold. One rainy afternoon, she taught me that you don't need to make everything from scratch to create something magical. These bars became our secret weapon for unexpected guests and midnight cravings alike.
Last summer, I brought a batch to a neighborhood potluck and watched them disappear in under ten minutes. My neighbor's daughter asked if I'd teach her the recipe, and we spent a wonderful Saturday morning covered in flour. Sometimes the simplest recipes create the sweetest memories.
Ingredients
- 1 cup unsalted butter, softened: Room temperature butter creates the most tender, melt-in-your-mouth crumb imaginable
- 1 1/2 cups granulated sugar: This amount strikes perfect balance between sweetness and letting the cherries shine
- 4 large eggs: Room temperature eggs incorporate better and give the bars their structure
- 1 tsp vanilla extract: Don't skimp here since vanilla amplifies all the other flavors
- 1/2 tsp almond extract: This optional addition pairs beautifully with cherries, but vanilla works too
- 3 cups all-purpose flour: Spoon and level your flour to avoid dense, dry bars
- 1/2 tsp salt: Just enough to make the butter taste more buttery
- 1 can cherry pie filling: Use your favorite brand or make homemade if you're feeling ambitious
- 1 cup powdered sugar: Sift first to prevent lumps in your glaze
- 2-3 tbsp milk: Start with less and add more until you reach perfect drizzling consistency
- 1/2 tsp vanilla extract: For that finishing touch of aromatic sweetness
Instructions
- Get your oven ready:
- Preheat to 350°F and generously grease a 9x13-inch pan or line with parchment paper for easy lifting
- Cream the butter and sugar:
- Beat them together until the mixture looks pale and fluffy, about 3-4 minutes of your patience
- Add the eggs and extracts:
- Beat in eggs one at a time, then stir in both extracts until everything is fully incorporated
- Combine the dry ingredients:
- Whisk flour and salt in a separate bowl, then gradually mix into the butter mixture just until combined
- Layer the dough:
- Press about two-thirds of the dough into your prepared pan, creating an even base layer
- Spread the cherry filling:
- Spoon the filling over the dough, spreading it gently to cover the base
- Add the topping:
- Drop small spoonfuls of remaining dough over the cherries, letting some red peek through prettily
- Bake until golden:
- Bake for 30-35 minutes until the top is lightly golden and edges are set
- Cool completely:
- Let the bars cool completely in the pan on a wire rack before adding glaze
- Make the glaze:
- Whisk powdered sugar, milk, and vanilla until smooth and pourable
- Finish and serve:
- Drizzle glaze over cooled bars, let set, then slice into 16 perfect squares
 Save to Pinterest
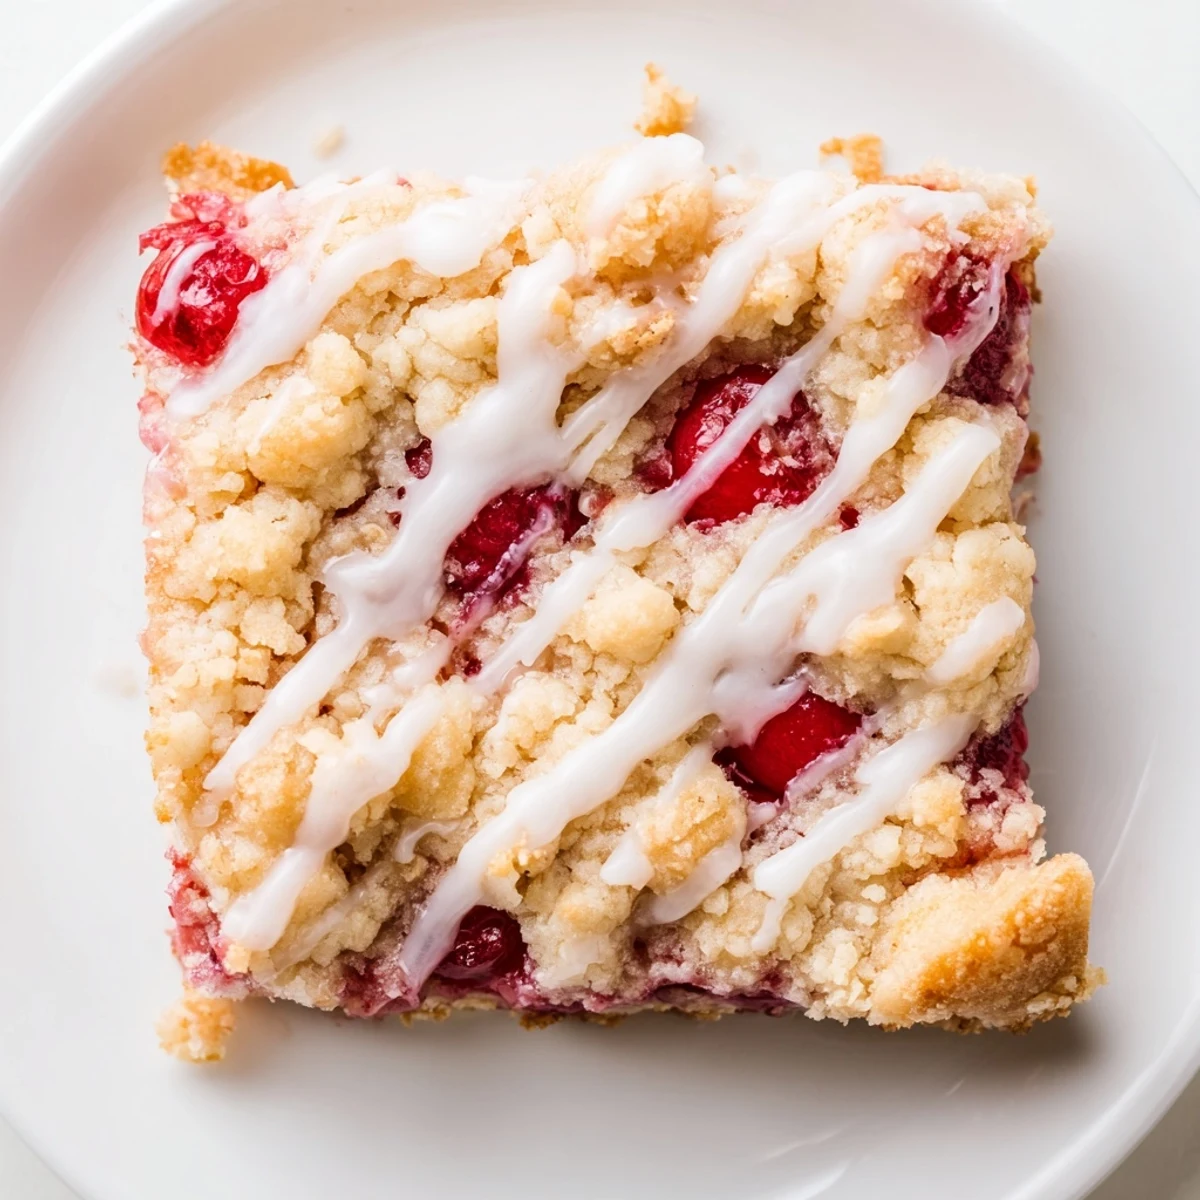
 These bars have become my go-to for school bake sales and office birthday celebrations. Something about that combination of buttery crust and sweet cherry filling makes people's eyes light up every single time.
Making Them Your Own
While cherry is classic, don't be afraid to experiment with different pie fillings throughout the year. Blueberry in summer, apple in fall, each variation brings something special to the table.
Storage Secrets
Store these bars at room temperature for up to three days, or refrigerate for a week if you prefer them cold. They also freeze beautifully for up to three months when wrapped tightly.
Serving Suggestions
A warm bar with vanilla ice cream transforms this simple dessert into something extraordinary. They're also delicious with morning coffee when you need something sweet to start the day.
- Try adding a sprinkle of sea salt over the glaze for a sweet-salty contrast
- A squeeze of lemon juice in the cherry filling brightens everything up
- These bars travel well, making them perfect for picnics and potlucks
 Save to Pinterest
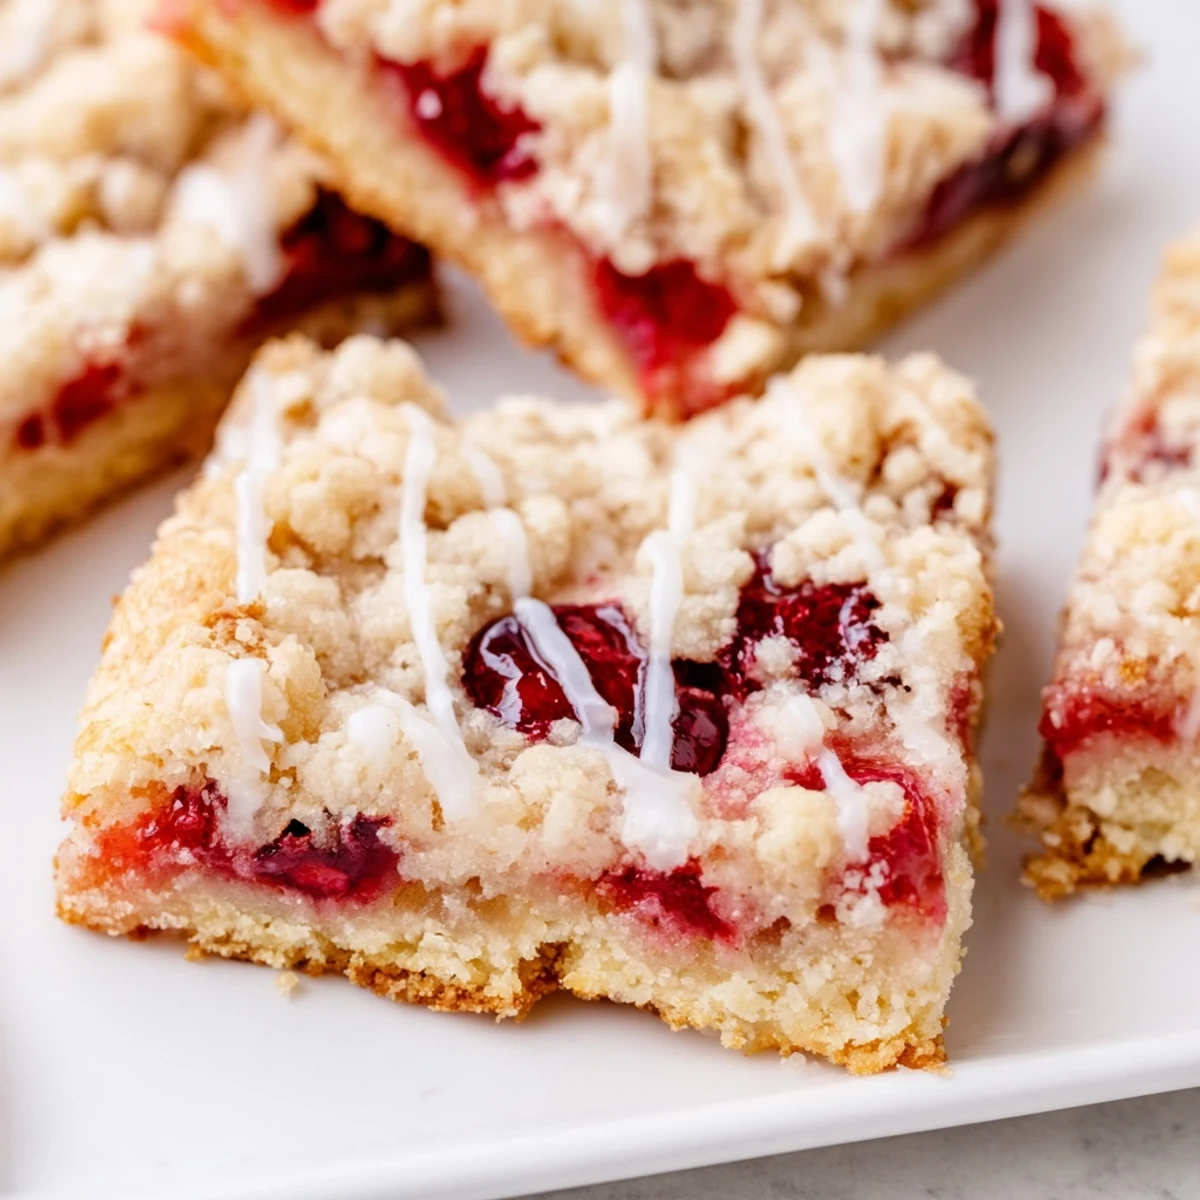
 There's something deeply comforting about a dessert that comes together so easily yet tastes like you spent hours in the kitchen. Enjoy every buttery, cherry-filled bite.
Recipe FAQs
- → Can I use fresh cherries instead of canned pie filling?
-
While canned pie filling provides consistent results, you can use fresh cherries cooked down with sugar and cornstarch until thickened. This requires about 4 cups pitted cherries, 1 cup sugar, and 3 tablespoons cornstarch.
- → How should I store these bars?
-
Store in an airtight container at room temperature for up to 3 days. For longer storage, refrigerate for up to a week. The bars also freeze well—wrap individual portions tightly and freeze for up to 3 months.
- → Can I make these bars gluten-free?
-
Yes, substitute the all-purpose flour with a 1-to-1 gluten-free flour blend that contains xanthan gum. The texture may be slightly denser but still delicious. Ensure your cherry filling is also certified gluten-free.
- → Why is my dough too sticky to handle?
-
If the dough feels too sticky, chill it for 15-20 minutes before spreading. You can also lightly flour your hands or press it through the bottom of a measuring cup to create an even layer without sticking.
- → Can I skip the glaze?
-
Absolutely! The bars are perfectly delicious without glaze. For a simpler finish, you can dust them with powdered sugar once cooled, or serve them plain—the buttery dough and sweet filling shine on their own.
- → What other fruit fillings work well?
-
Blueberry, apple, peach, and strawberry pie fillings all work beautifully. Each creates a unique flavor profile while maintaining the same tender texture and bake time.
