 Save to Pinterest
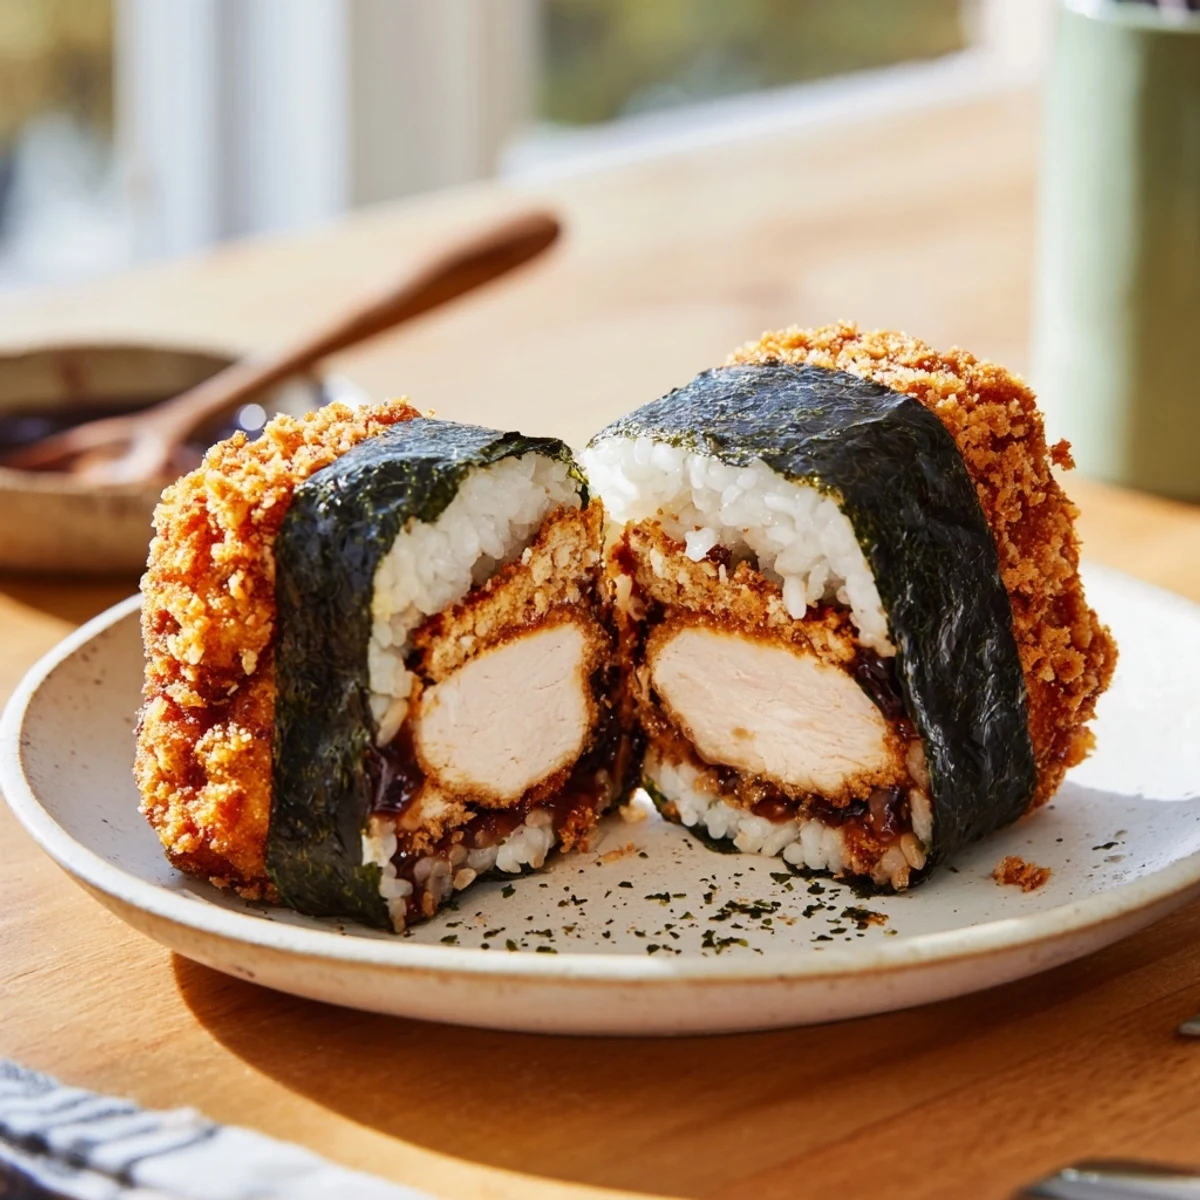
 This Hawaiian-Japanese fusion creation combines crispy panko-coated chicken thighs with perfectly seasoned short-grain rice, all enveloped in savory nori seaweed. The homemade tonkatsu-style sauce adds a sweet and tangy finish that ties everything together beautifully.
Each handheld musubi delivers satisfying crunch from the chicken, soft fluffy rice texture, and umami-rich nori wrapper. Perfect for meal prep, lunchboxes, or as an impressive appetizer for gatherings.
The technique involves pounding chicken for even cooking, double-breading for extra crunch, and using plastic wrap to achieve that characteristic compressed musubi shape. Serve warm or at room temperature with additional dipping sauce.
The first time I bit into a chicken katsu musubi at a small hole in the wall in Honolulu, I actually stopped walking mid stride. The crunch of that panko crusted chicken against warm vinegared rice and the slight brine from nori hit me like a flavor wave I did not see coming. I went back three times that week.
My roommate walked into the kitchen while I was pressing my first batch together and asked what smelled like a beach vacation. She ended up eating three before they even made it into the bento boxes.
Ingredients
- 2 boneless skinless chicken thighs: Thighs stay juicier than breast through the frying process and that extra fat matters here
- 1/2 teaspoon salt and 1/4 teaspoon ground black pepper: Season both sides liberally since the pango does not add much flavor on its own
- 1/2 cup all purpose flour: This first coating helps the egg wash cling to the chicken
- 1 large egg mixed with 1 tablespoon milk: The milk thins the egg just enough for an even coating
- 1 cup panko breadcrumbs: Do not use regular breadcrumbs. Panko creates that shattering crunch that makes katsu special
- Vegetable oil for frying: You want about half an inch in the pan shallow frying works perfectly here
- 2 cups cooked short grain Japanese rice: Short grain rice sticks together which is non negotiable for musubi that holds its shape
- 1 tablespoon rice vinegar 1/2 teaspoon sugar and 1/2 teaspoon salt: This simple seasoning mix transforms plain rice into something that complements the chicken
- 2 tablespoons tonkatsu sauce 1 tablespoon soy sauce and 1 teaspoon honey: The honey cuts through the salty sauces and adds a beautiful glaze
- 4 sheets nori halved: Cut these in half crosswise before you start assembling or you will be scrambling mid recipe
- Furikake optional: That little sprinkling of seaweed and sesame seeds adds a flavor boost I never skip
Instructions
- Pound and season the chicken:
- Place each thigh between plastic wrap and pound to even thickness about half an inch. Season both sides with the salt and pepper letting it sit while you set up your breading station.
- Create the coating line:
- Set up three shallow bowls flour first then the egg milk mixture beaten together then the panko. This assembly line approach keeps everything organized and your fingers from becoming a mess.
- Bread each thigh thoroughly:
- Dredge one thigh in flour shaking off excess. Dip it in the egg mixture letting any drip fall away. Press it firmly into the panko making sure the crumbs cling well. Repeat with all pieces.
- Fry until golden perfection:
- Heat half an inch of oil in a skillet over medium heat. You know it is ready when a panko crumb sizzles immediately. Fry chicken 3 to 4 minutes per side until deeply golden and cooked through. Drain on paper towels and slice into strips that fit your musubi shape.
- Season the warm rice:
- Whisk together the rice vinegar sugar and salt until dissolved. Gently fold this mixture into your warm cooked rice being careful not to mash the grains. Let it cool just enough to handle.
- Make the sauce:
- Whisk the tonkatsu sauce soy sauce and honey in a small bowl until completely combined. The honey helps it cling to the chicken and adds a subtle sweetness.
- Set up your wrapping station:
- Lay out a sheet of plastic wrap on your work surface. Place one halved nori sheet shiny side down on top. Keep a small bowl of water nearby for wetting your hands.
- Layer like a pro:
- With wet hands press about 1/4 cup of seasoned rice into a compact rectangle in the center of the nori. Sprinkle with furikake if using then top with a slice of chicken katsu. Drizzle a tiny bit of sauce over the chicken.
- Press and wrap tightly:
- Add another thin layer of rice and press down firmly. Fold the nori ends over the filling using the plastic wrap to compress everything into a tight rectangle. Let it rest for 2 to 3 minutes so the nori softens and seals.
 Save to Pinterest
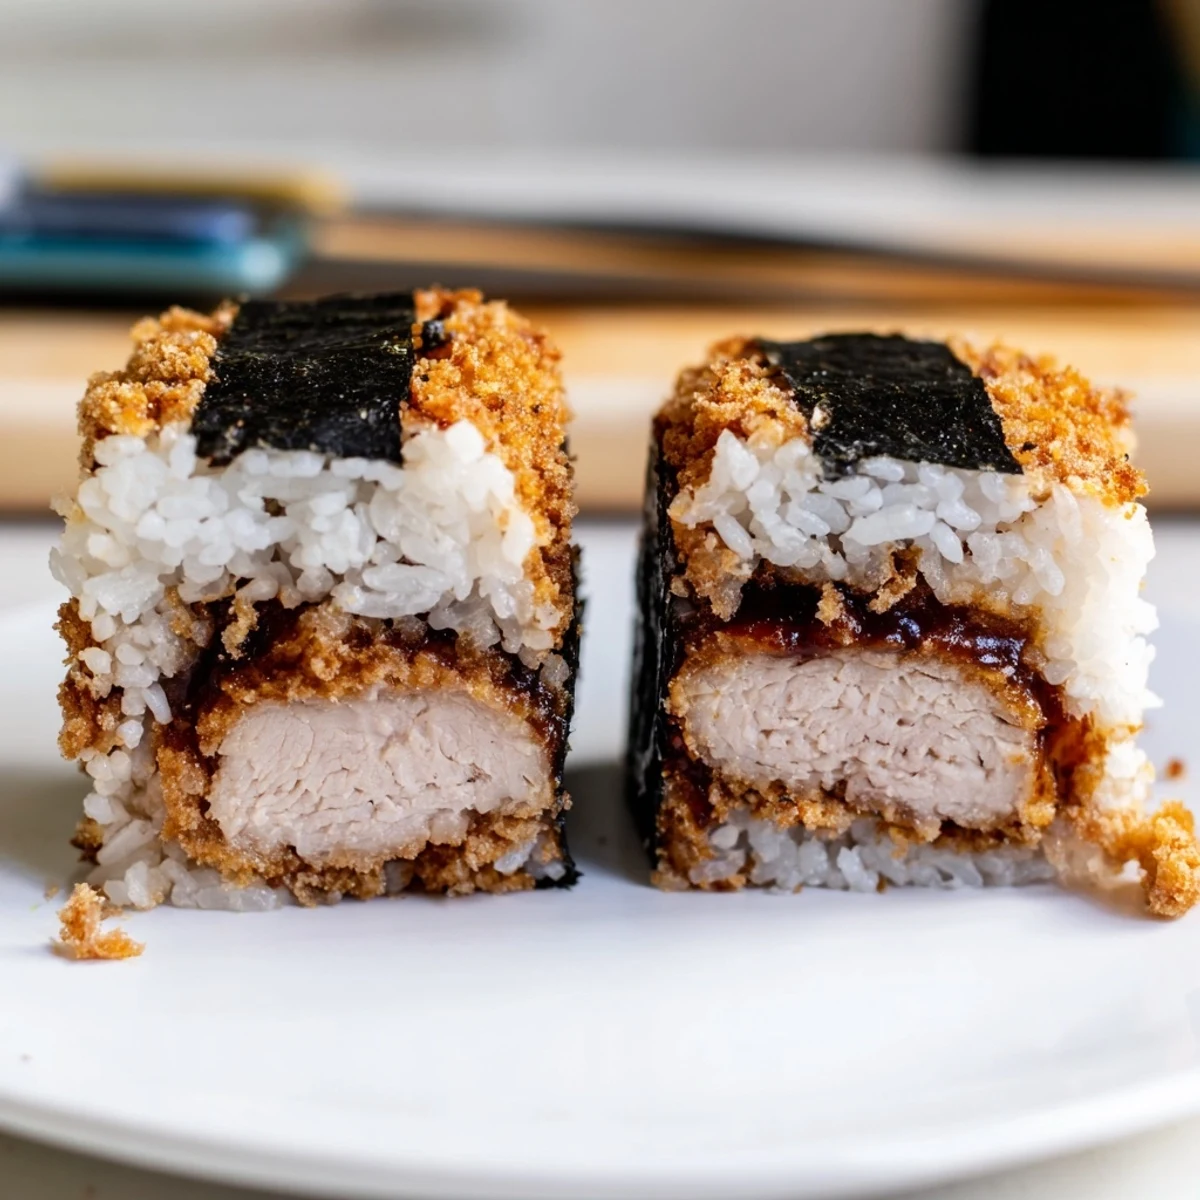
 These have become my go to for long flights and beach days. Something about eating them with your hands makes them feel more satisfying than any wrapped sandwich could ever be.
Making The Perfect Rice Base
Short grain rice is the only rice that works here because it naturally clumps together. Long grain rice will crumble and your musubi will fall apart before you can take a bite. Wash your rice several times until the water runs clear before cooking. This removes excess starch and prevents gummy texture. And never use cold rice straight from the refrigerator. The vinegar seasoning mixture does not absorb properly and the grains will not stick together.
Getting That Restaurant Quality Crunch
The secret to truly exceptional katsu is double frying. After the first fry let the chicken cool completely then fry it a second time at slightly higher heat for just 30 seconds per side. This technique creates that extra shattering crunch you get at Japanese restaurants. Also do not crowd your pan. Fry in batches if needed because stacking chicken or overcrowding drops the oil temperature and you end up with soggy disappointing coating.
Storage And Make Ahead Strategy
Musubi holds up surprisingly well making it perfect for meal prep. Wrap each one individually in plastic wrap then store in the refrigerator for up to two days. The texture softens slightly but the flavors actually develop and improve overnight. For longer storage wrap tightly and freeze for up to one month. Thaw overnight in the refrigerator then bring to room temperature before eating. Never microwave frozen musubi directly. It turns the rice into a sad rubbery texture that ruins the experience.
- Let refrigerated musubi sit at room temperature for 15 minutes before eating
- Place a piece of parchment paper between musubi if storing them stacked
- The nori will soften over time which is normal and actually makes them easier to bite through
 Save to Pinterest
 There is something deeply satisfying about food you can hold in your hand that does not compromise on flavor. These musubi have that perfect balance of textures and tastes that makes you reach for another before you even realize it.
Recipe FAQs
- → What makes musubi different from sushi?
-
Musubi features compressed rice blocks often paired with proteins like spam or chicken, wrapped in nori. Unlike traditional sushi rolls, musubi is formed into rectangular shapes using a press or mold, making it more portable and substantial as a handheld meal.
- → Can I make these ahead of time?
-
Yes, musubi travels well for lunches or picnics. Wrap individually in plastic wrap after assembling and store refrigerated up to 24 hours. The nori will soften slightly over time, which some actually prefer. Bring to room temperature before eating.
- → What can I substitute for tonkatsu sauce?
-
Mix equal parts ketchup, Worcestershire sauce, and oyster sauce with a dash of soy sauce. Or use bulldog sauce if available. The homemade version in this recipe combines tonkatsu sauce with soy sauce and honey for similar flavor.
- → Why should I use short-grain rice?
-
Short-grain Japanese rice contains higher starch content, making it stickier and better at holding together when compressed. This texture is essential for musubi to maintain its shape and not fall apart when wrapped in nori.
- → How do I get the crispiest chicken katsu?
-
Pound chicken to even thickness for uniform cooking. Let breaded pieces rest 10 minutes before frying to help coating adhere. For extra crunch, double-fry: fry first at 350°F until cooked through, then increase heat to 375°F for 30-second second fry.
