 Save to Pinterest
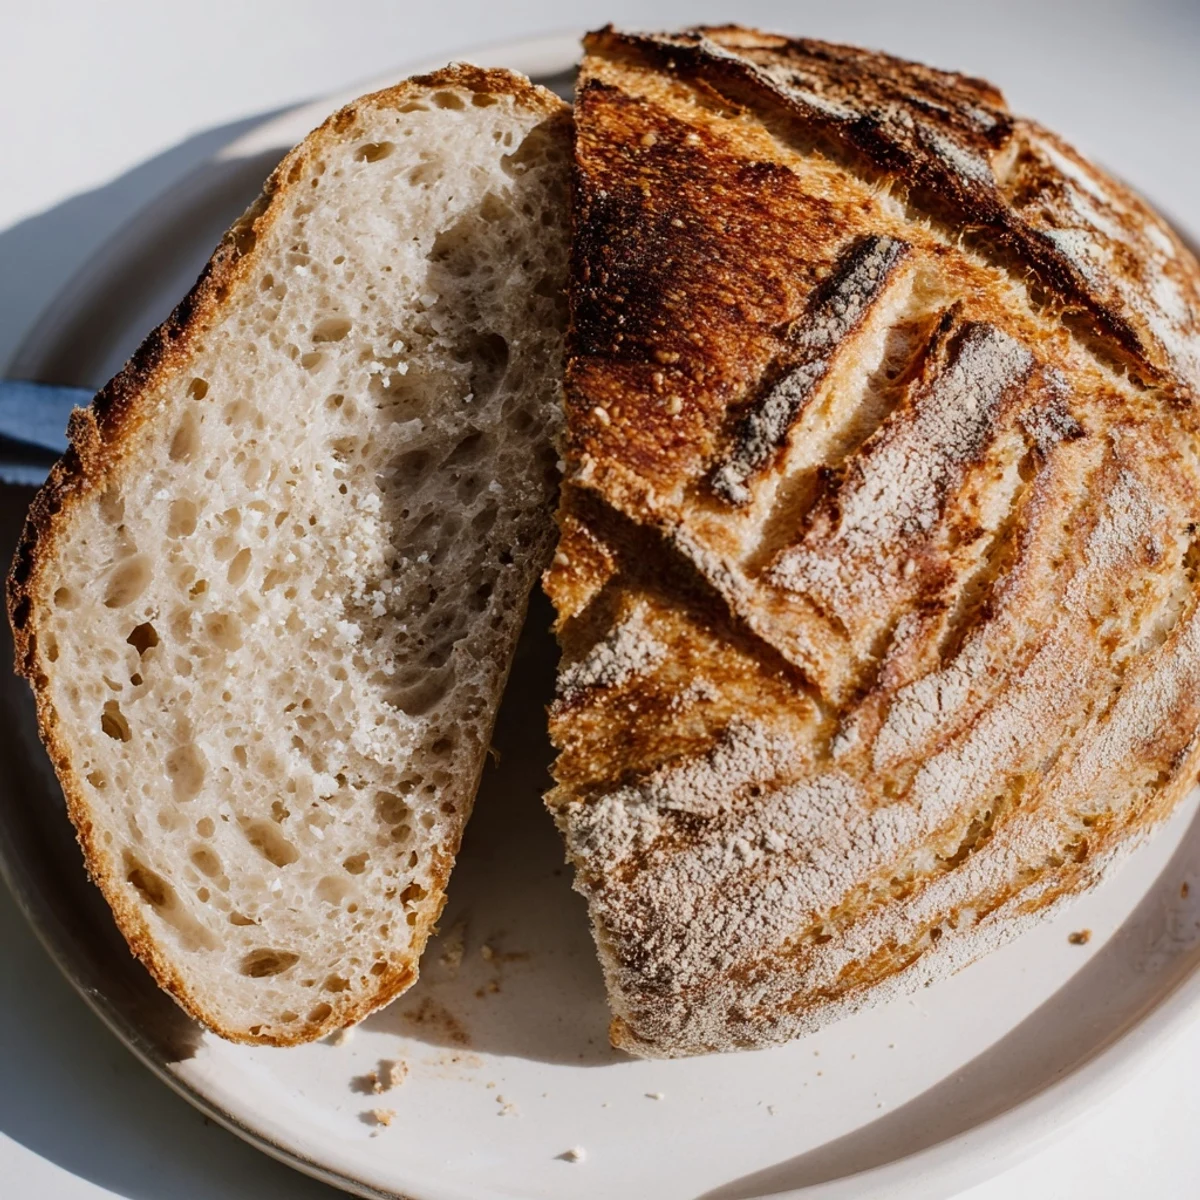
 Craft an authentic artisan loaf using just flour, water, salt, and active sourdough starter. The natural fermentation process develops complex flavors and creates that signature tangy taste. Achieve professional bakery results with a crispy, crackling crust and open, airy crumb structure perfect for slicing.
The stretch-and-fold technique builds strength without kneading, while baking in a preheated Dutch oven creates steam for maximum oven spring and crust development.
The smell of sourdough baking transforms a house into something deeper than just a kitchen. I started my first starter during a rainy November when the world felt too quiet and I needed something alive to care for. Now that jar of bubbly culture feels like an old friend who demands attention but gives back so much more than bread.
My sister visited last spring and watched me stretch and fold dough at the kitchen counter. She called it bread meditation and now she texts me photos of her own loaves at midnight, when the sourdough magic finally happens in her apartment too. Some recipes bring people together through eating, but this one brings them together through making.
Ingredients
- Active sourdough starter: Fed and bubbly means it should float in water, doubling in size about 6-8 hours after feeding
- Bread flour: Higher protein content develops the strong gluten network needed for that dramatic oven rise
- Whole wheat flour: Just enough to add complexity without weighing down the delicate crumb structure
- Water: Room temperature prevents shocking the starter into dormancy
- Sea salt: Enhances fermentation and strengthens gluten strands
Instructions
- Create the foundation:
- Mix bread flour, whole wheat flour, and water in a large bowl until shaggy and combined. Cover and let rest for one hour, allowing flour to fully hydrate.
- Bring it together:
- Add starter and salt to the dough, mixing by hand until fully incorporated. The dough will feel tacky but should clear the sides of the bowl.
- Build strength:
- Let ferment at room temperature for 4-5 hours. Every 30-45 minutes, grab one edge of the dough and fold it toward the center, repeating four times around the bowl.
- Give it structure:
- Turn dough onto a floured surface and gently shape into a round. Cover and rest for 20 minutes to relax the gluten.
- Final shaping:
- Shape dough into a tight round loaf and place seam side up in a well-floured proofing basket.
- Final rise:
- Cover and let rise at room temperature for 2-3 hours, or refrigerate overnight for deeper flavor development.
- Get ready to bake:
- Place a Dutch oven in the oven and preheat to 250°C (480°F) for at least 30 minutes. The pot needs to be fully hot.
- Make it beautiful:
- Gently invert dough onto parchment paper and score with a sharp blade. Transfer to the preheated pot, cover, and bake for 20 minutes.
- Finish with color:
- Remove the lid and reduce temperature to 220°C (430°F). Bake another 25 minutes until deep golden brown.
- Patience pays off:
- Cool completely on a wire rack before slicing. Cutting warm bread ruins the crumb structure you worked so hard to create.
 Save to Pinterest
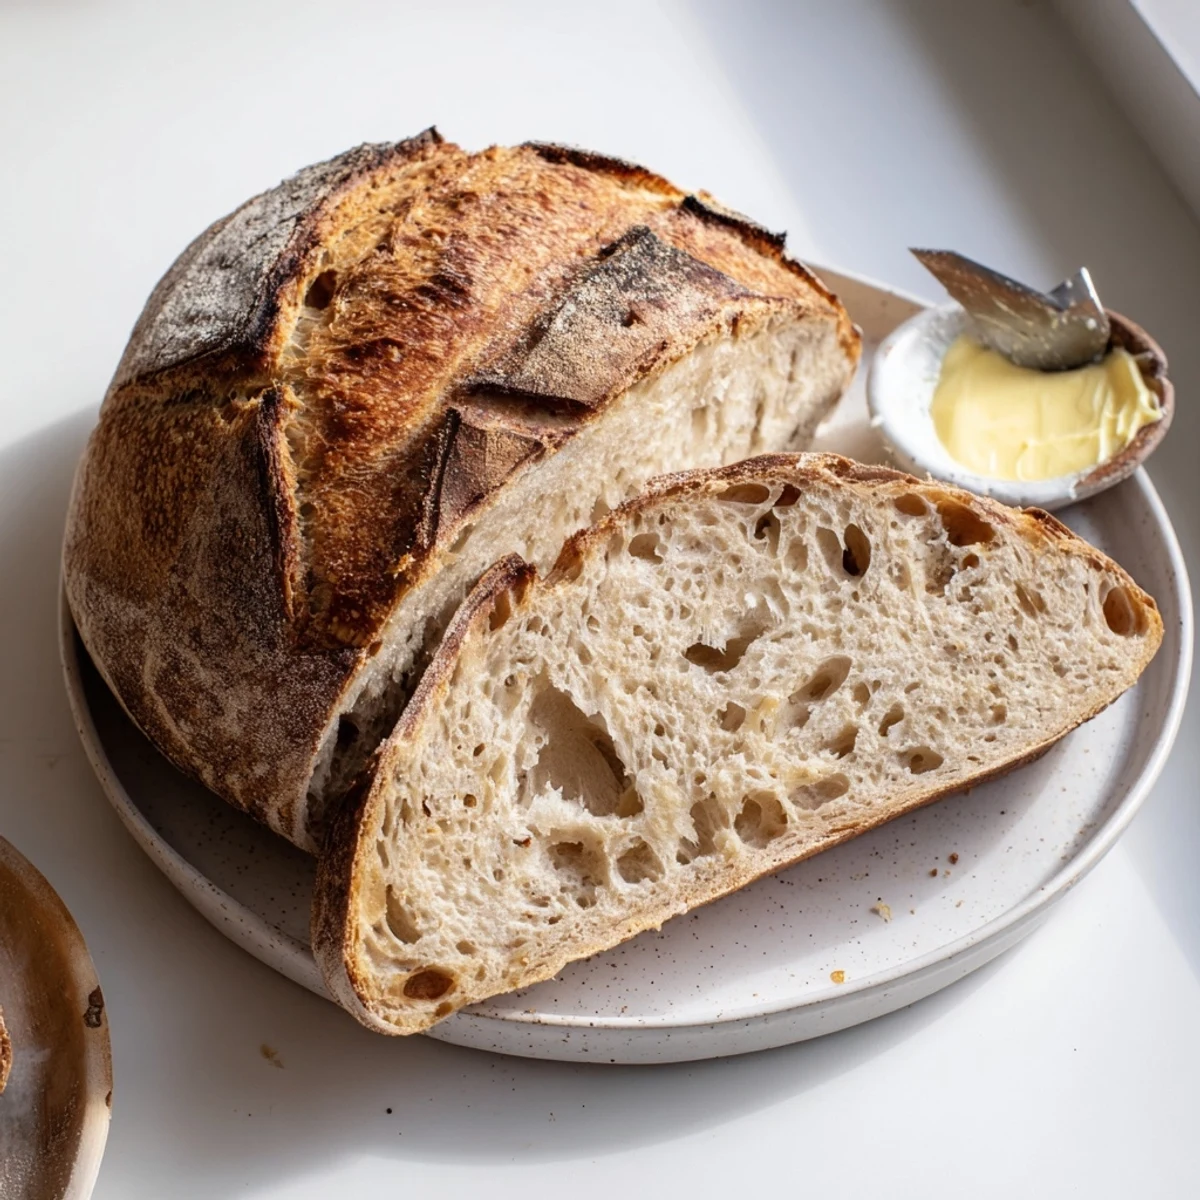
 My first successful loaf came out of the oven at 11pm on a Tuesday. I stood in the kitchen eating slice after slice with nothing but butter, burned fingertips and all, wondering why I had ever bought bread from a store. That sourdough became breakfast, lunch, and dinner until it was gone.
The Art of Scoring
Your blade tells the dough where to expand in the oven. A simple cross works, but an ear along one side creates that dramatic bakery look. The cut should be about half an inch deep, decisive and confident. Hesitation produces ragged edges while a swift motion creates clean, beautiful openings.
Temperature Secrets
Starting at such high heat creates instant oven spring. The moisture trapped inside turns to steam, inflating the loaf before the crust sets. Lowering the temperature after twenty minutes ensures the interior bakes completely without burning the exterior. This two stage temperature approach mimics professional deck ovens.
Storing Your Sourdough
Unlike commercial bread, this loaf stays fresh longer wrapped in a cloth bag rather than plastic. The crust will soften but the texture remains perfect for toasting. After three days, any remaining slices transform into exceptional bread pudding or the best croutons you have ever tasted.
- Freeze sliced bread in a sealed bag for up to three months
- Revive a day old loaf by sprinkling with water and heating at 175°C for 10 minutes
- Store cut side down on a wooden board to maintain crust integrity
 Save to Pinterest
 Sourdough teaches you that good things cannot be rushed, only nurtured. Each loaf carries the memory of every hand that mixed, stretched, and waited before it.
Recipe FAQs
- → What makes sourdough different from regular bread?
-
Wild yeast naturally present in flour ferments the dough over 14-20 hours, creating lactic acid that gives sourdough its characteristic tangy flavor and longer shelf life compared to commercial yeast breads.
- → How do I know my starter is active enough?
-
Your starter should double in size within 4-8 hours after feeding, appear bubbly throughout, and have a pleasant yeasty aroma. Pass the float test by dropping a spoonful in water—it should float.
- → Can I skip the overnight proof?
-
Yes, proof at room temperature for 2-3 hours instead. However, cold fermentation in the refrigerator develops deeper flavor complexity and makes scoring easier due to the firmer dough texture.
- → Why do I need a Dutch oven?
-
A preheated heavy pot with lid traps steam during baking, creating the perfect environment for maximum oven spring and that signature crispy, crackling crust that artisan breads are known for.
- → How should I store finished sourdough?
-
Wrap cooled loaves in a linen cloth or paper bag and store at room temperature for 2-3 days. For longer storage, slice and freeze in airtight bags—toast directly from frozen.
